
Applying Lenses to a Workspace
A lens is a reusable preset that loads your workspace with a specific set of filters, column configurations, and groupings for a particular workflow. Each lens appears as a named tab inside the workspace. A workspace can have multiple lens tabs open at once.
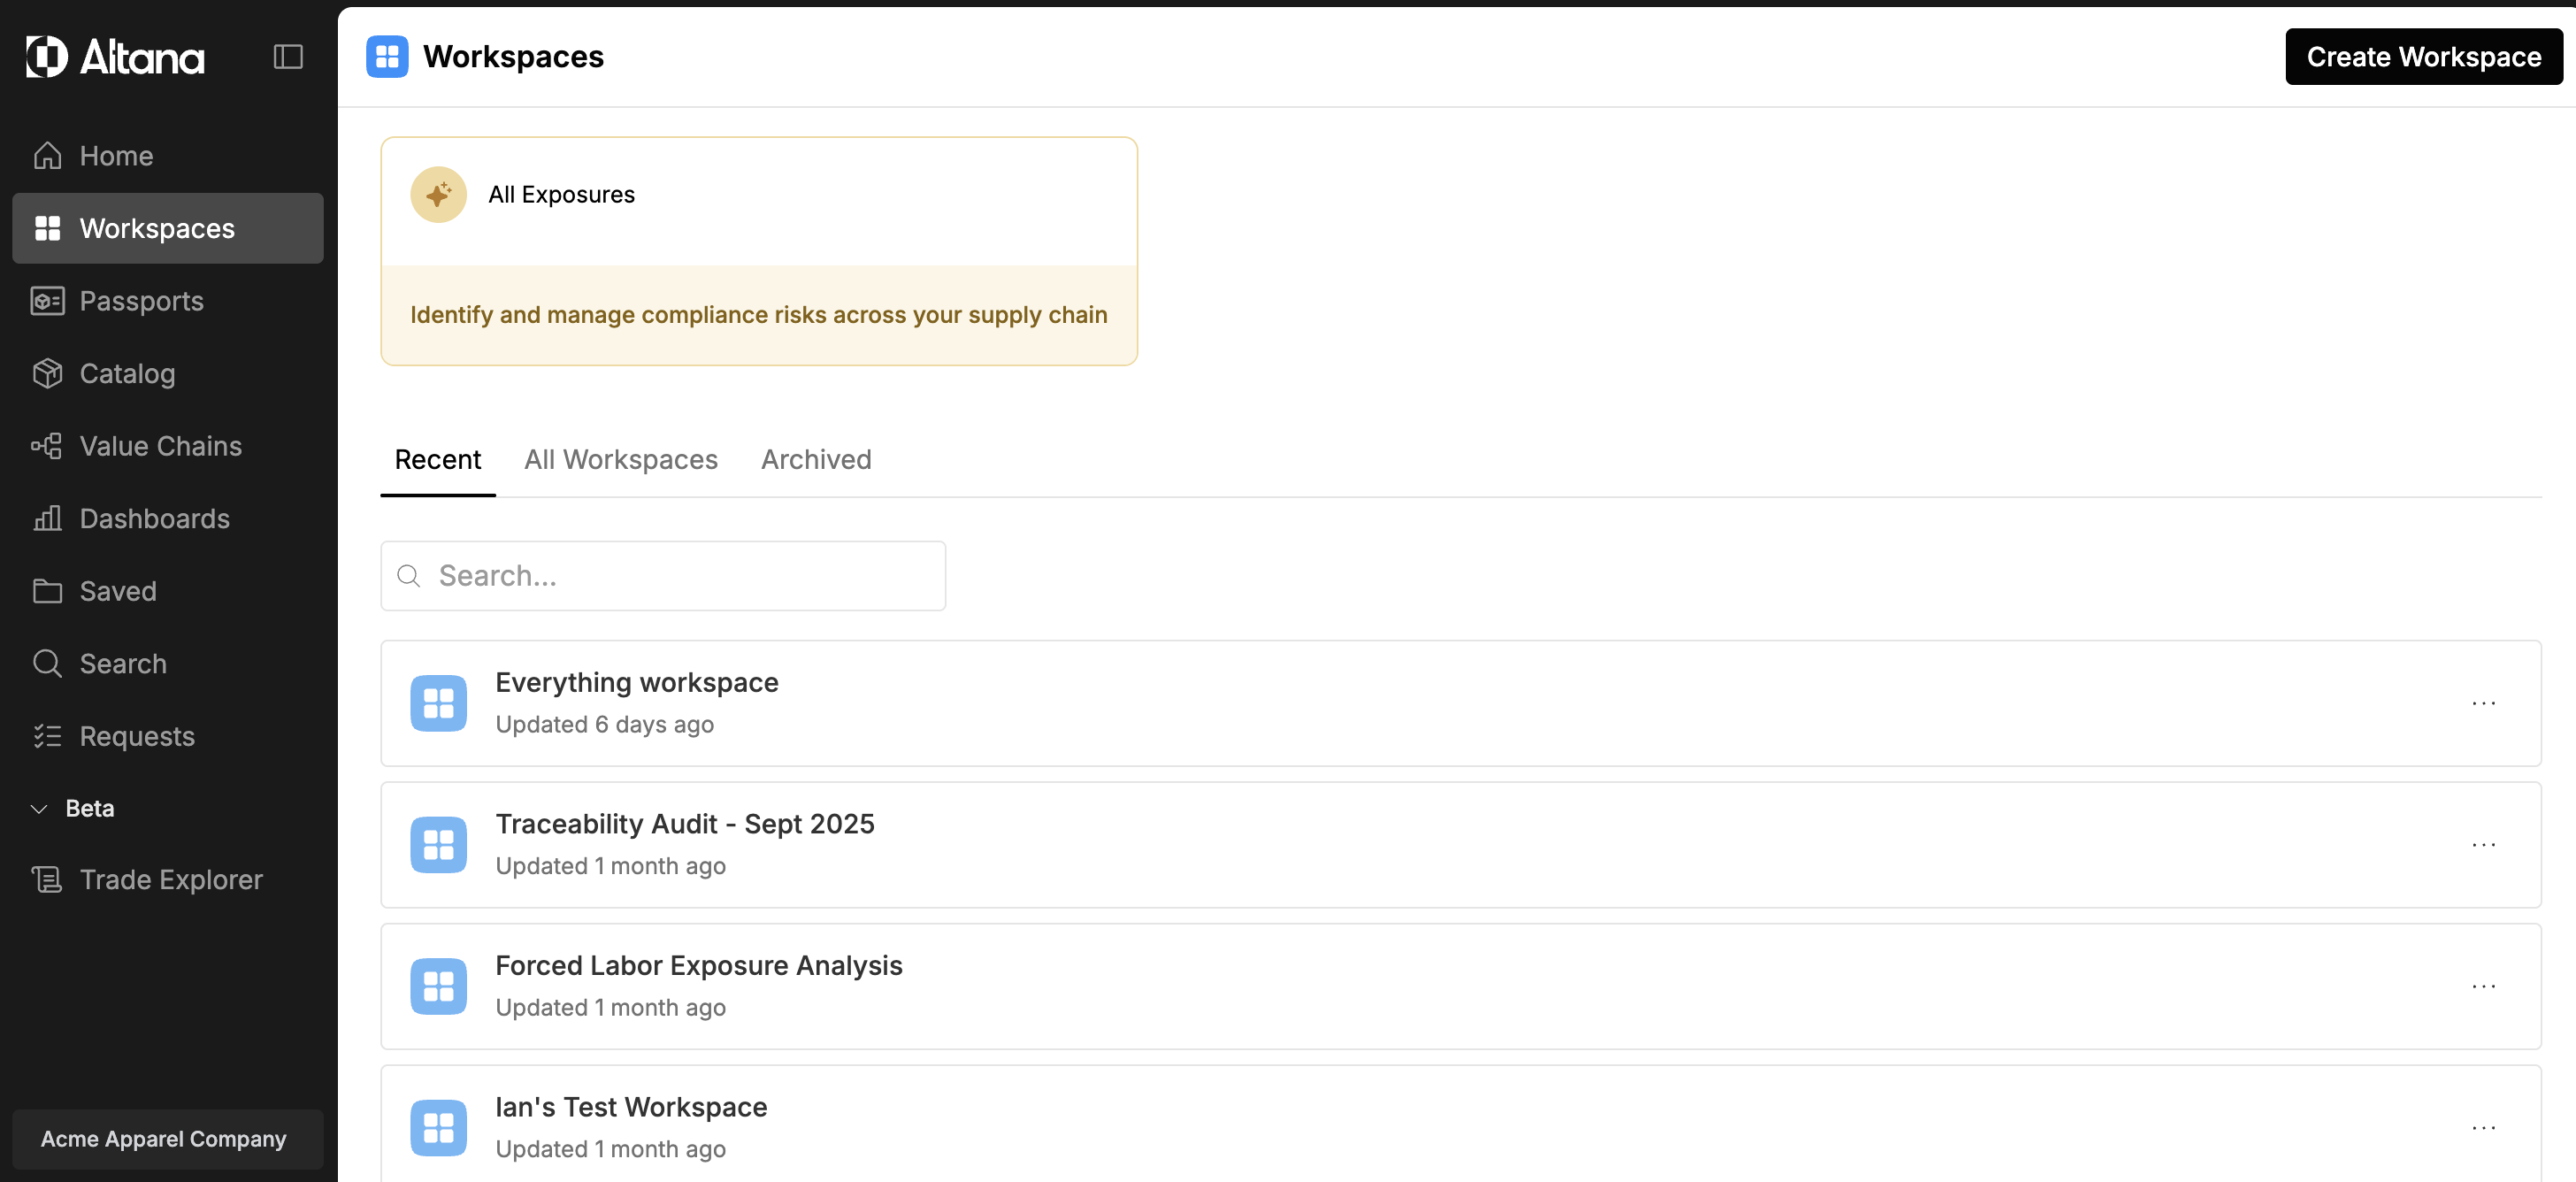
Opening the Apply Lens panel
Inside any workspace, select Add Tab in the tab bar. An Apply Lens side sheet slides open on the right. You can also open this panel for an existing tab by clicking on that tab's name.
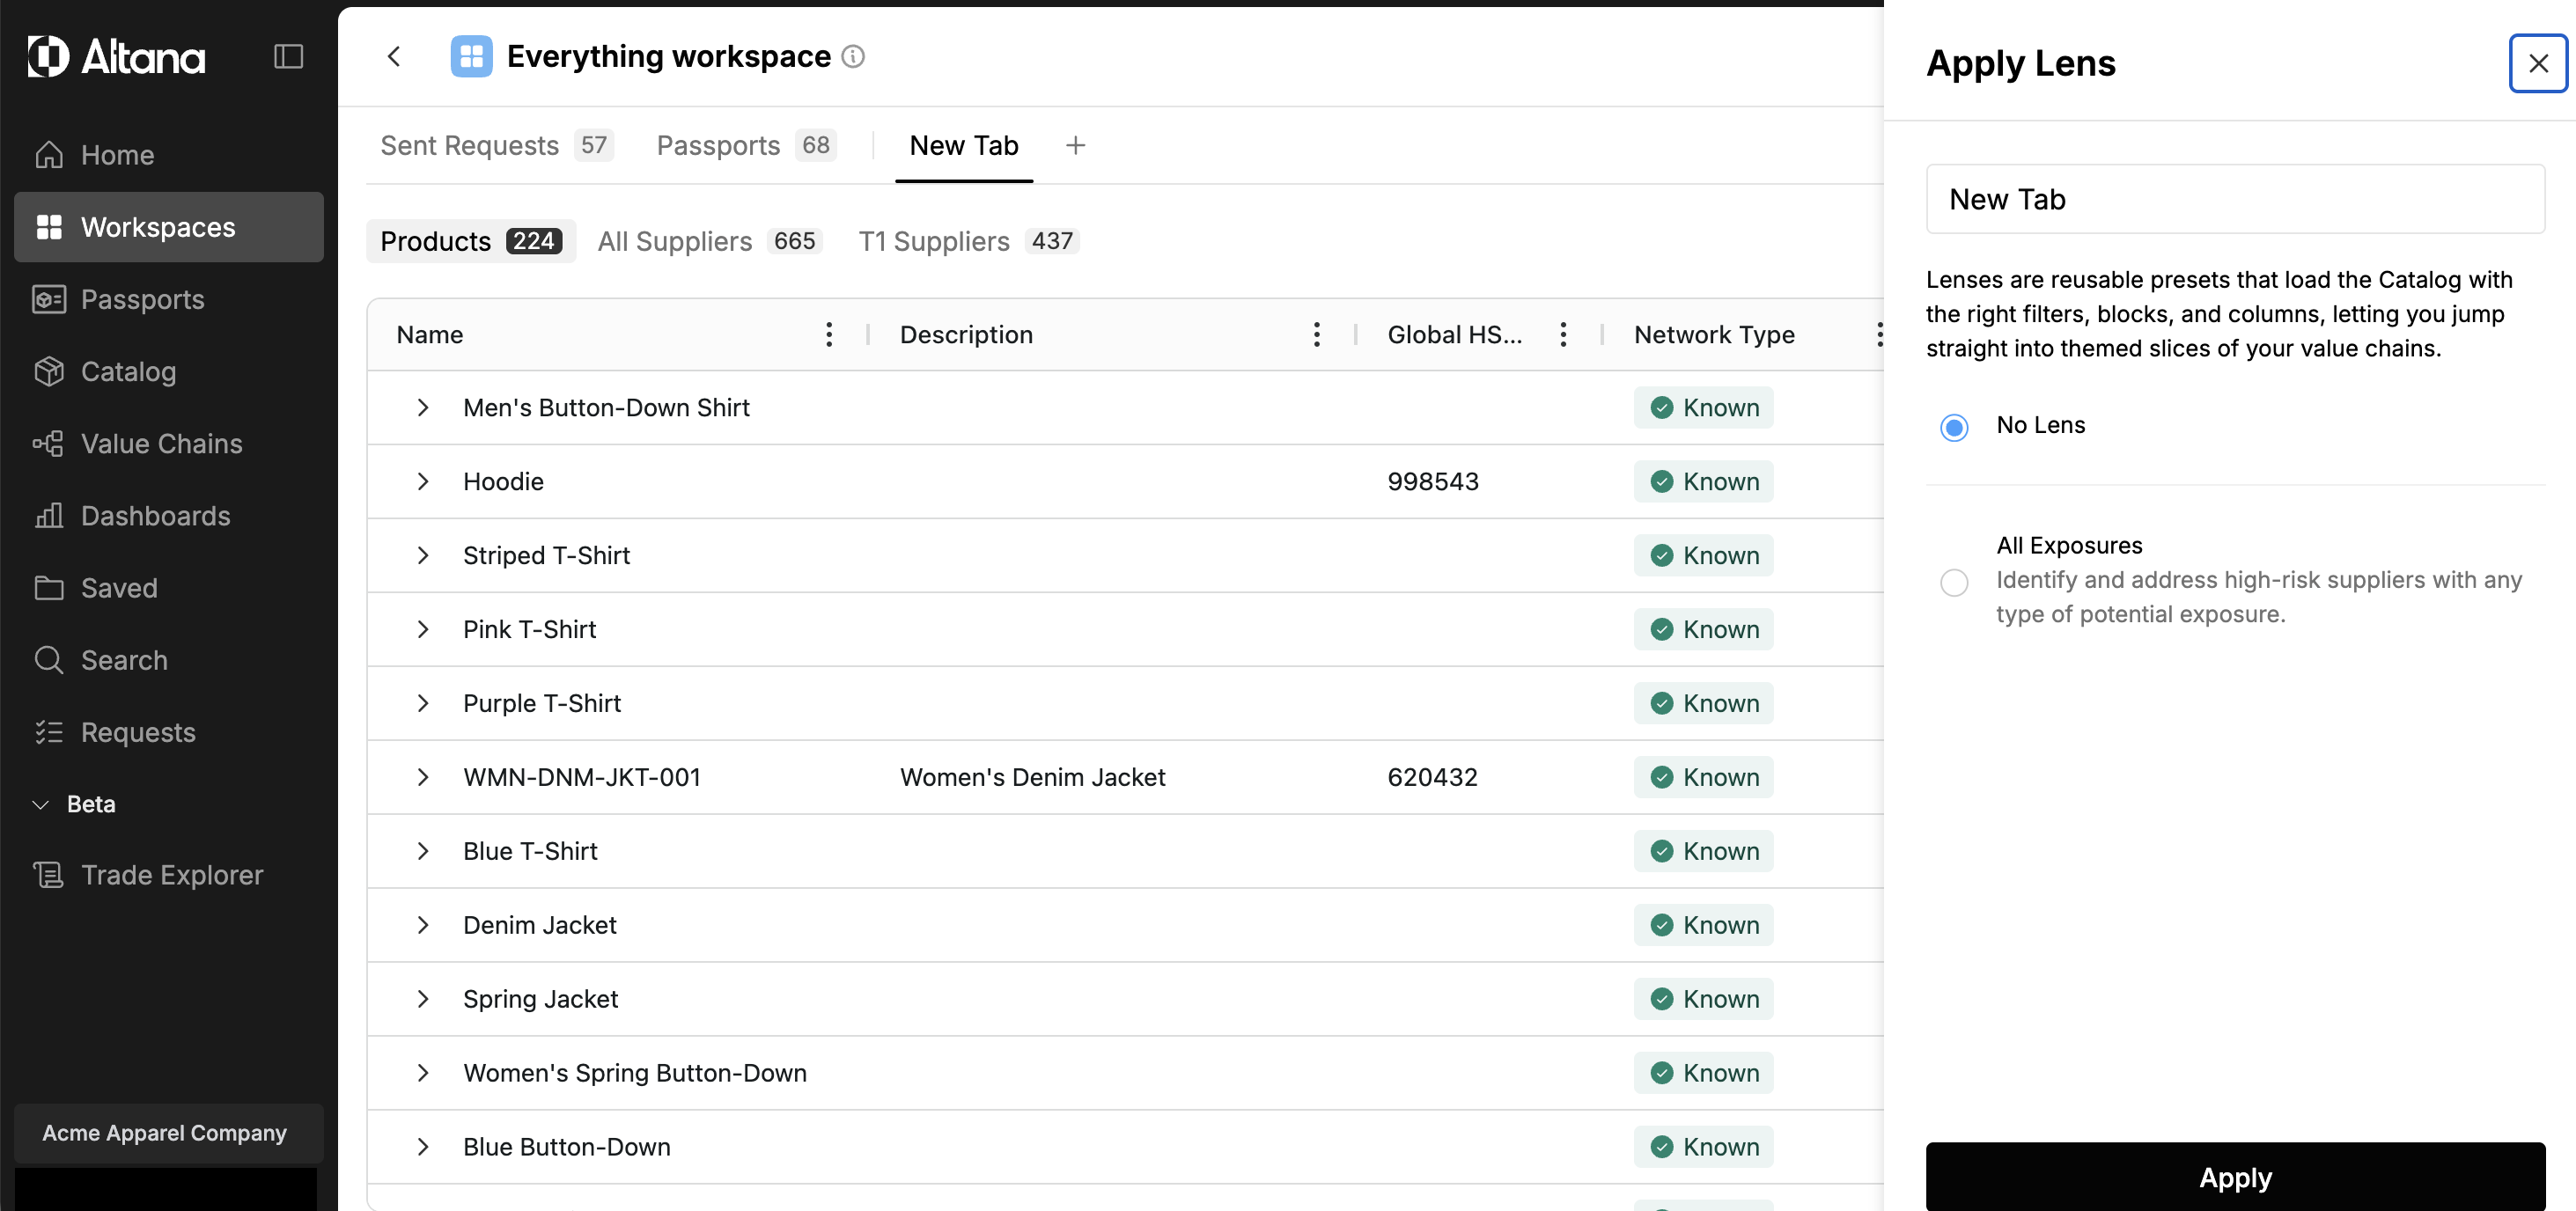
Naming the tab and selecting a lens
In the Tab Name field, enter a label for this tab. Choose something that reflects the lens or the workflow you intend to use it for.
Below the name field, a list of available lenses appears as selectable options. Select one, then click Apply. The tab reloads with the filters, columns, and groupings defined by that lens. Selecting No Lens creates a blank tab showing the full unfiltered product list.
The list includes lenses provisioned for your organization along with any custom lenses saved from a workspace tab. To build your own — for a workflow such as forced labor screening, country-of-origin review, or supplier status tracking — see Creating Custom Lenses (From Existing Lens).
Working within a lens tab
Once a lens is applied, the tab shows the workspace data filtered and arranged according to that preset. Use Filters, Columns, and Groups to make additional adjustments within the tab. These in-tab changes do not alter the underlying lens definition; they apply only to your current session view.
Switch between tabs by clicking their names in the tab bar. Each tab maintains its own lens, filters, and column layout independently.
Changing or removing a lens
To change the lens on an existing tab, click the tab name to reopen the Apply Lens side sheet. Select a different lens and click Apply. To remove the lens without deleting the tab, select No Lens and click Apply.
Related
- Creating a Workspace — how to create a workspace from the Product Catalog.
- Creating Custom Lenses (From Existing Lens) — how to save a tab's filters and charts as a new lens.
- Creating Custom Lenses (Admin) — building a lens from scratch in the admin lens builder.
- Navigating the Catalog — finding products and reading product records.
- Conducting Risk Exposure Assessments — using a workspace to review product exposures.