Entity Risk Screening Overview
Protect Your Products from Sanctioned Entities
Continuously detect risk and monitor new exposures across your multi-tier value chains with Altana’s Product Network.
Pinpoint risk exposure and precisely locate where sanctioned entities enter your client's value chain.
In this article, you'll learn how to use the new expanded entity risk screening functionality. This feature allows you to screen for various types of risks, including Forced Labor, Anti Money Laundering, and Denied Parties.
Step 1: Upload your transactions. Make sure that the toggle for Anti-Money Laundering and Denied Parties is on.
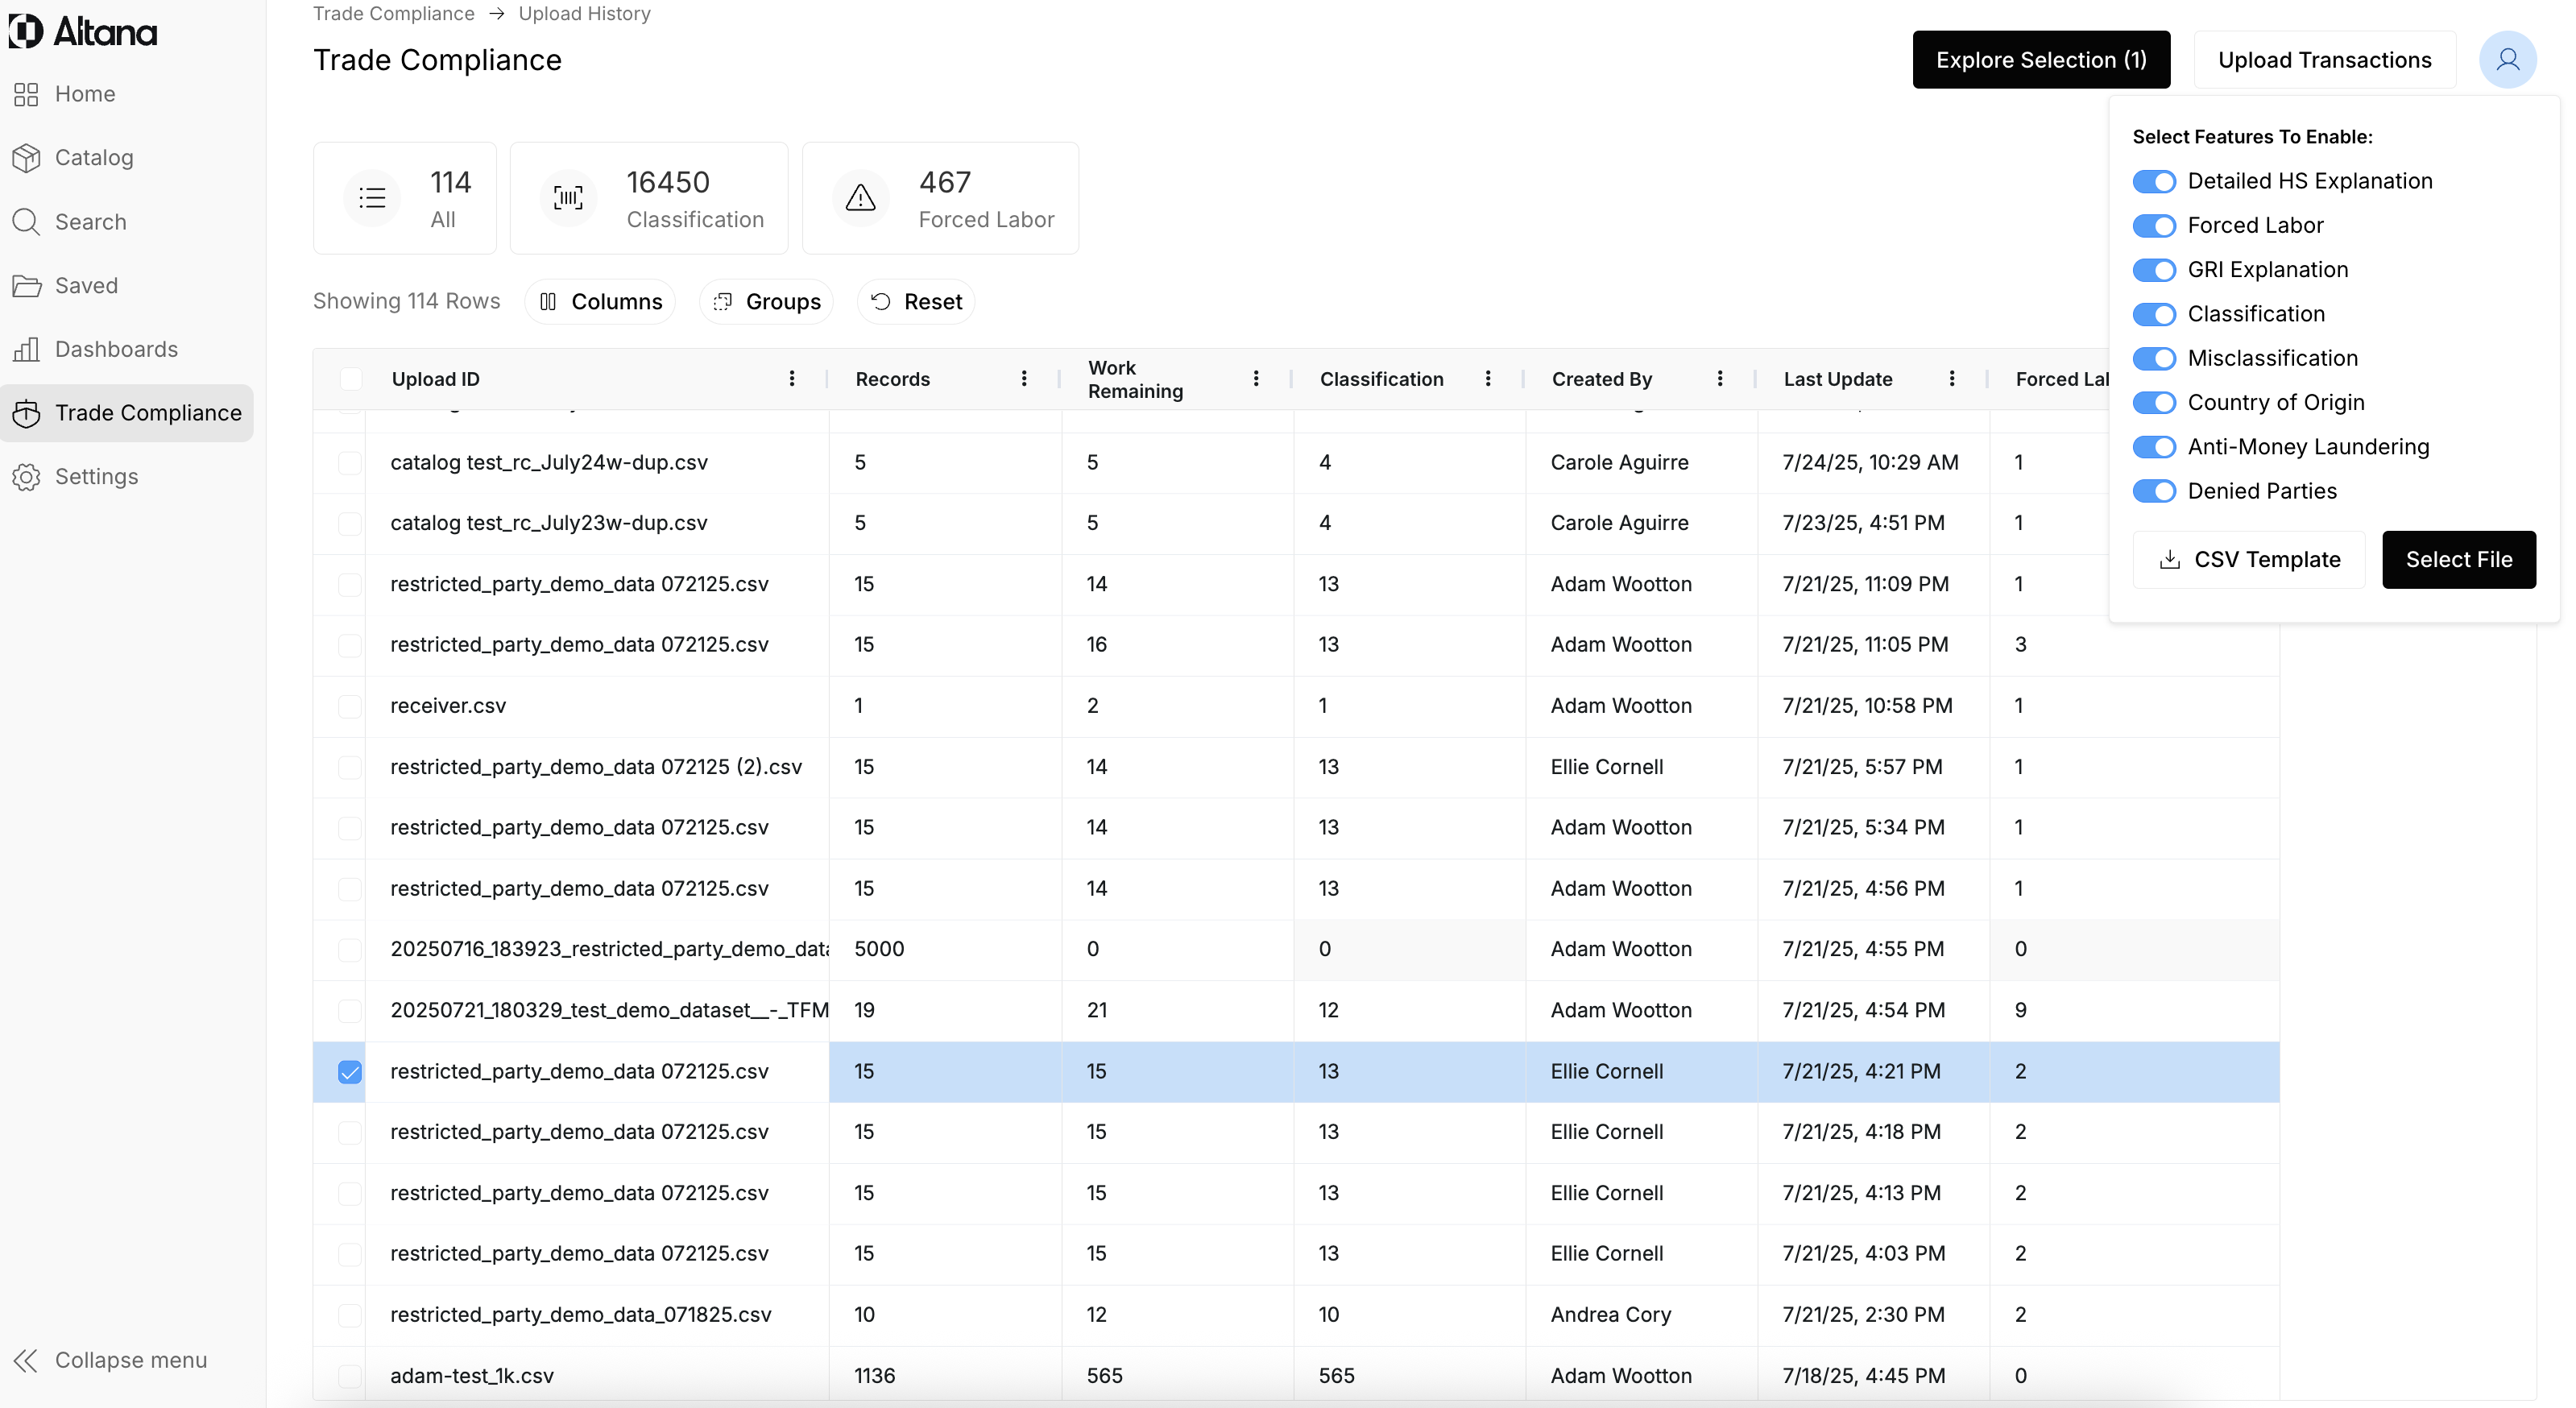
Step 2: Navigate to the entity risk screening tab. After you upload your transaction, click Explore Selection. Then, navigate to the Entity Risk Screening filter. Then, you are able to see all of your exposures across Forced Labor, Anti-Money Laundering, and Denied Parties.

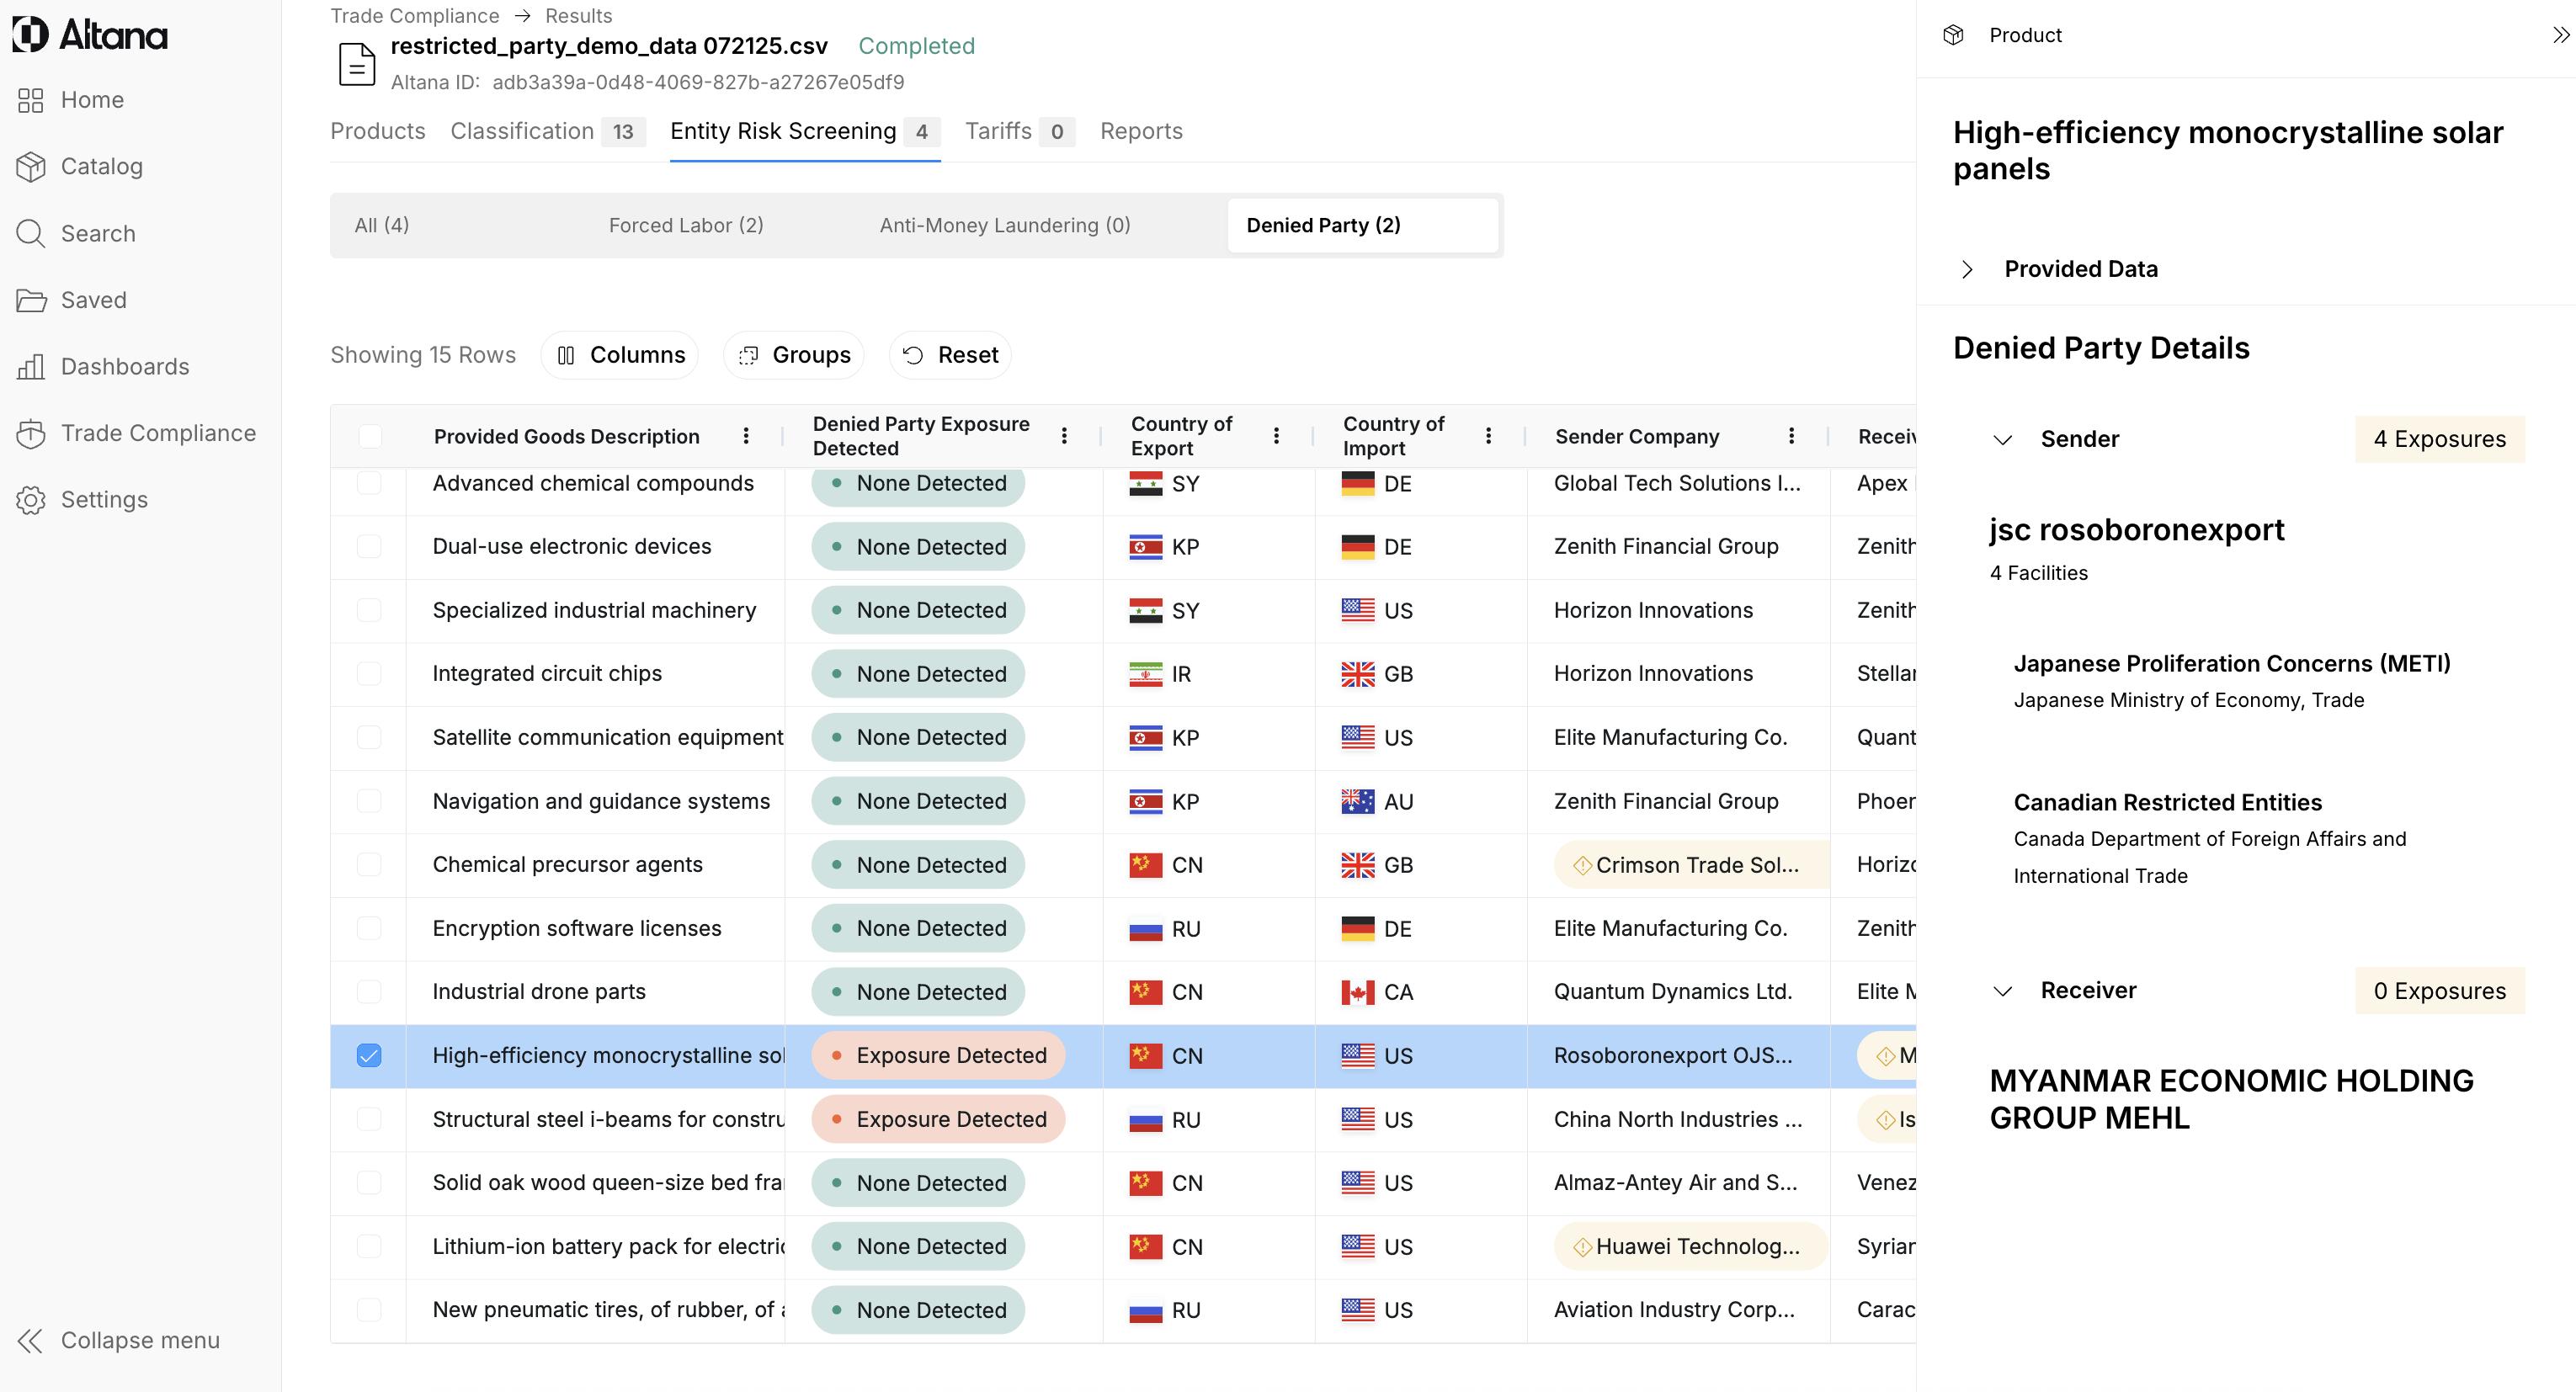
Step 3: In this example, we're focusing on Denied Party exposures. To investigate one, click the red pill. A modal will appear on the right side of your screen, showing which facilities are exposed and the restricted entity lists involved.
Unlike Forced Labor and Anti-Money Laundering, which trace exposures through the upstream value chain, Denied Party screening is limited to the sender and receiver. This also supports export control screening. For each flagged party, you’ll see the specific list and issuing authority they were matched against.
Step 5: To create a report of these findings, select the item and click on Export selected as a CSV. This will give you a file of the findings with all the column headers. Alternatively, you can export it as a PDF.
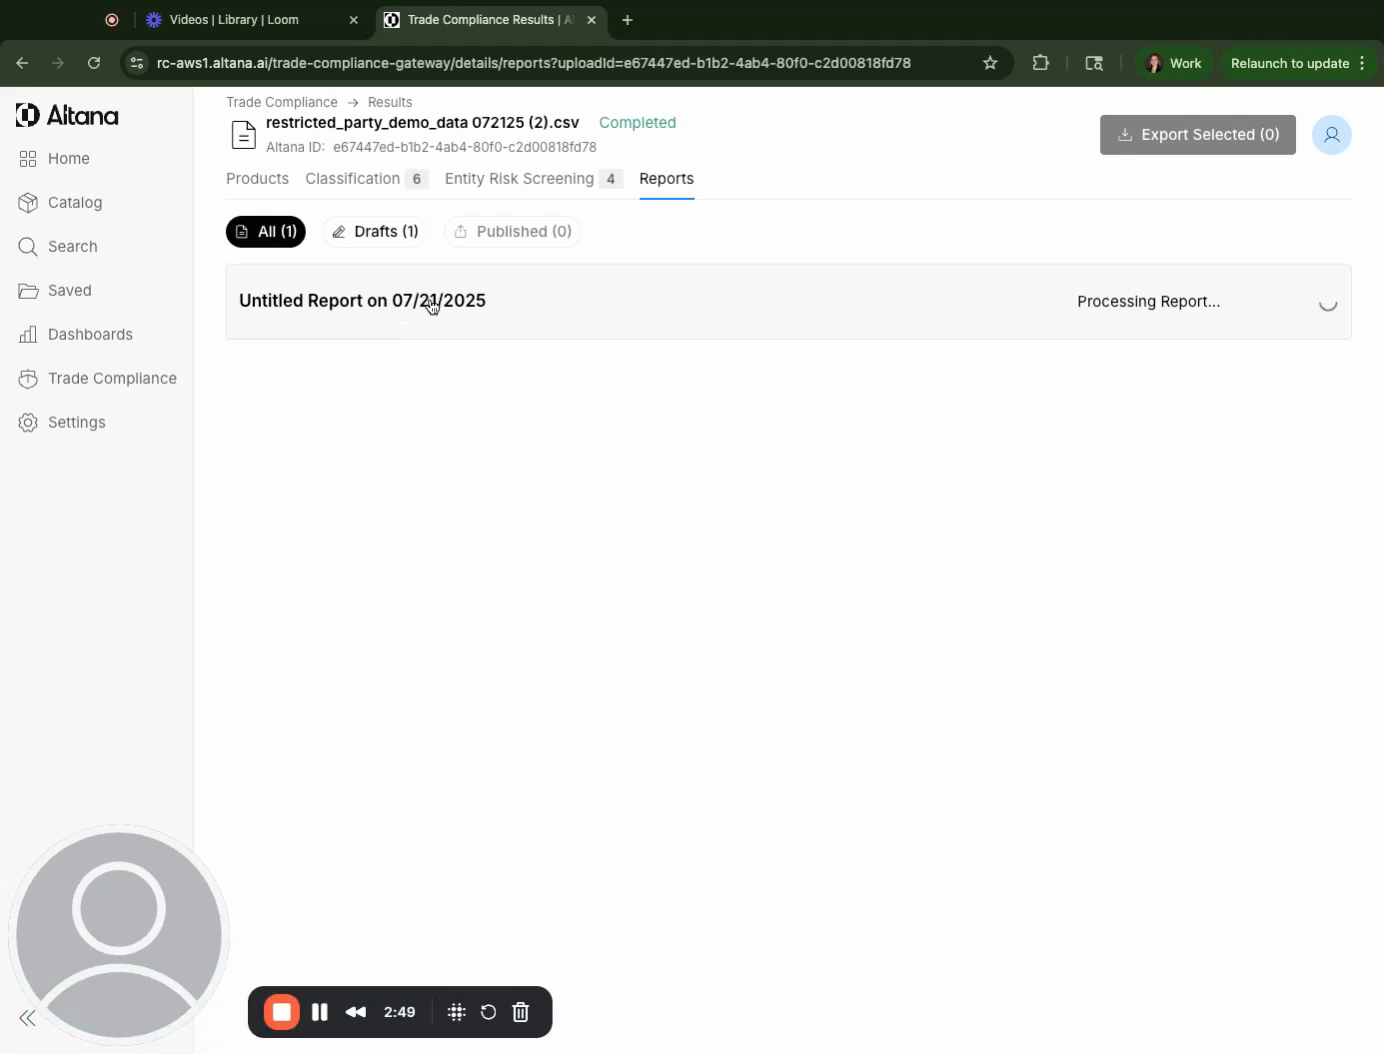
Step 6: You can rename and configure the report. By default, the report will include all types of exposures. However, you can configure it to exclude certain findings.
Reading the AML/DPS Report:
When you click into the "Anti-Money Laundering" sub-tab, you'll see a "Restricted Party Exposures" table with the following new columns:
AML Exposure: This column will indicate the nature of the exposure with values of "Direct," "Indirect," or "Not Detected".
Direct Exposure: This means the entity is named directly on one of the lists being screened, and it adds 10 points to the severity score.
Indirect Exposure: This means the entity has a connection, like a sibling company relationship, to a company with operations in a high-risk area (similar to the forced labor context). For AML, an indirect exposure adds 3 points to the severity score.
AML Exposure Tier: This traces the value chain of the good, following the same logic as the forced labor screening. The closer the risk is to the importer, the higher the risk and severity.
Tier 1: 10 points
Tier 2: 5 points
Tier 3+: 3 points
AML Exposure Severity: This score, reflected as "High," "Medium," or "Low," helps assess the severity and impact of the AML risk. The severity is determined by criteria like exposure directness, tier, and date of shipments.
High Impact: Transactions with 10+ points
Medium Impact: Transactions with 5-10 points
Low Impact: Transactions with <5 points
Date of Shipments: This criterion is important because more recent shipments (those currently crossing the border) are more subject to new legislation.
<3 months: 5 points
3 months - 1 year: 3 points
1 - 1.5 years: 2 points
1.5+ years ago: 1 point
Reading the Denied Party Screening (DPS) Report:
When you click into the "Denied Party screening" sub-tab, the following columns will be populated:
Denied Party Exposure: This will show "Direct," "Indirect," or "Not Detected".
No Tier: Unlike AML or Forced Labor, DPS does not have a tier designation.
No Severity Scoring: DPS also does not have a severity score.
Specific List and Issuing Authority: This section will include the specific list on which the party appeared and the authority that issued that list.
General Report Features for Both AML and DPS:
Filtering: You can filter your view to see specific risk types (Forced Labor, AML, OFAC, etc.), whether an exposure was detected, or the directness of the exposure.
Sidebar Details: Clicking on a flagged value in a column will open a sidebar showing the full matched list name, the entity name match, the source (e.g., OFAC SDN), and the match date and timestamp.
Export Options:
CSV Export: Admin users can generate a CSV export that includes full exposure details for all screening types (Forced Labor + AML/OFAC/etc.). This export will include additional columns for AML Exposure Directness, AML Exposure Tier, AML Exposure Severity, and DPS Exposure Directness.
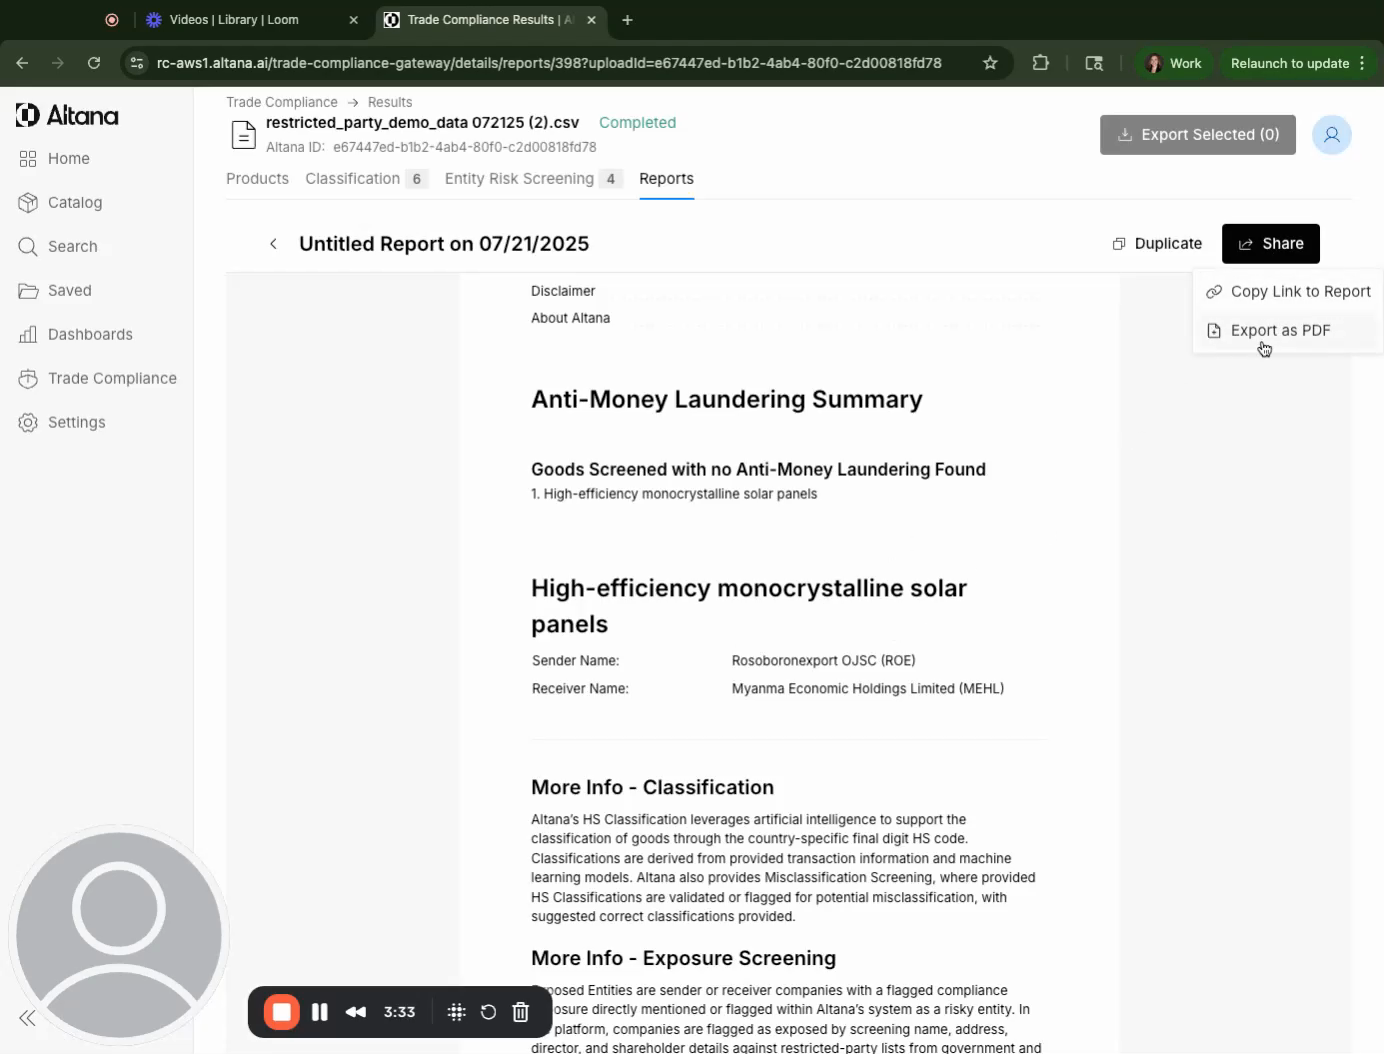
PDF Export: Admin users can also generate PDF reports, which can be configured by a feature flag. Initially, these may be separate reports for Forced Labor, Denied Party Screening, and Anti-Money Laundering, but the goal is to combine them into one comprehensive report.
Exposure Status Update (V1): You will be able to update the status of an exposure to a restricted party with options like "Not Assessed," "In Review," "Escalated," "Not Trusted," "Reviewed," or "Approved".
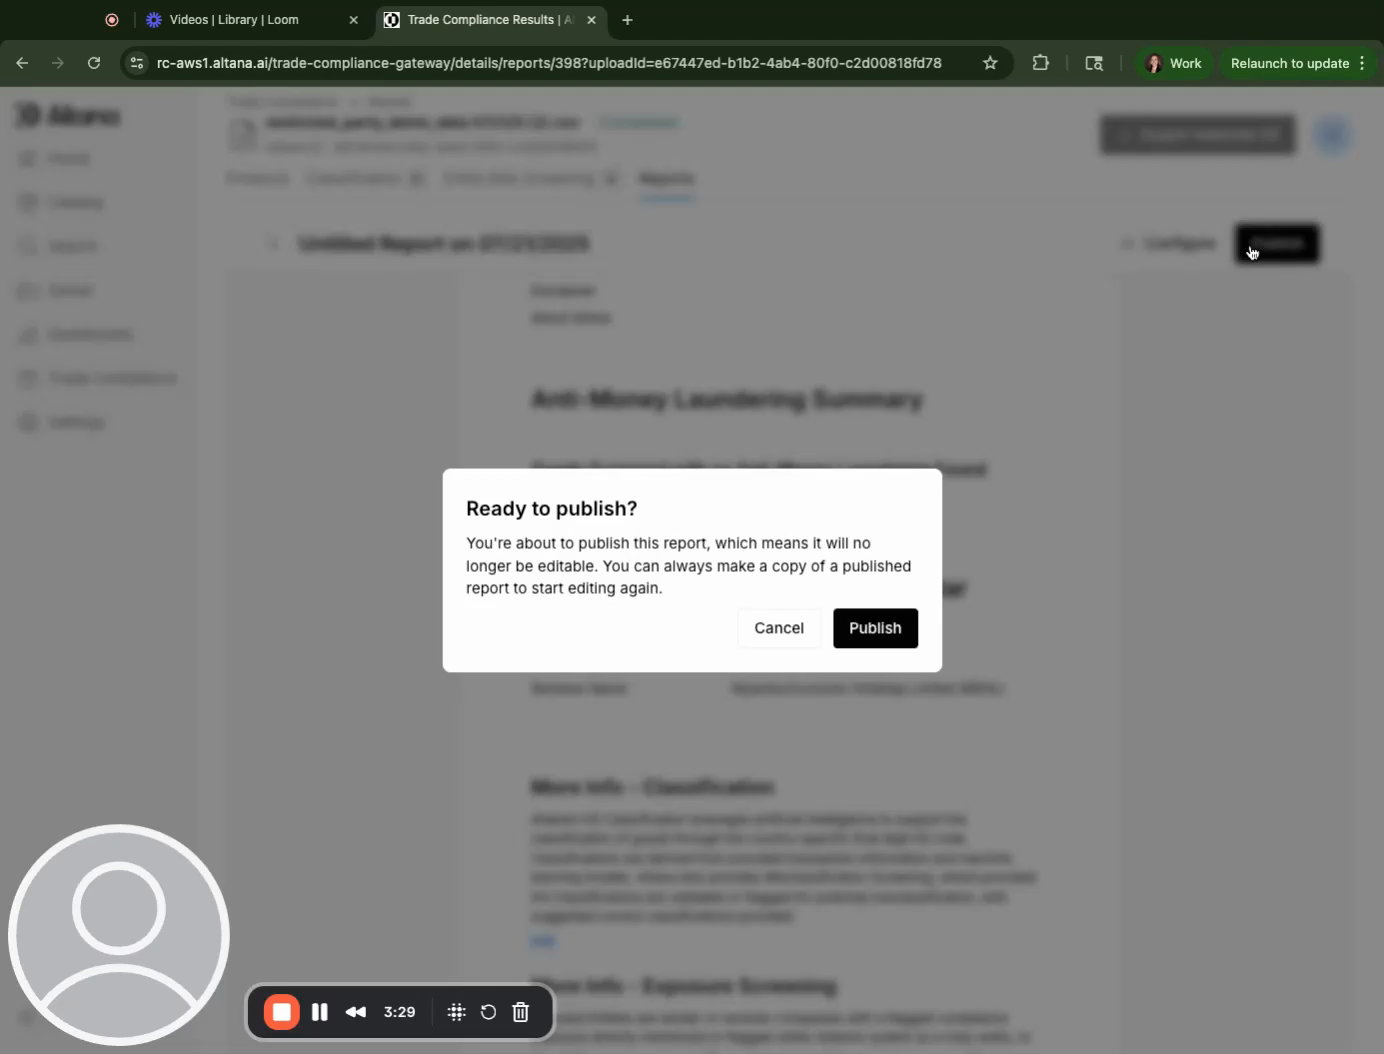
Step 7: Once you're satisfied with the report, you can publish it. You also have the option to share it, export it as a PDF, or copy the link to the report.