Adding Products to Your Catalog Manually
Note: This article only applies to participants in Altana's Product Network Early Access Program. For information about adding Products to our current system, see this article.
In this tutorial, you'll learn how to add products to your catalog in Altana and build a detailed product value chain.
Adding a new product
Step 1: From the Altana home screen, select Products on the left-hand menu.
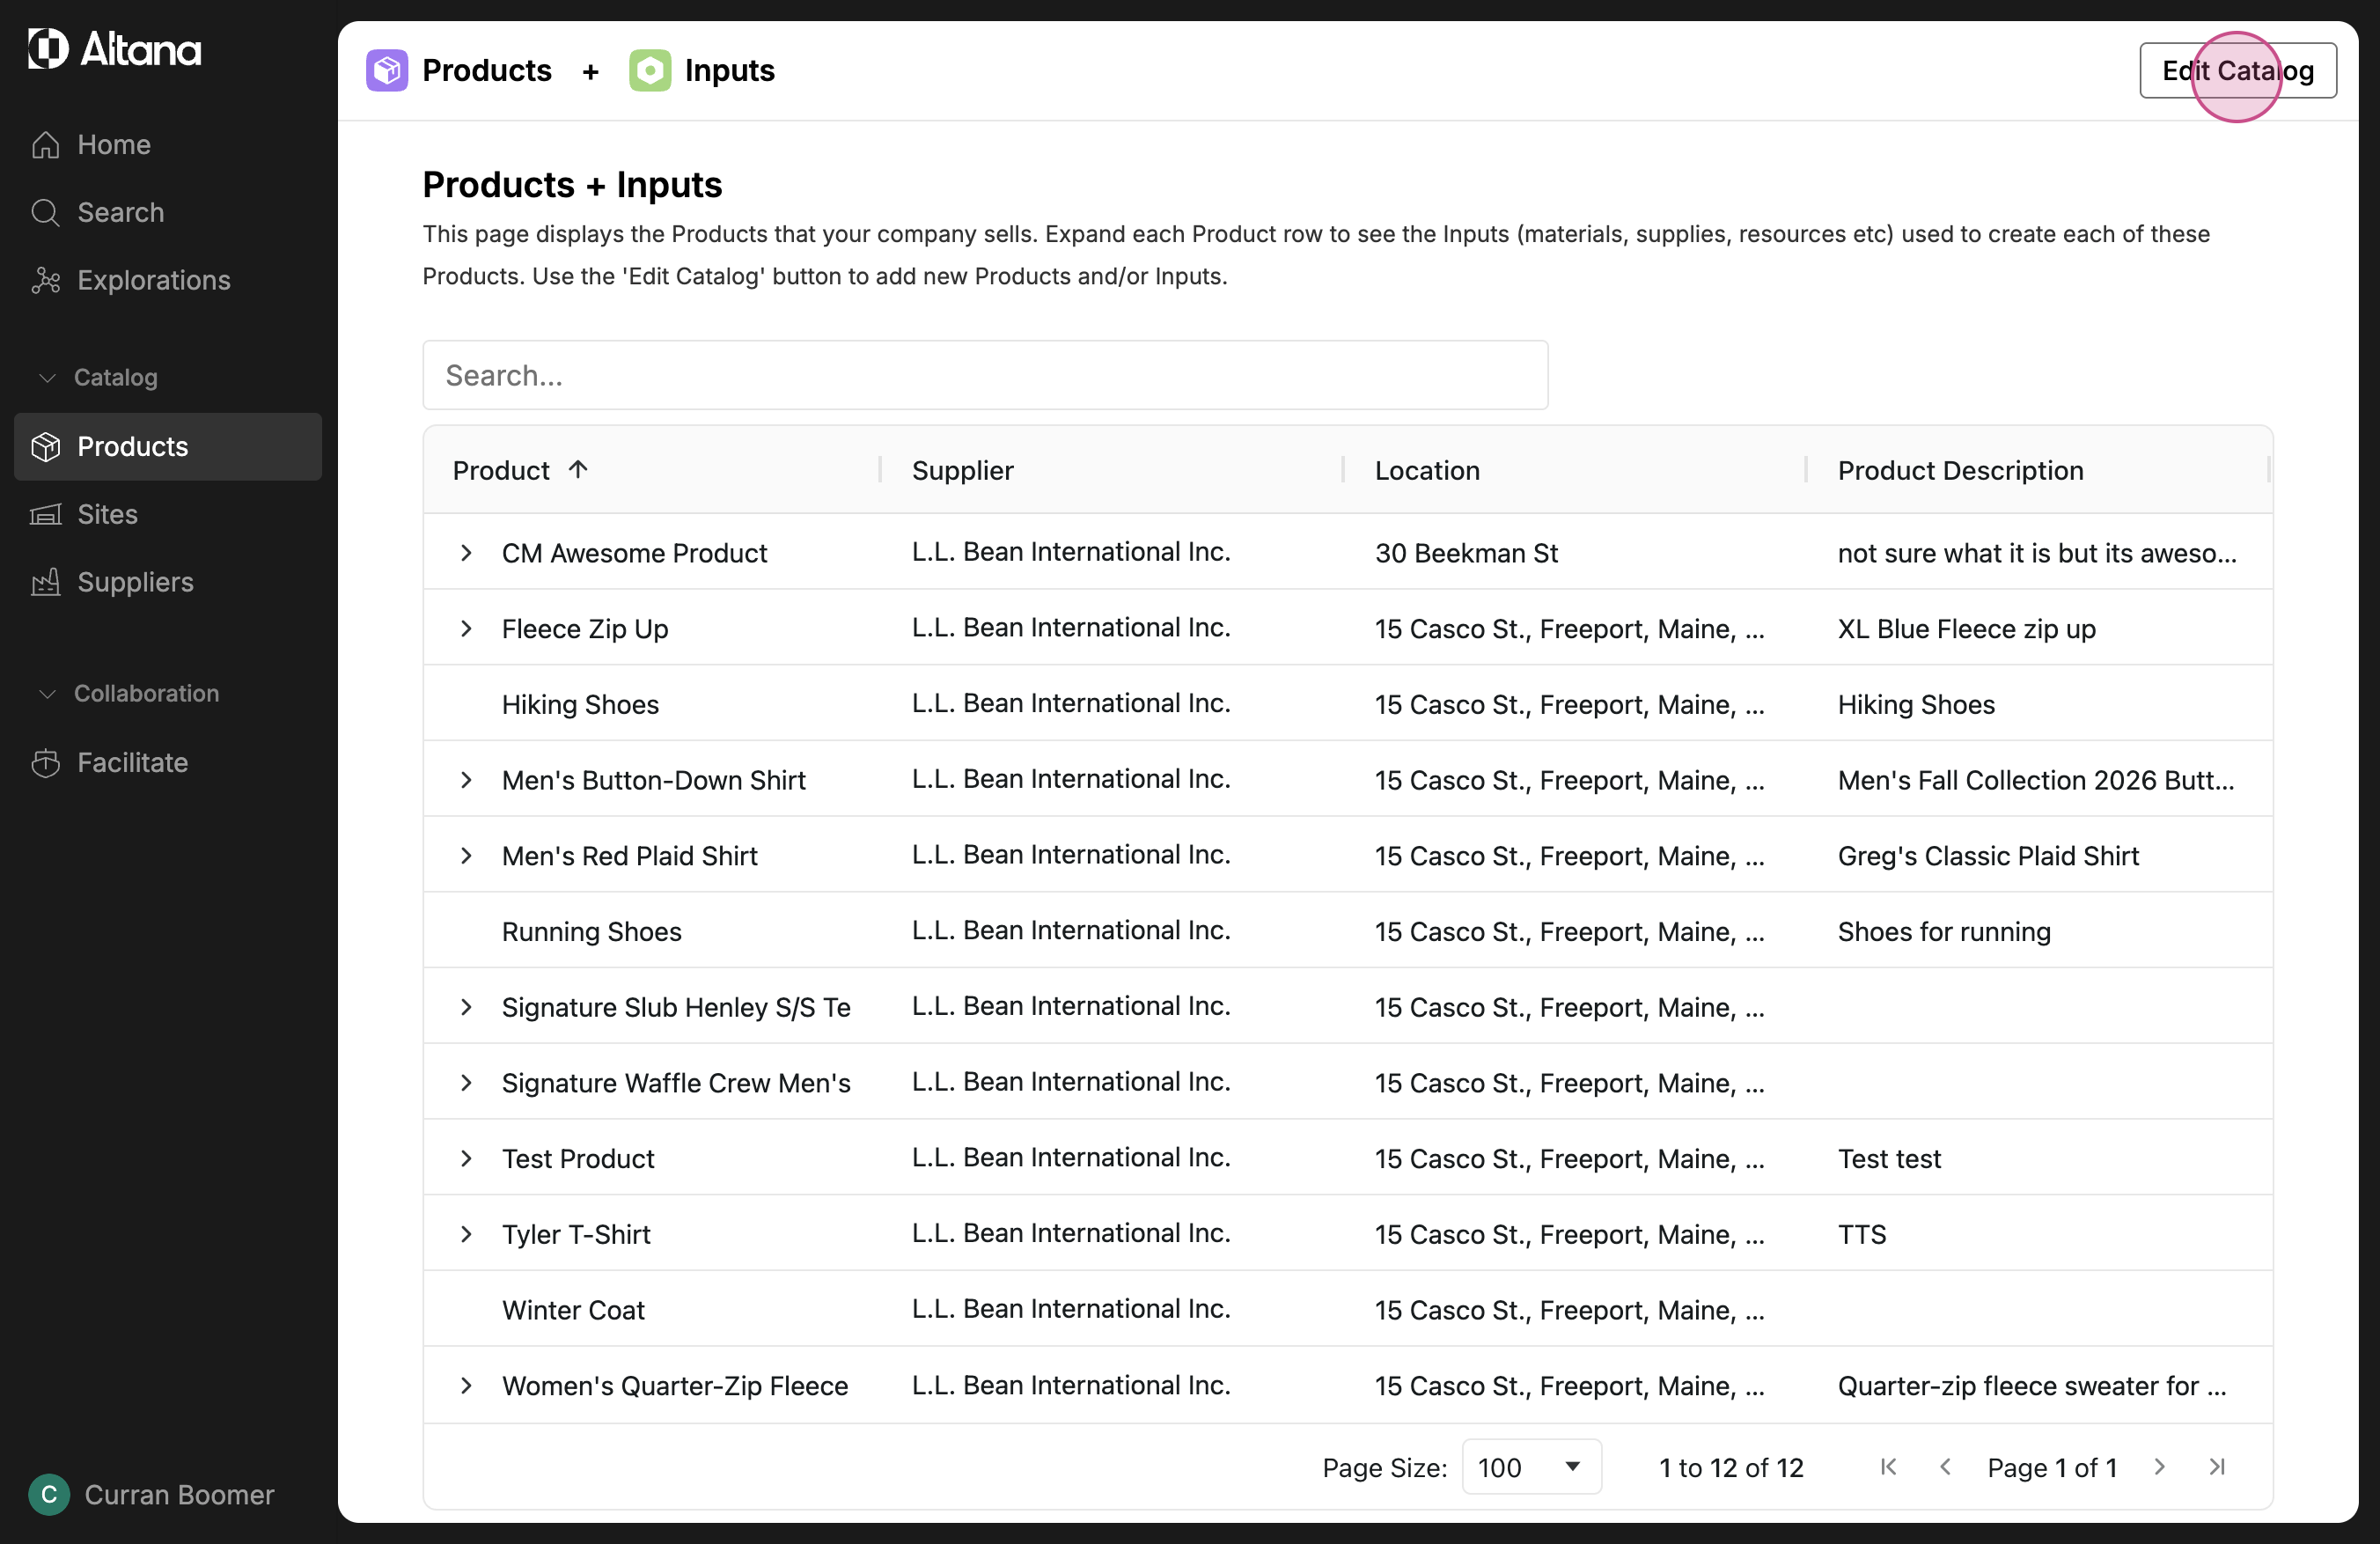
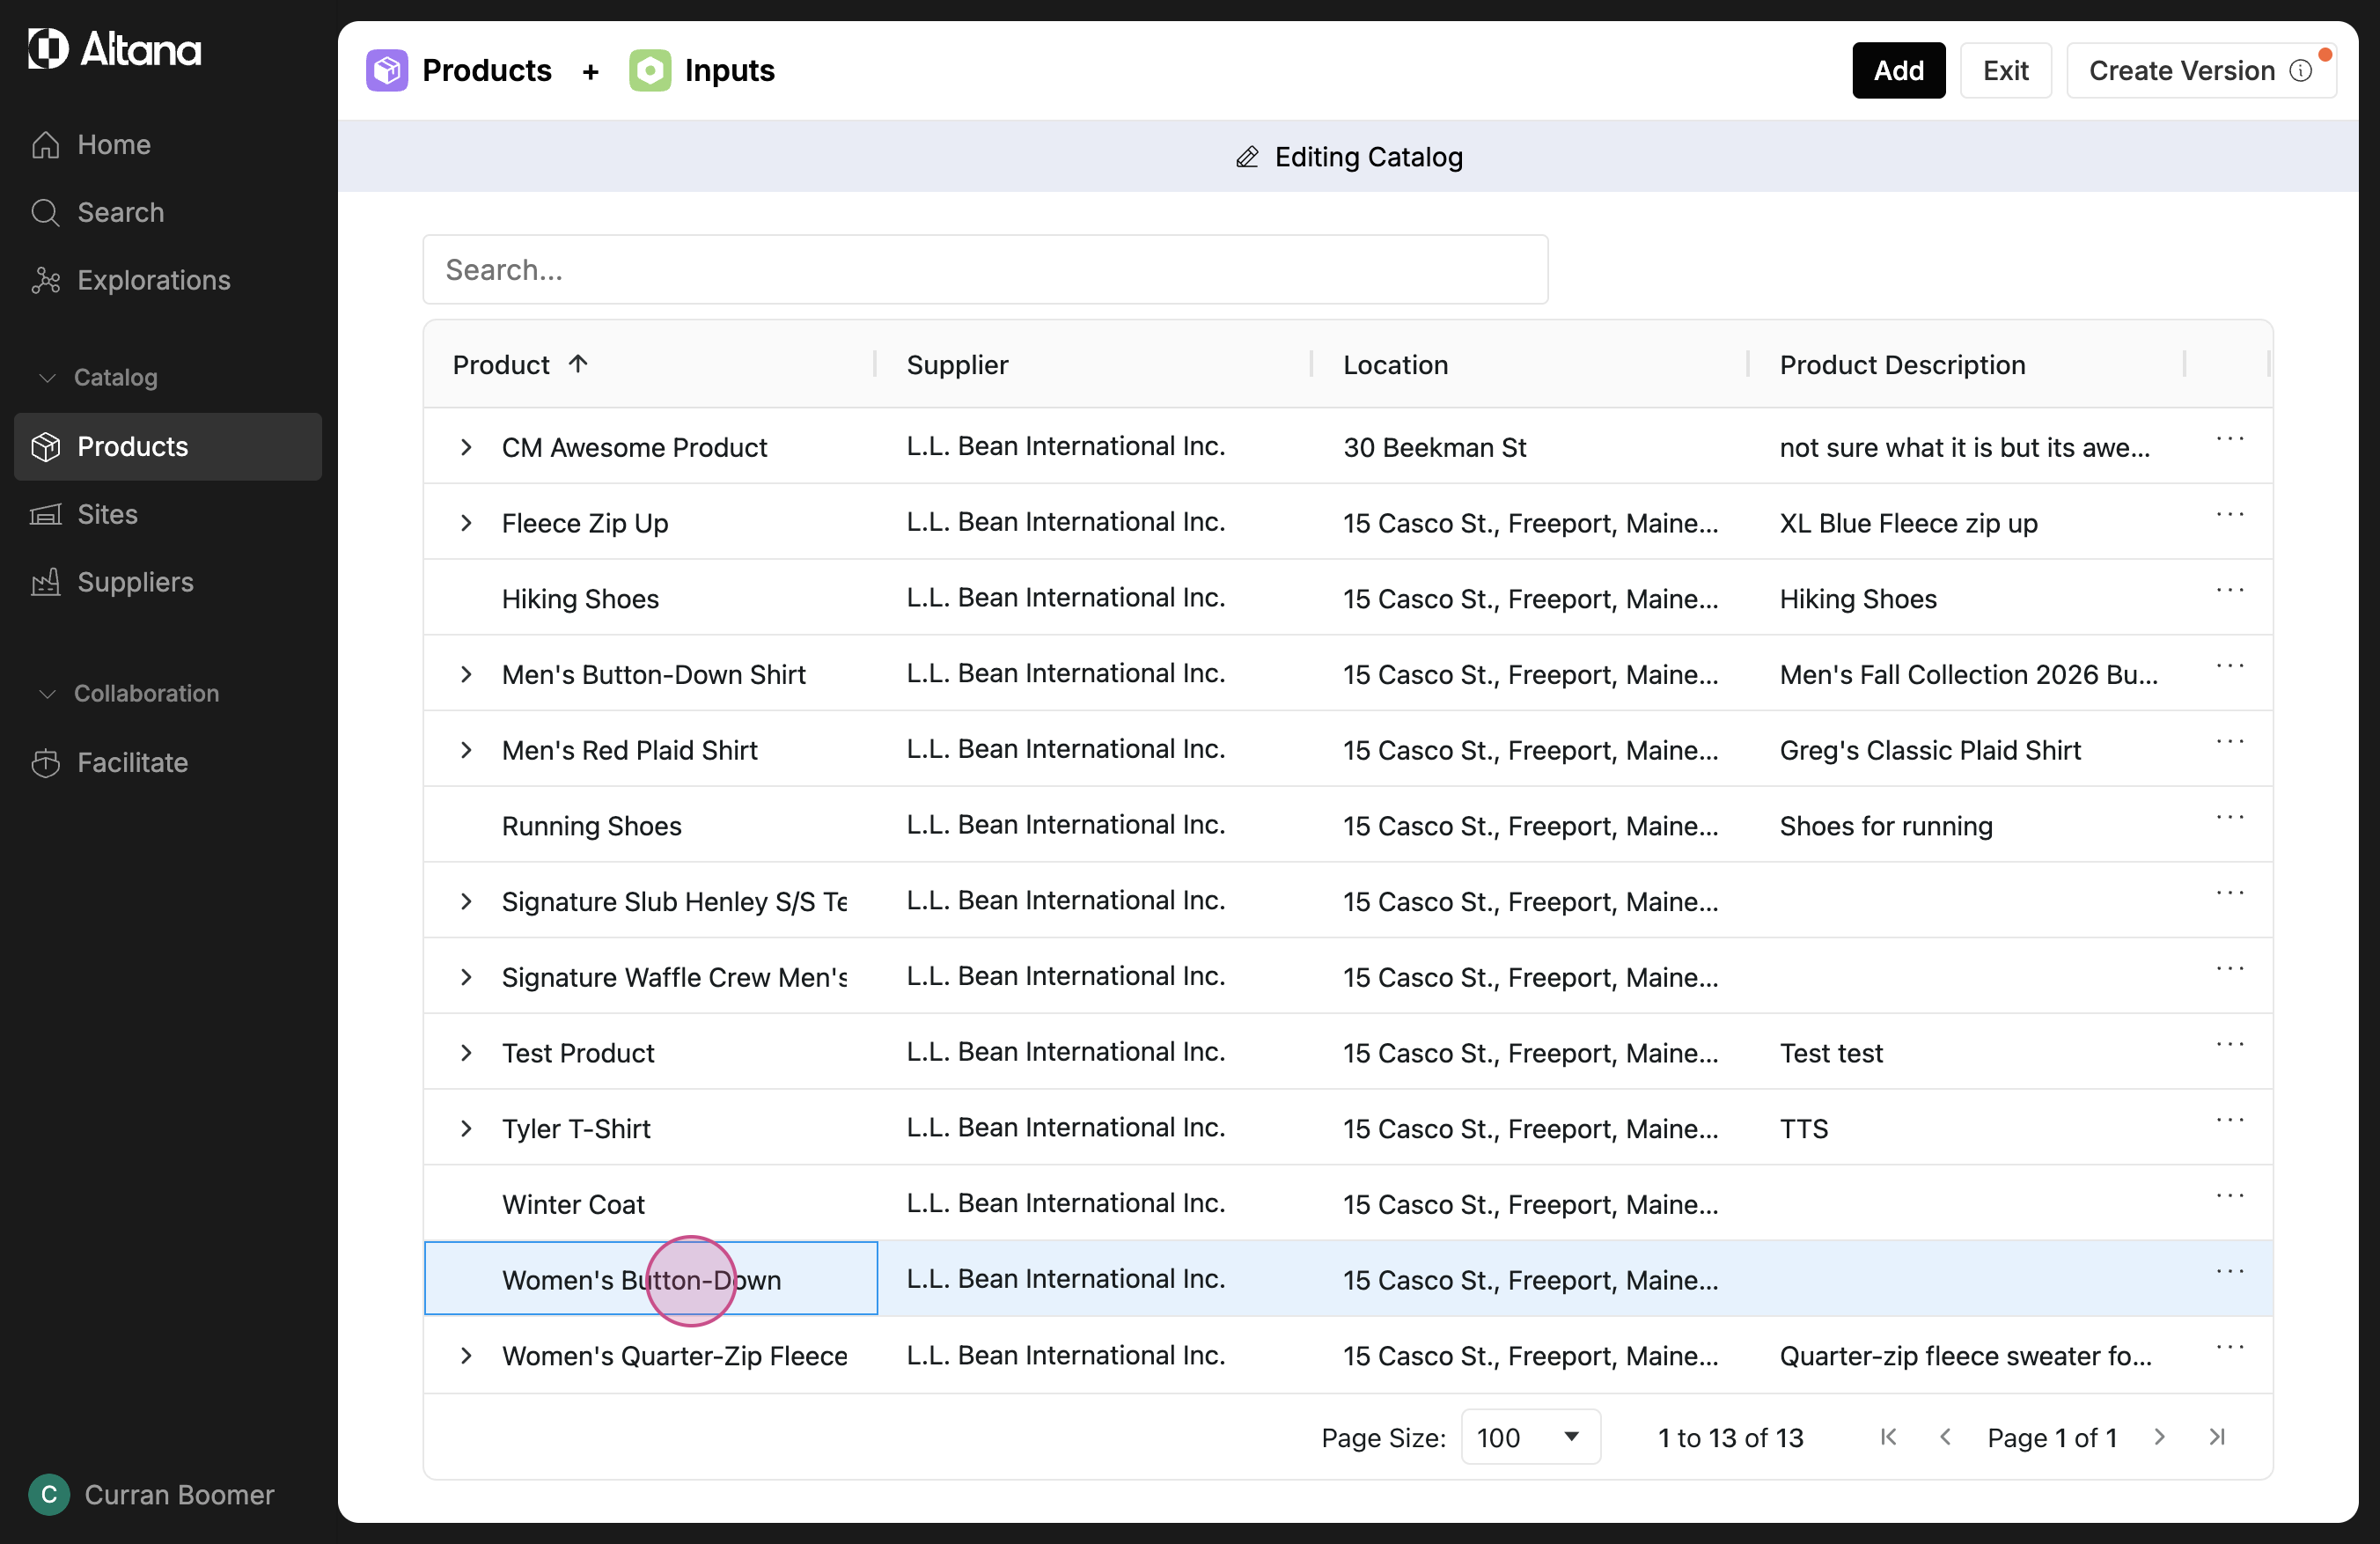
Step 2: You'll see a list of all the products currently in your catalog. To add a new product, select Edit Catalog at the top.
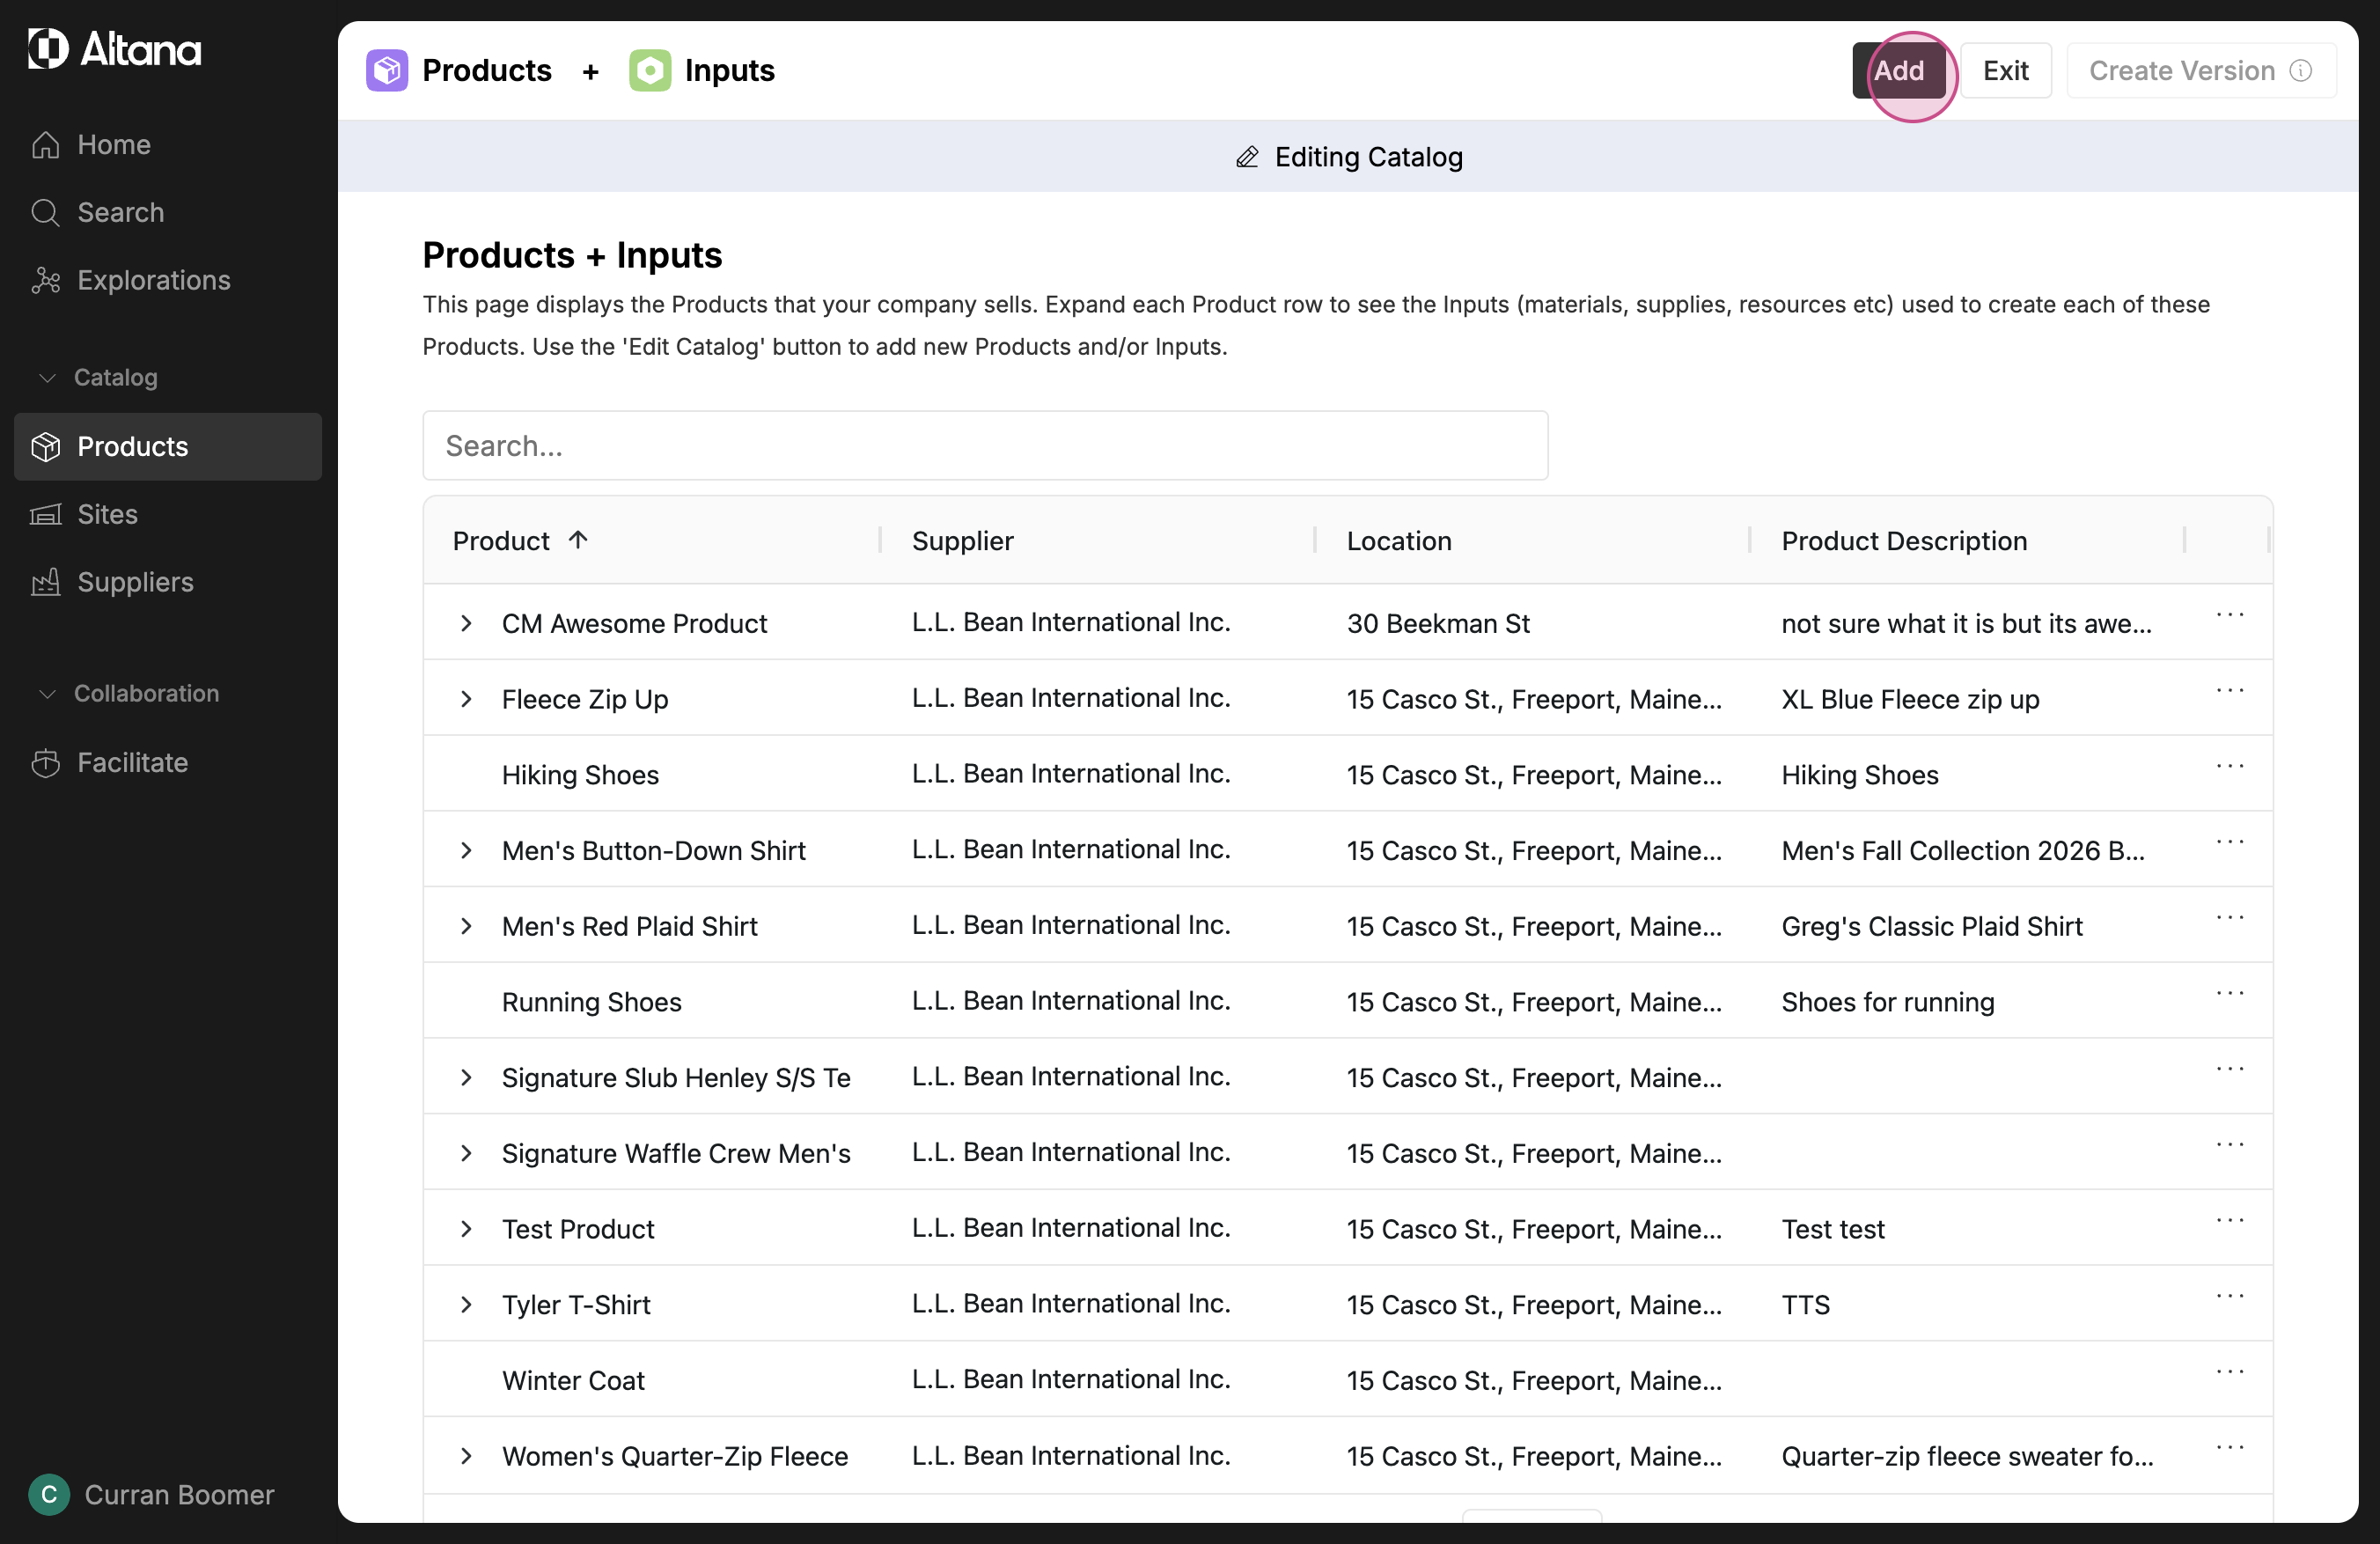
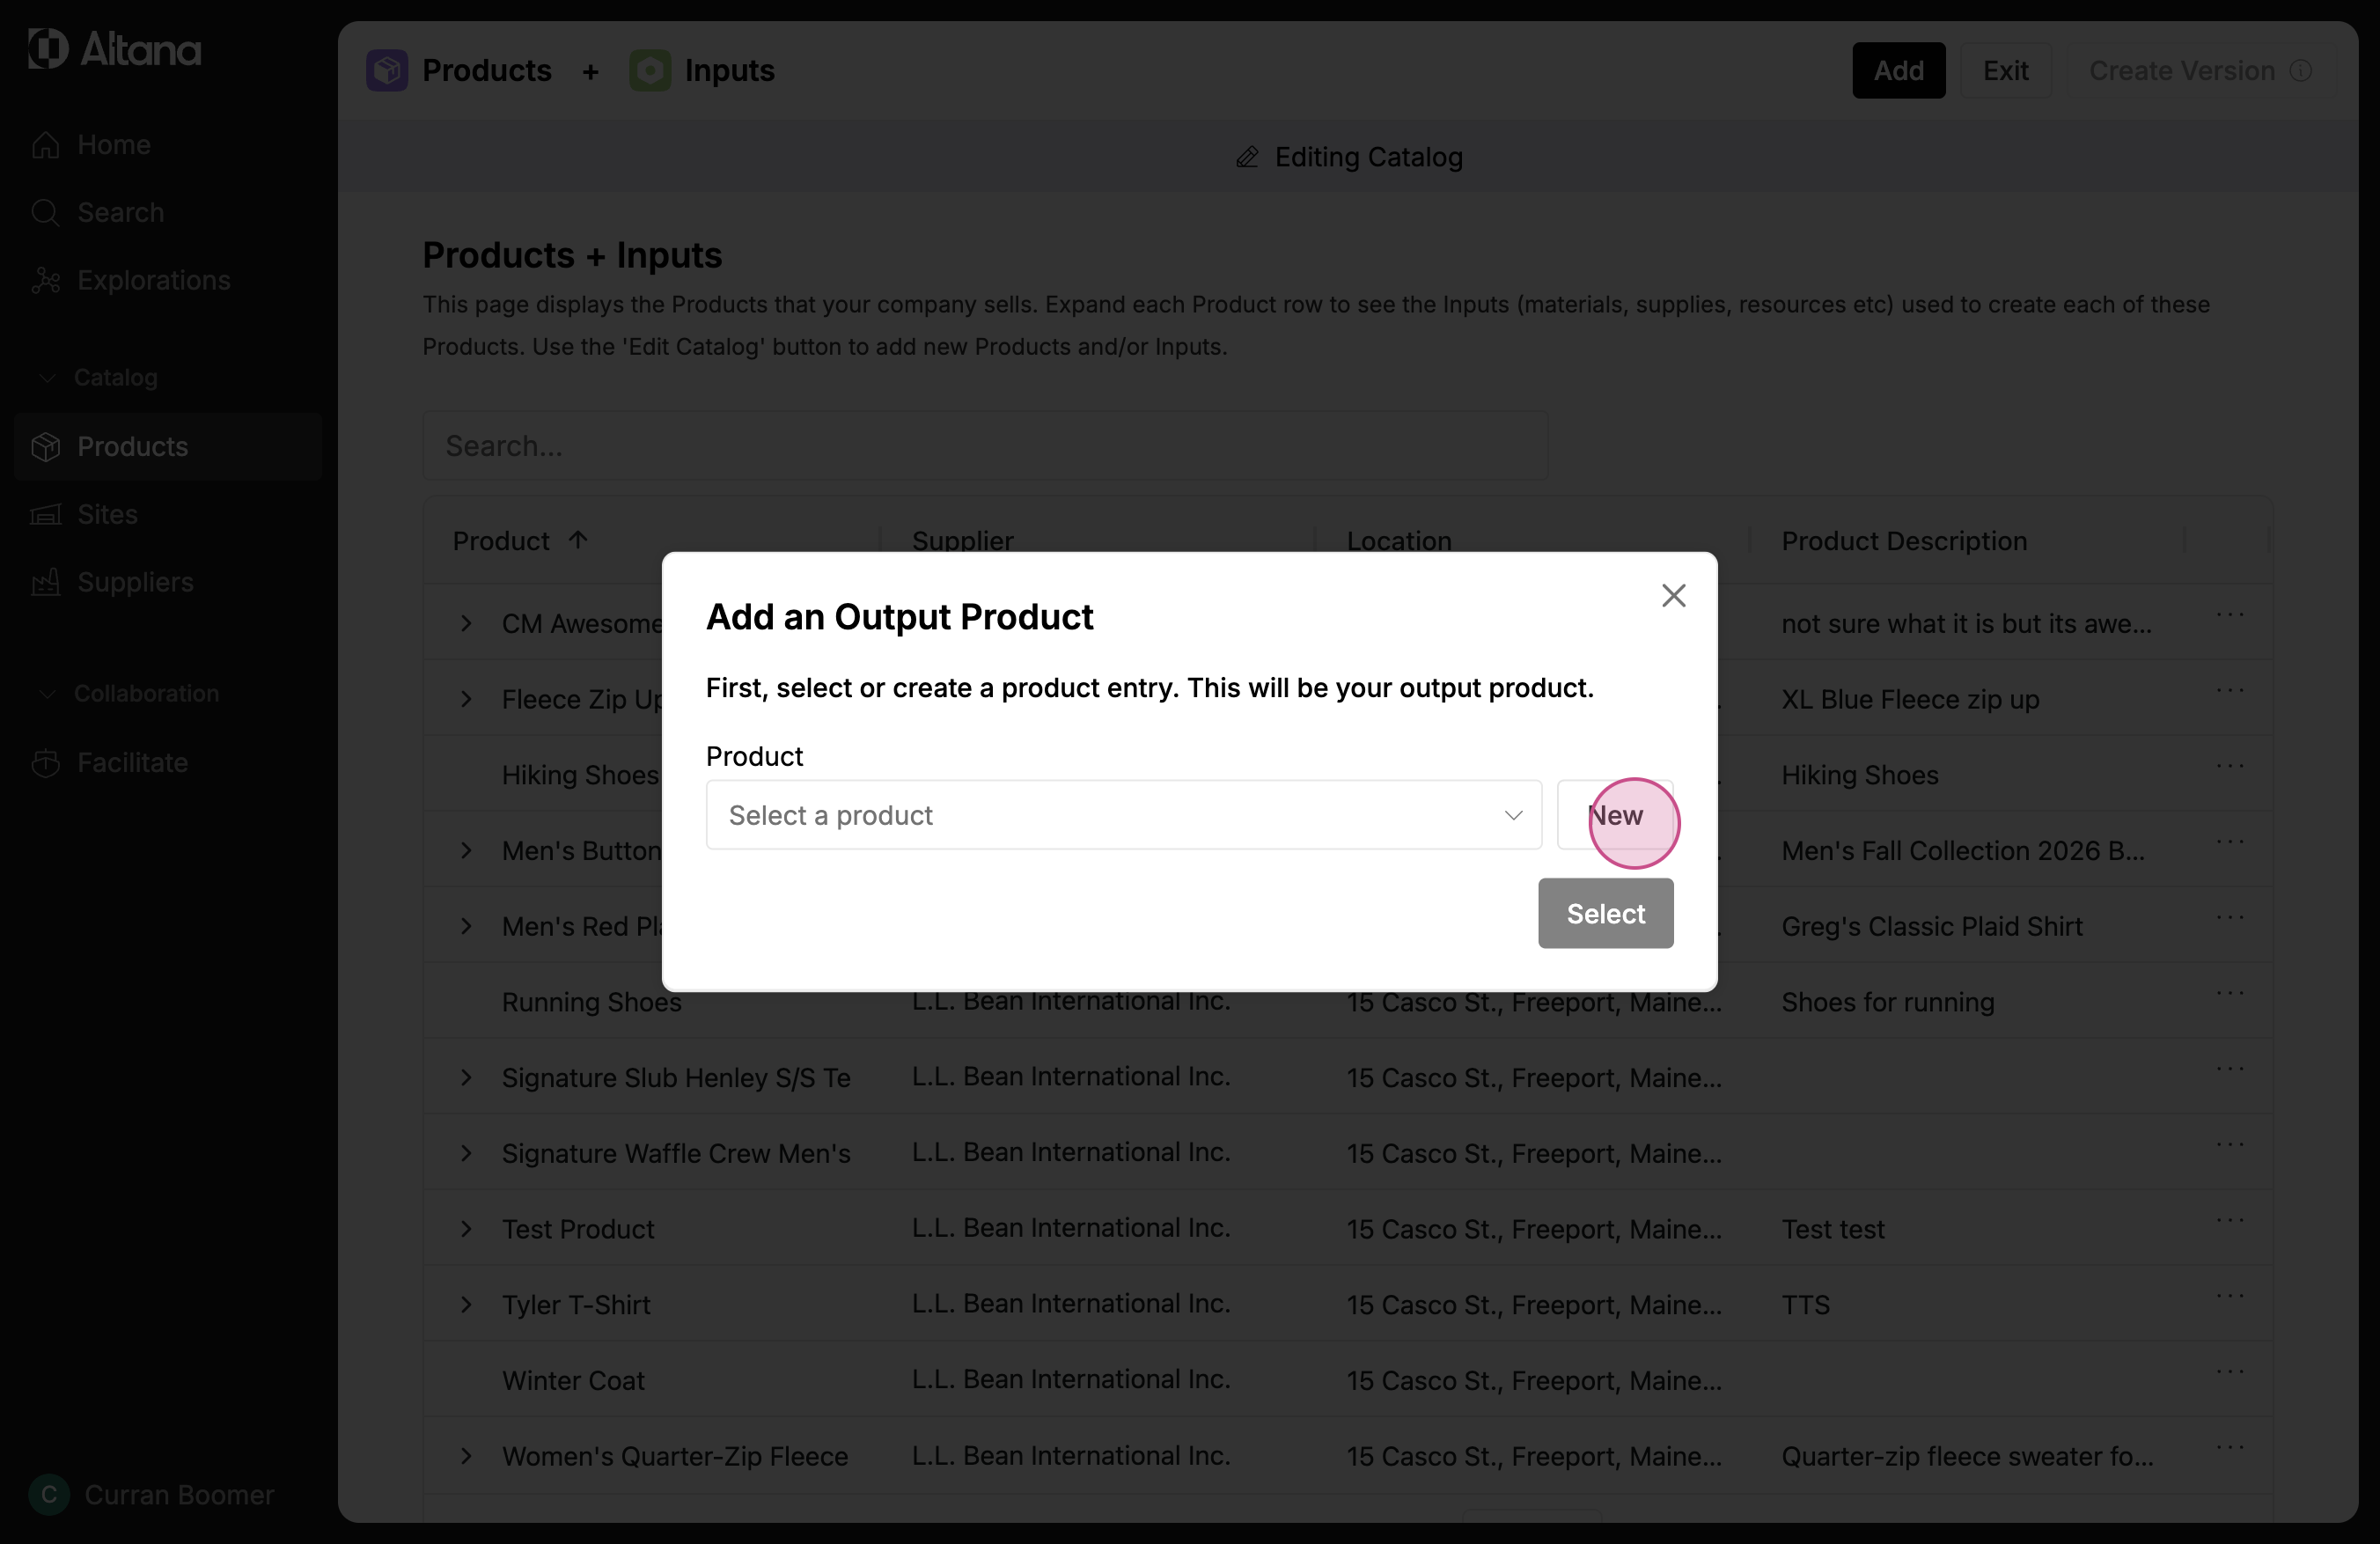
Step 3: Now, you're in edit mode. Here, you can add new products or edit existing ones. To add a product, select Add.
Step 4: You have two options - select from a list of pre-existing products or select New.
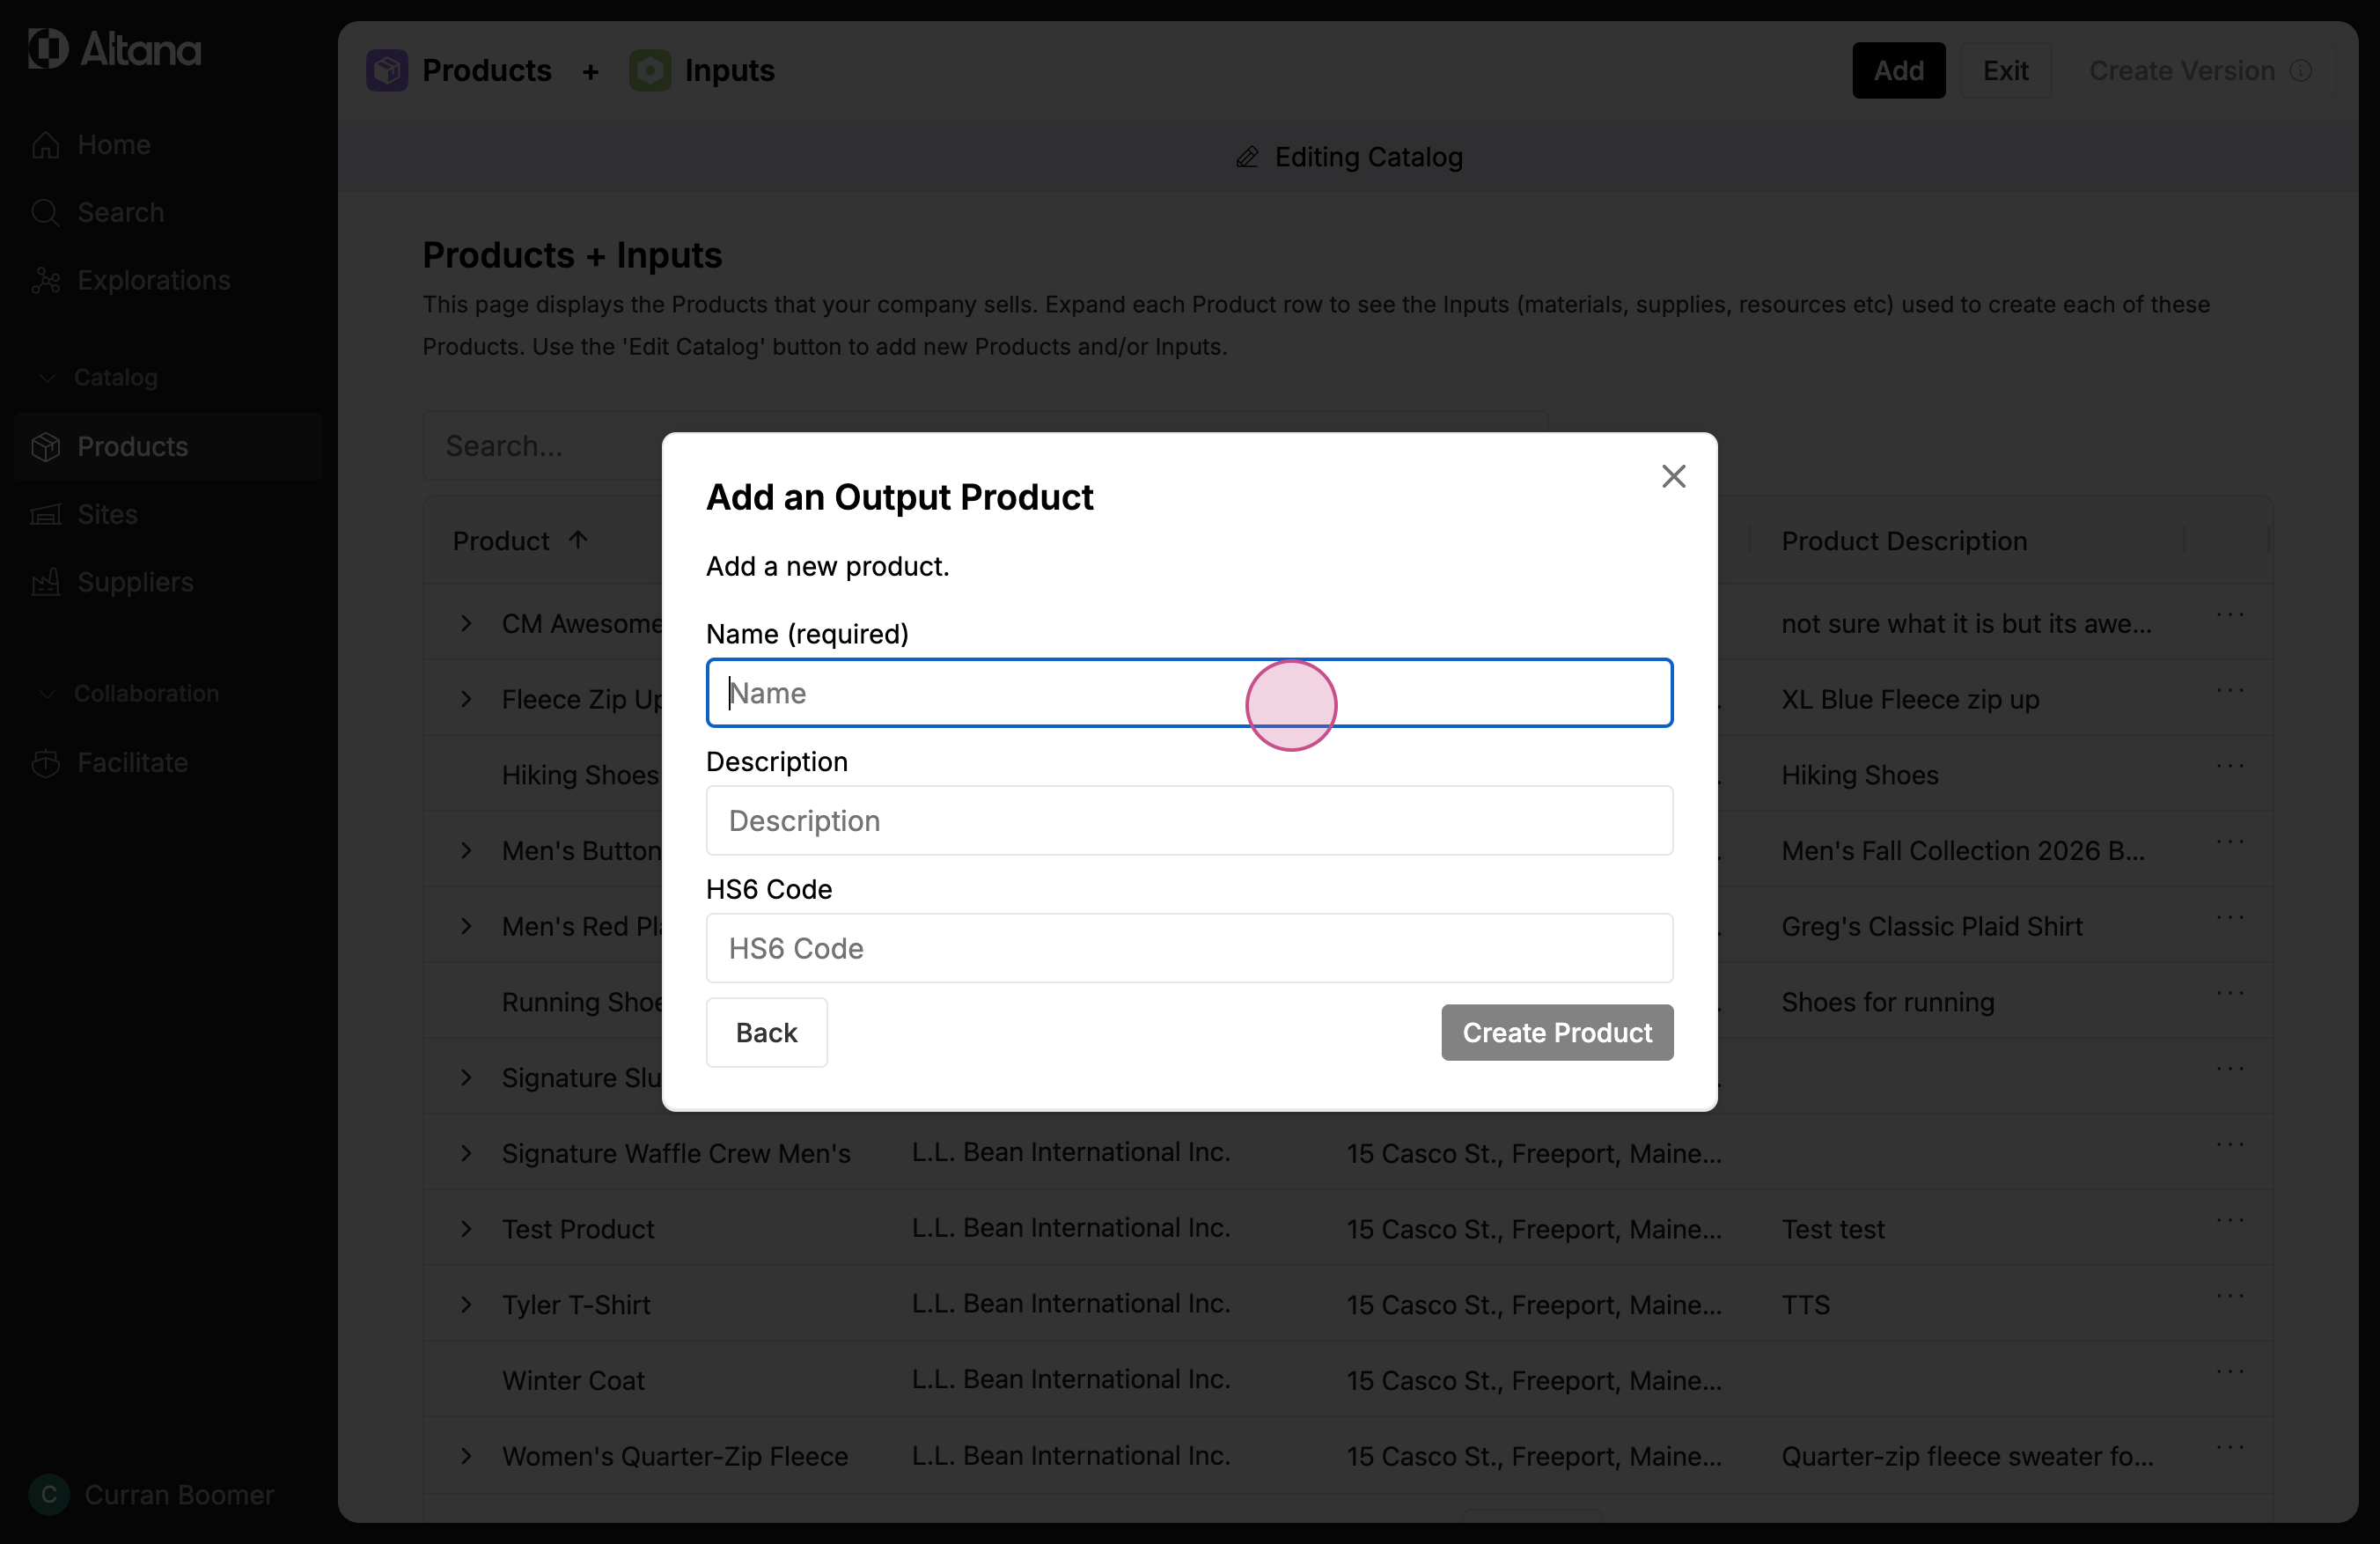
Step 5: Enter the name of the product. If you want to add a description or an HS code, you can do it here. Then select Create Product.
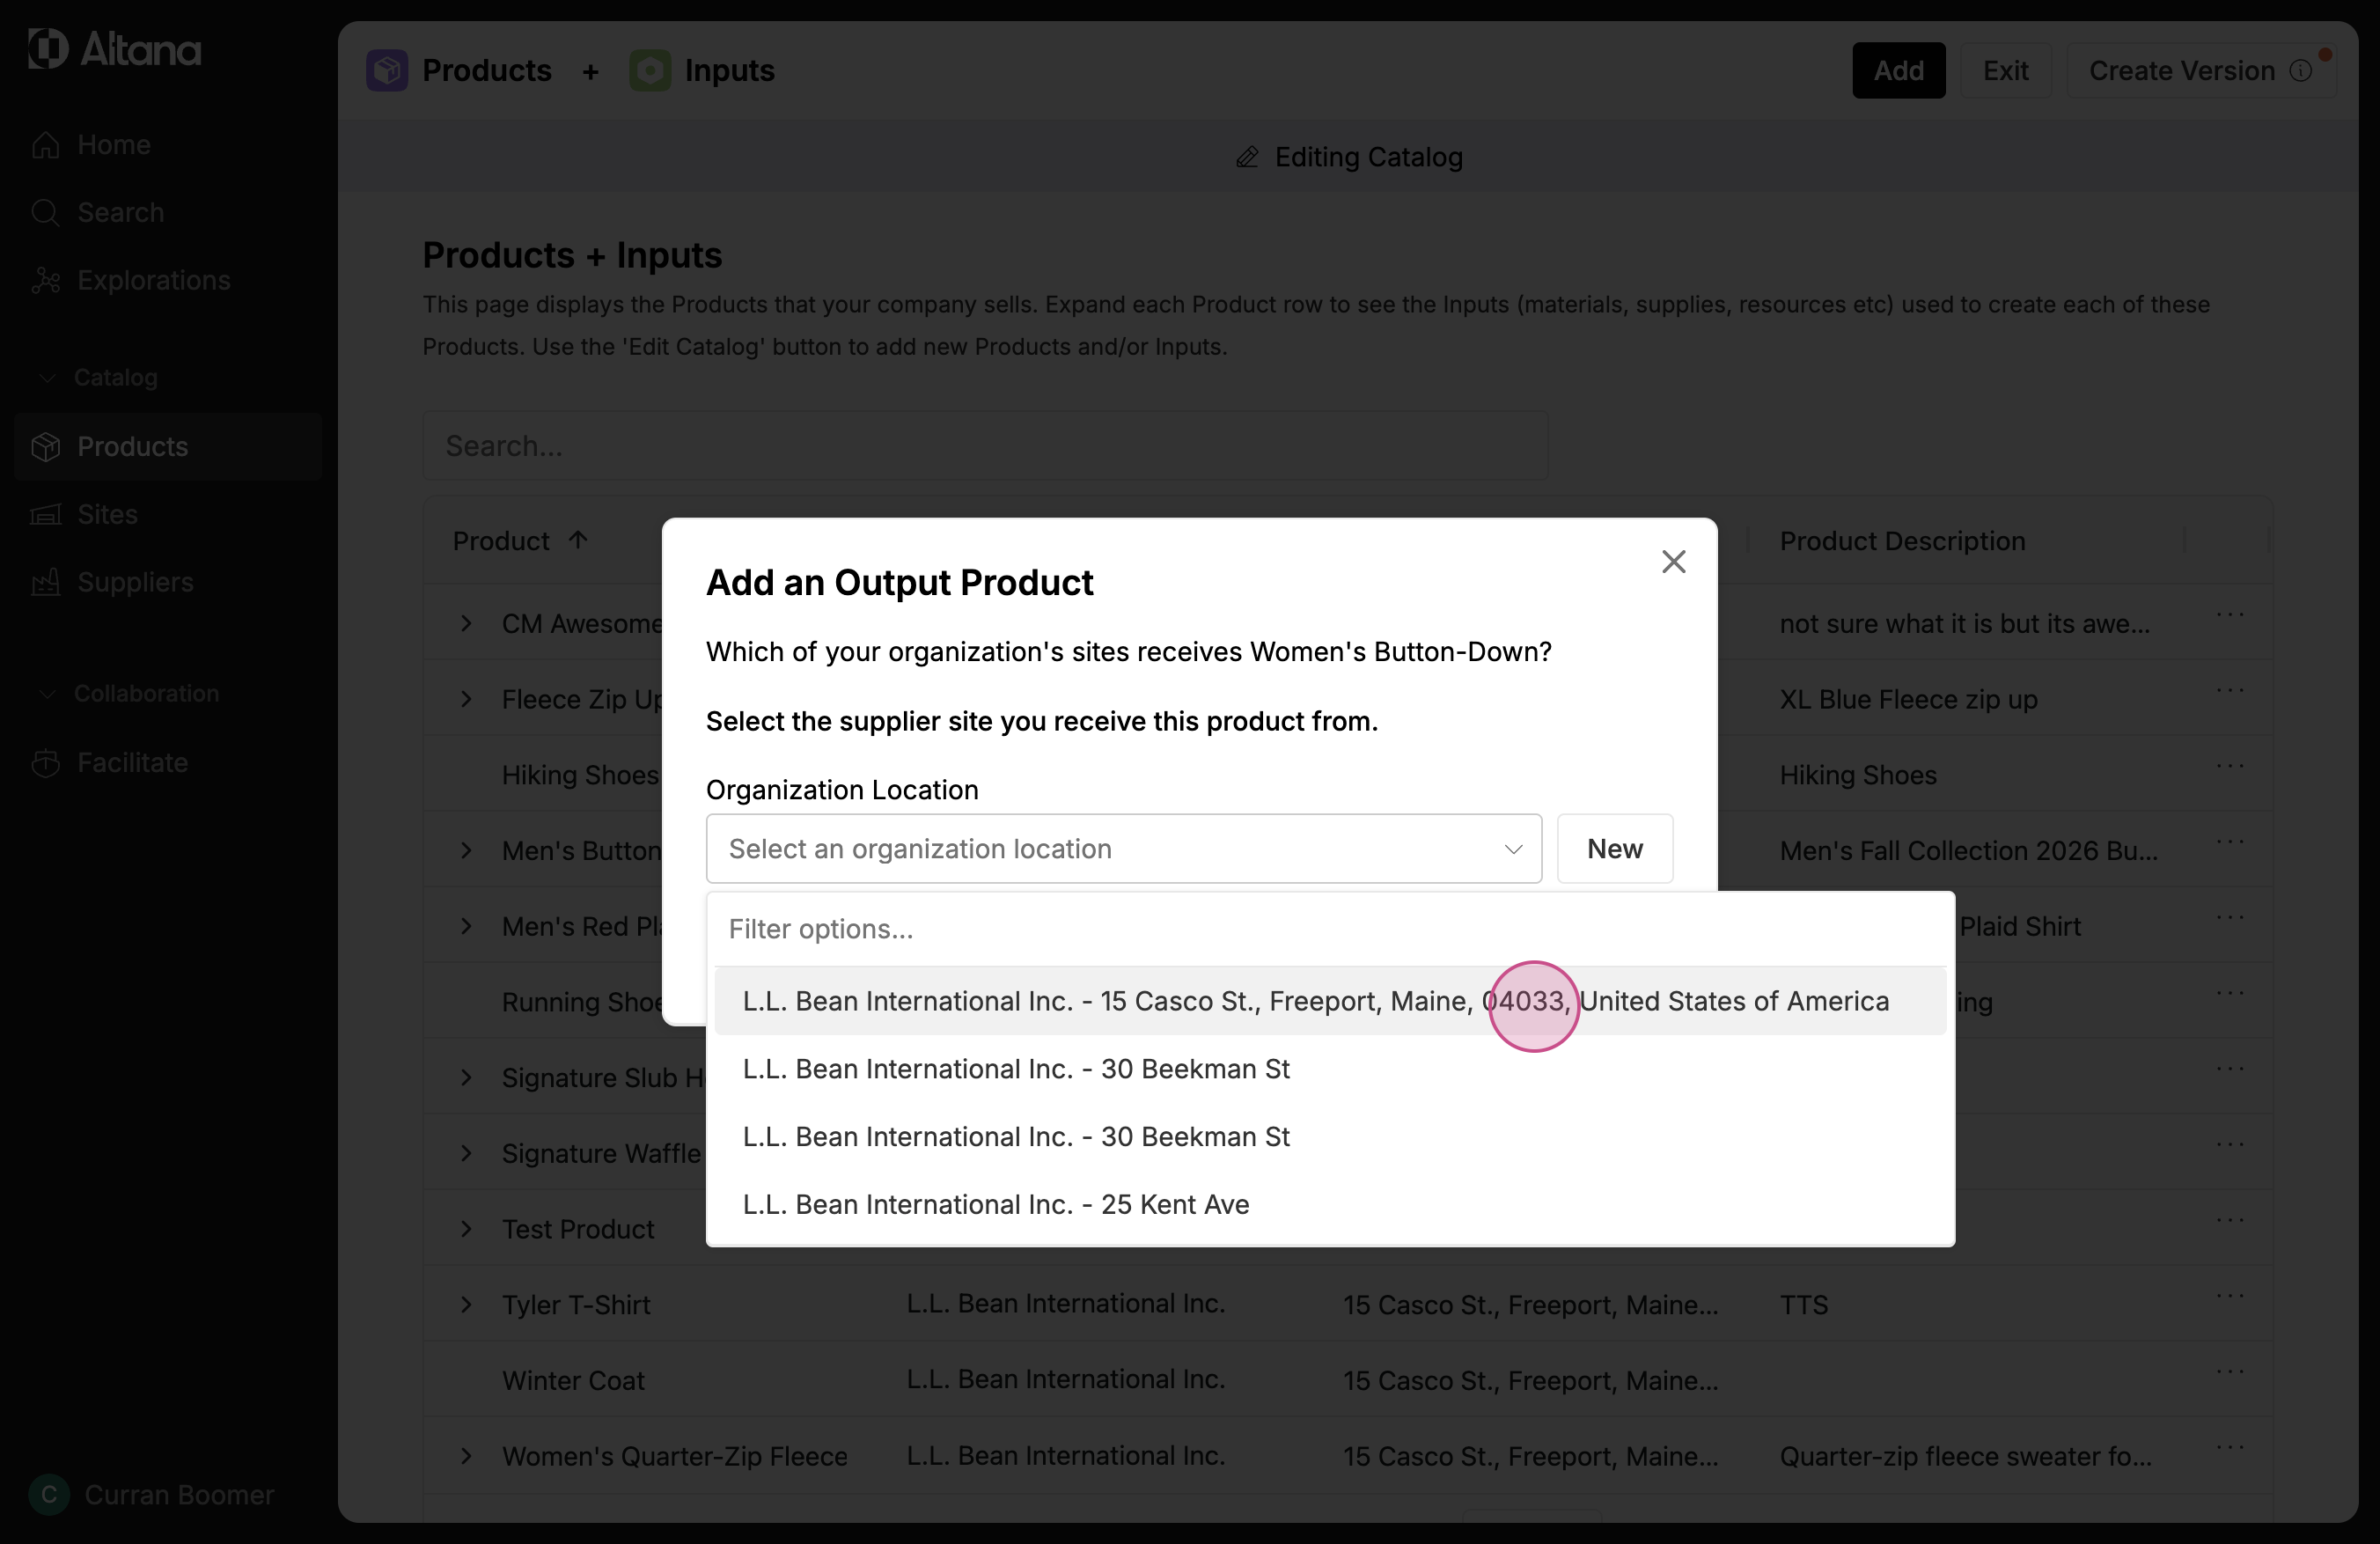
Step 6: Now, select the address of your facility that is receiving this product. You can choose from a list of pre-existing addresses or add a new one.
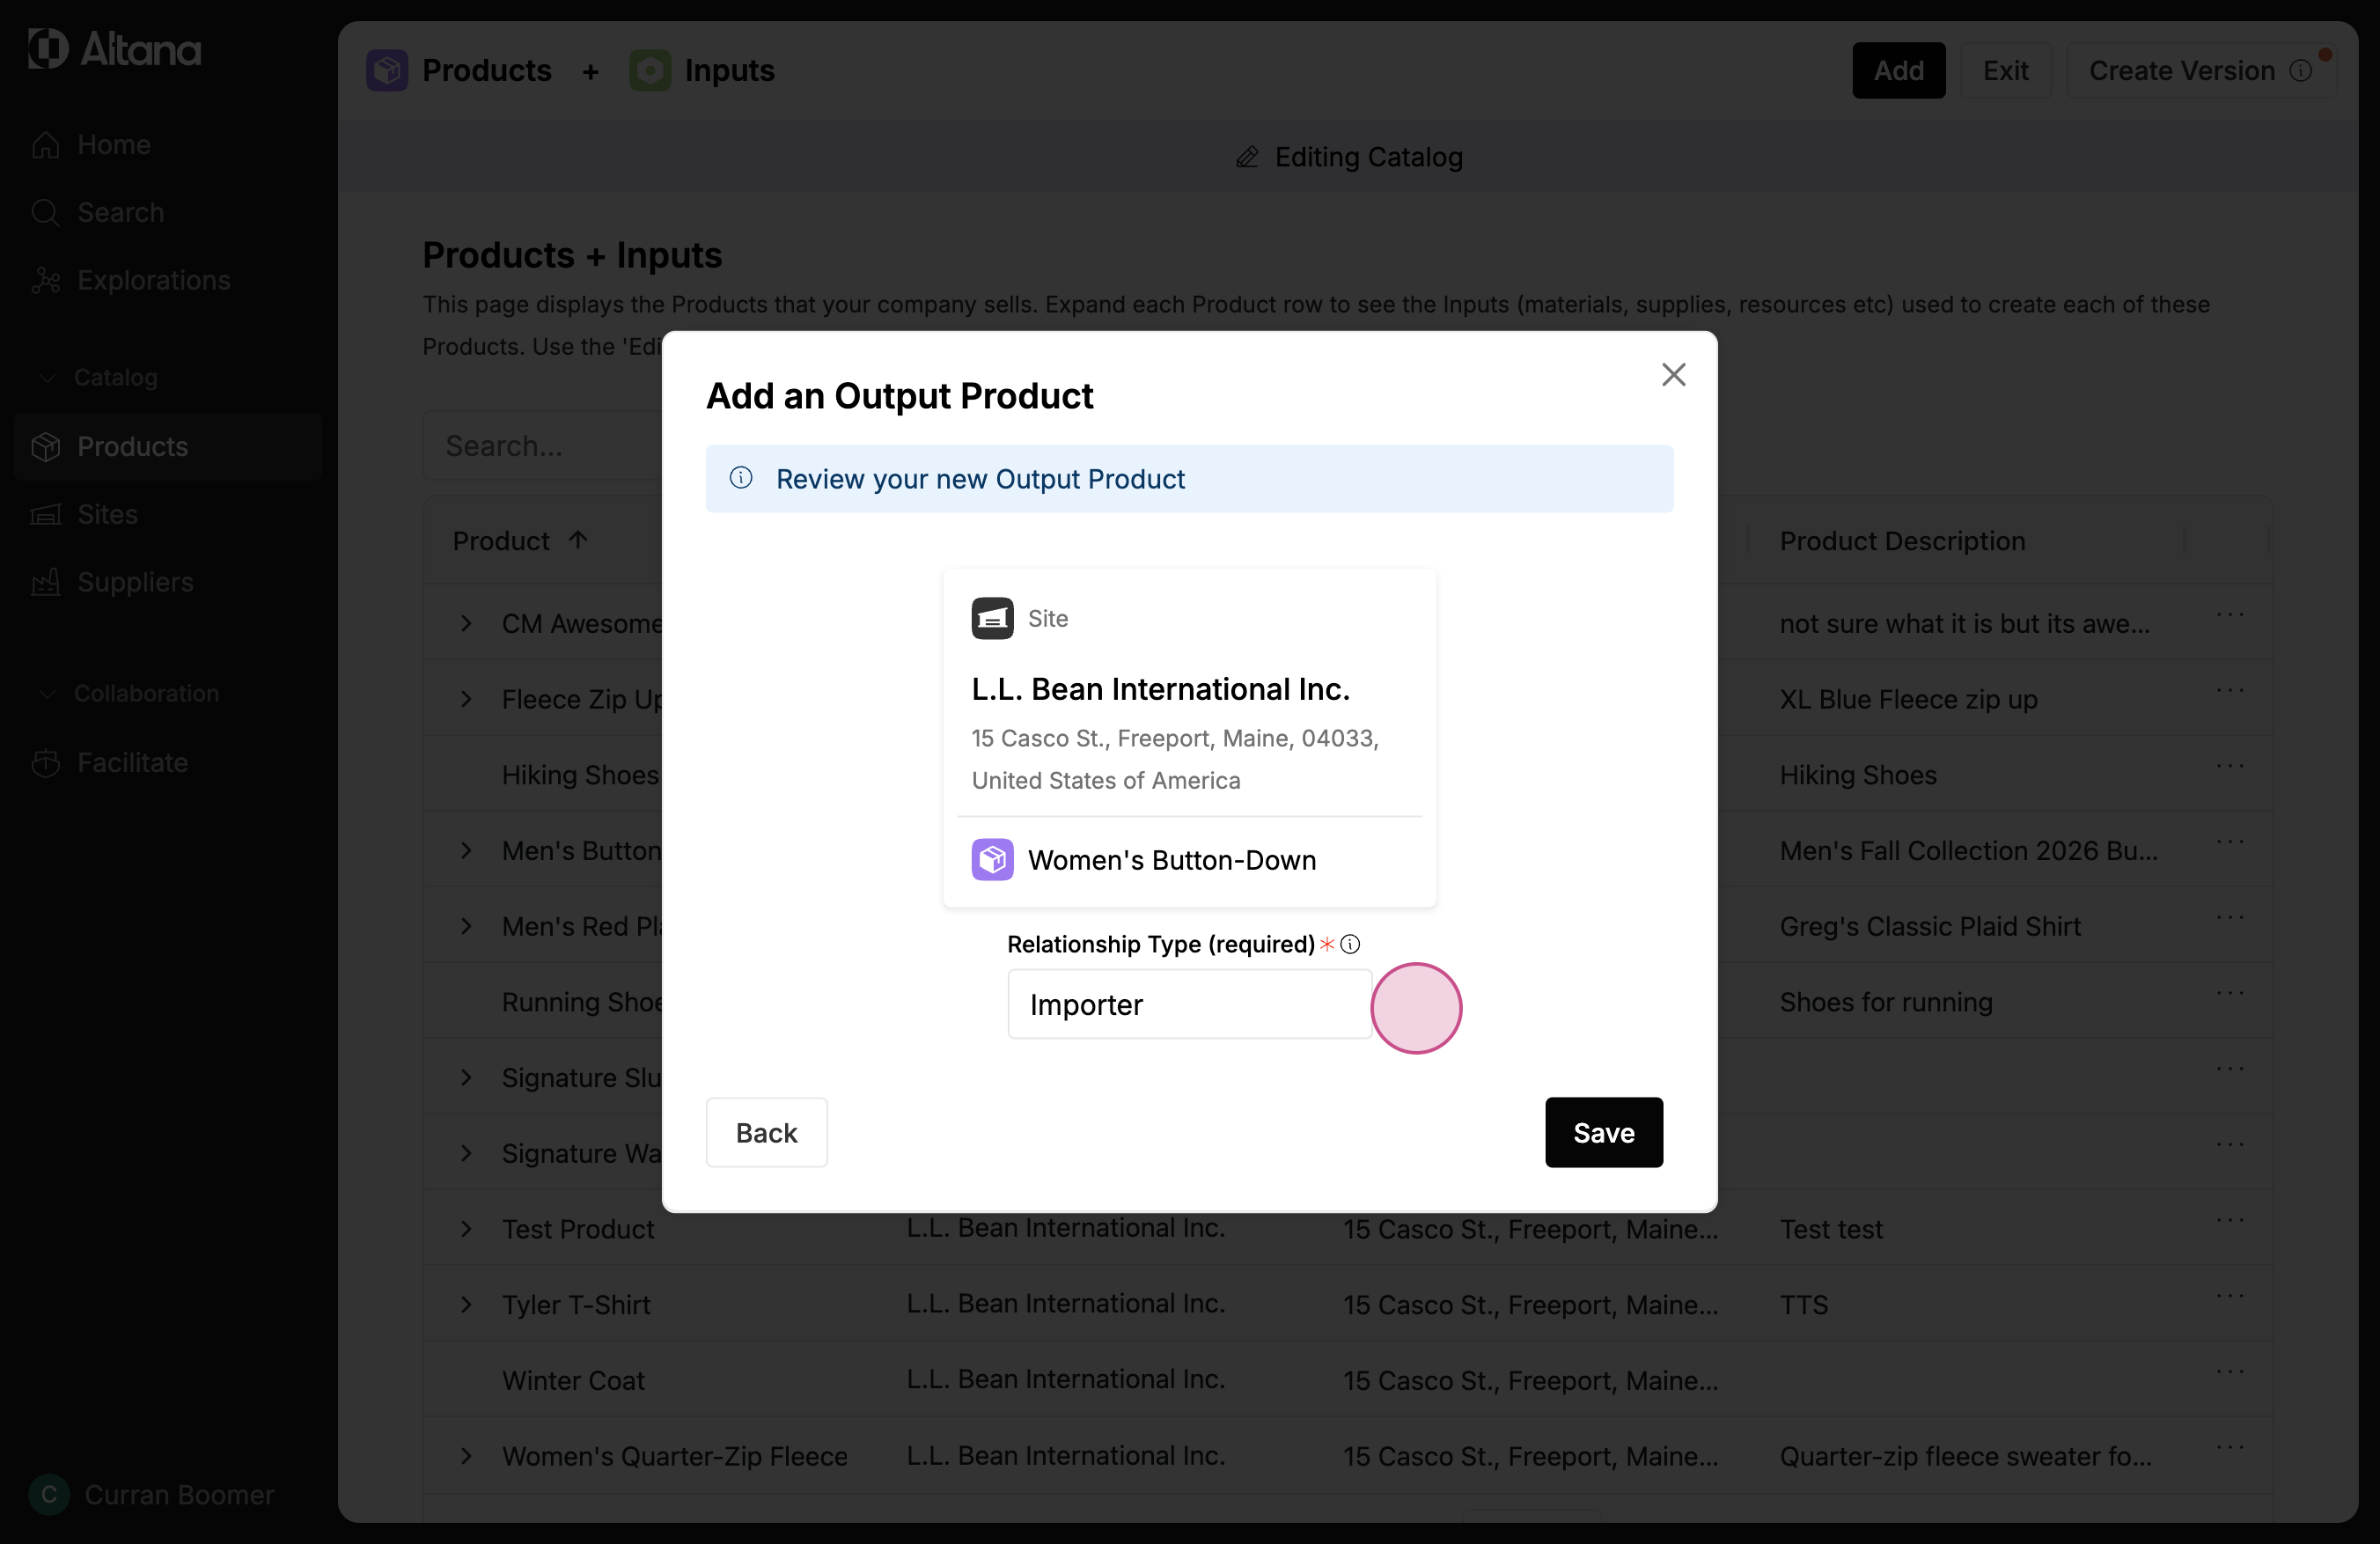
Step 7: Add a label that can help you identify this facility within the value chain. For this example, we're the importer of record, so we add Importer.
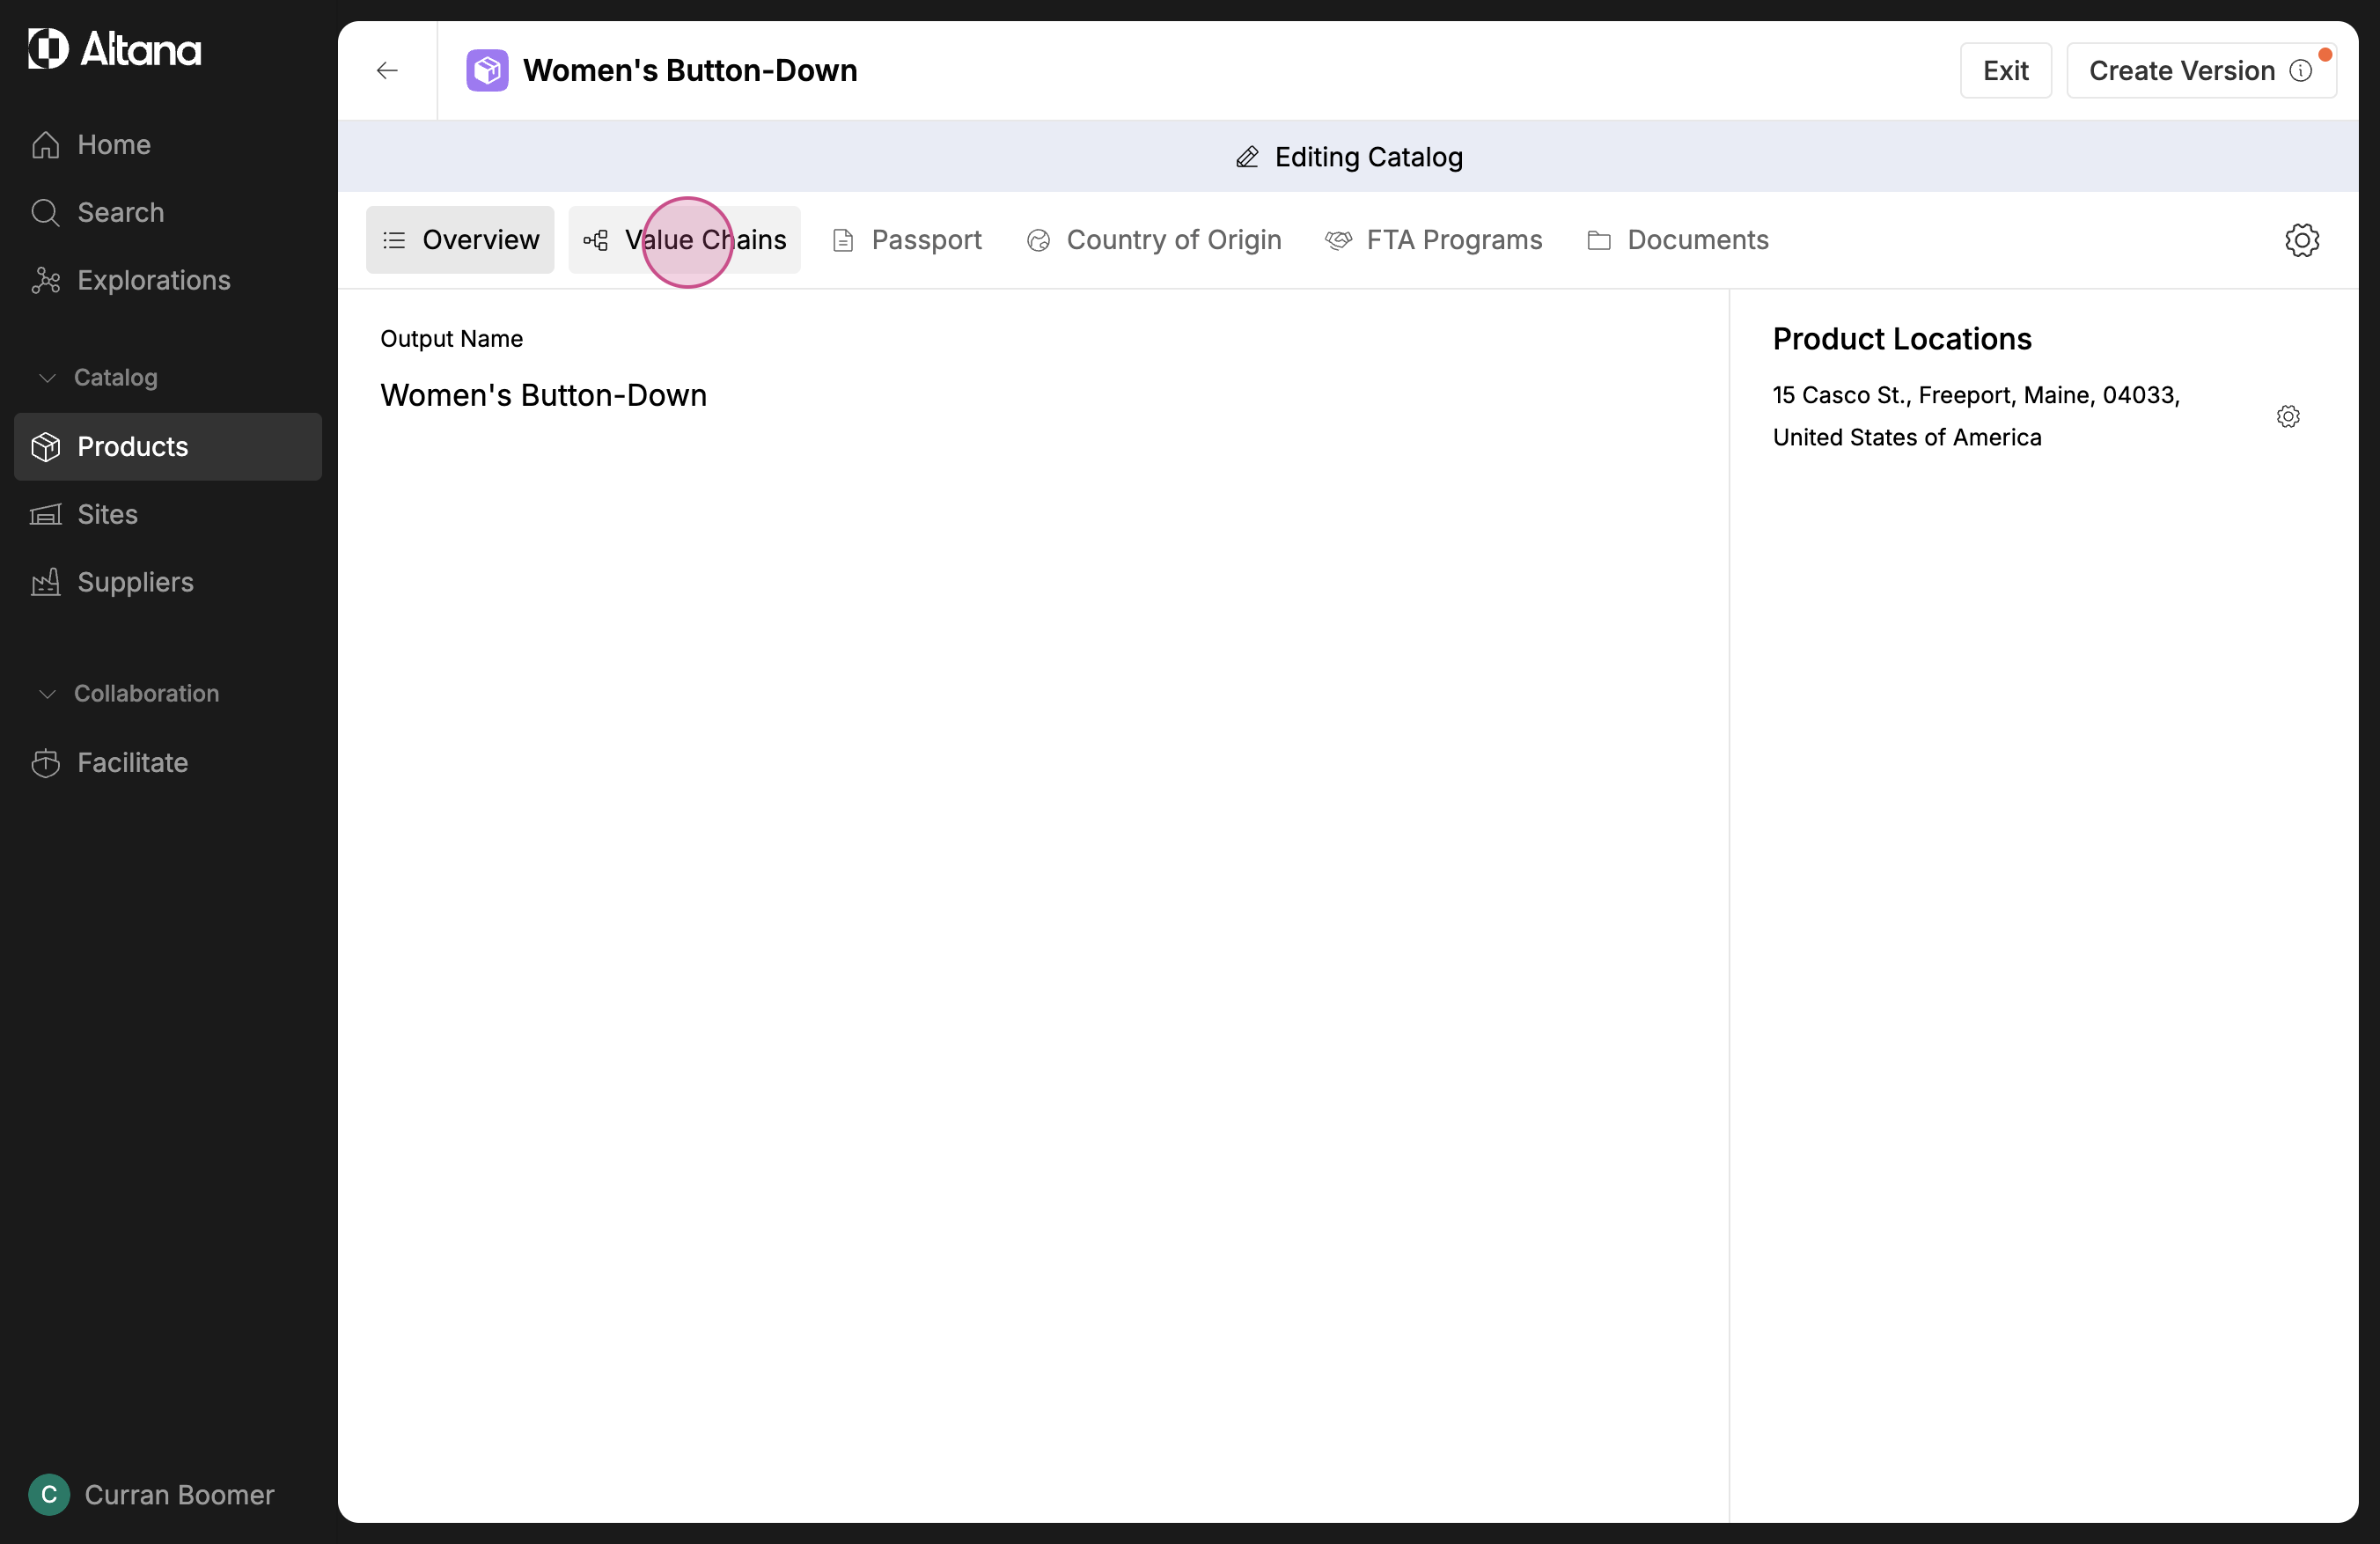
Step 8: Your new product now appears in your product catalog. Click on the product to get more information about it.
Building Out a Value Chain
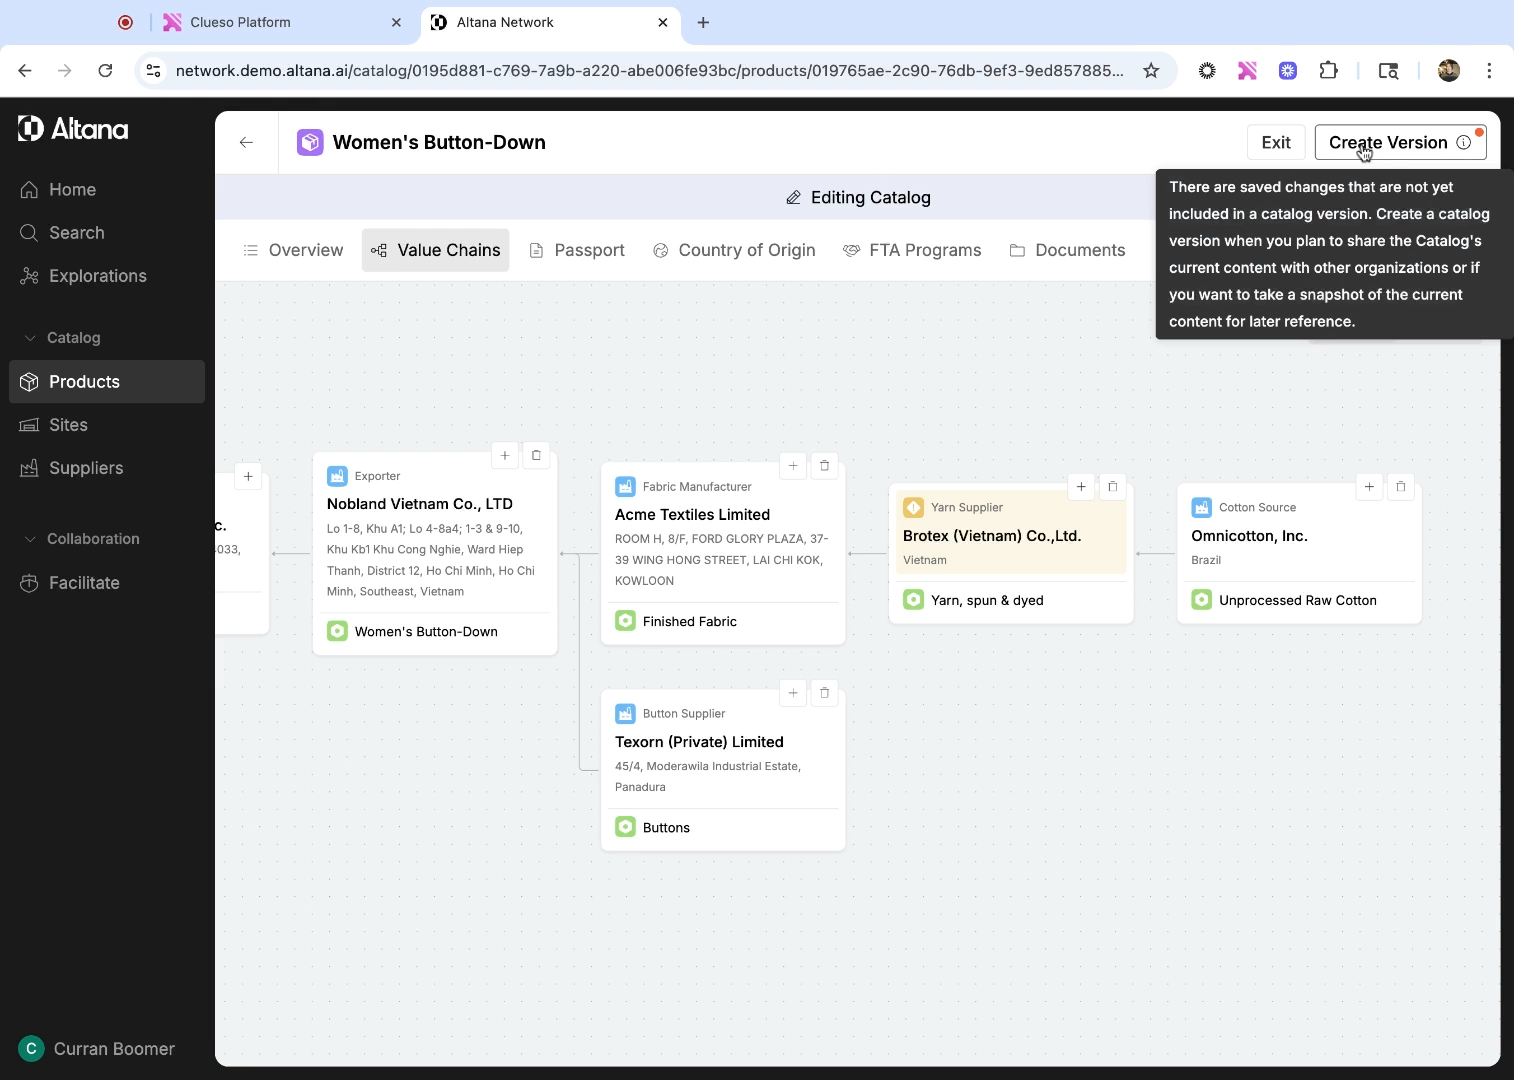
Step 1: Select your product in the catalog and then select Value Chains to see a visual representation of your product's value chain.
In this example our value chain is small because we only have information about our own facility.
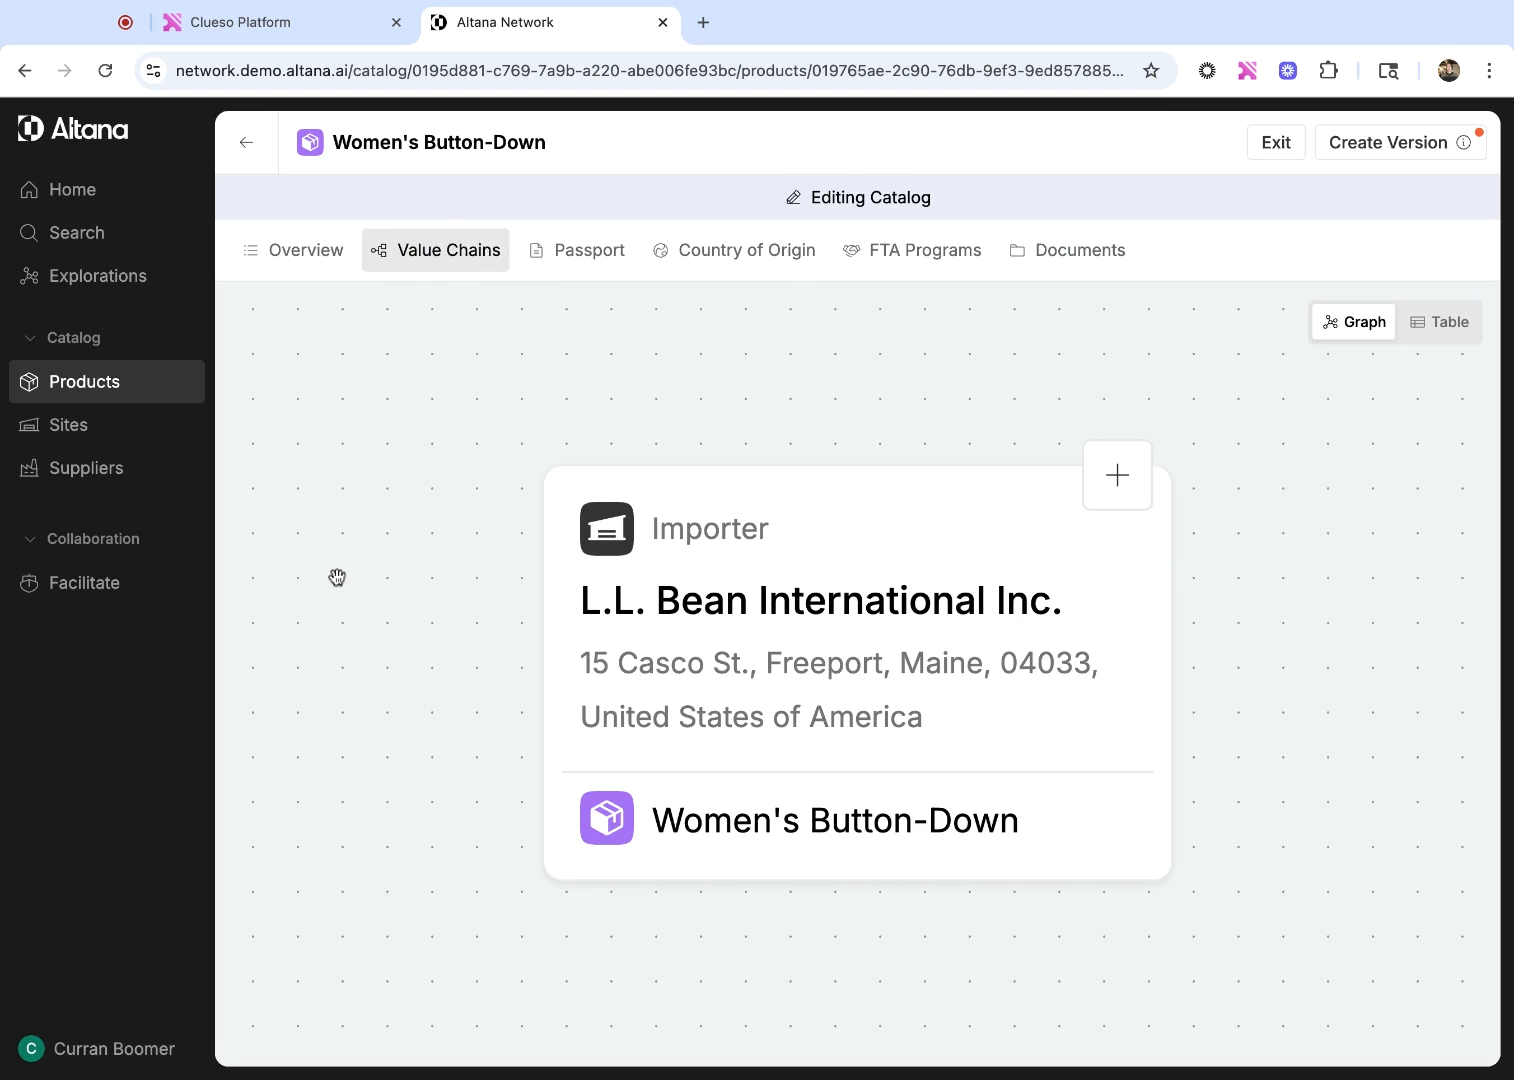
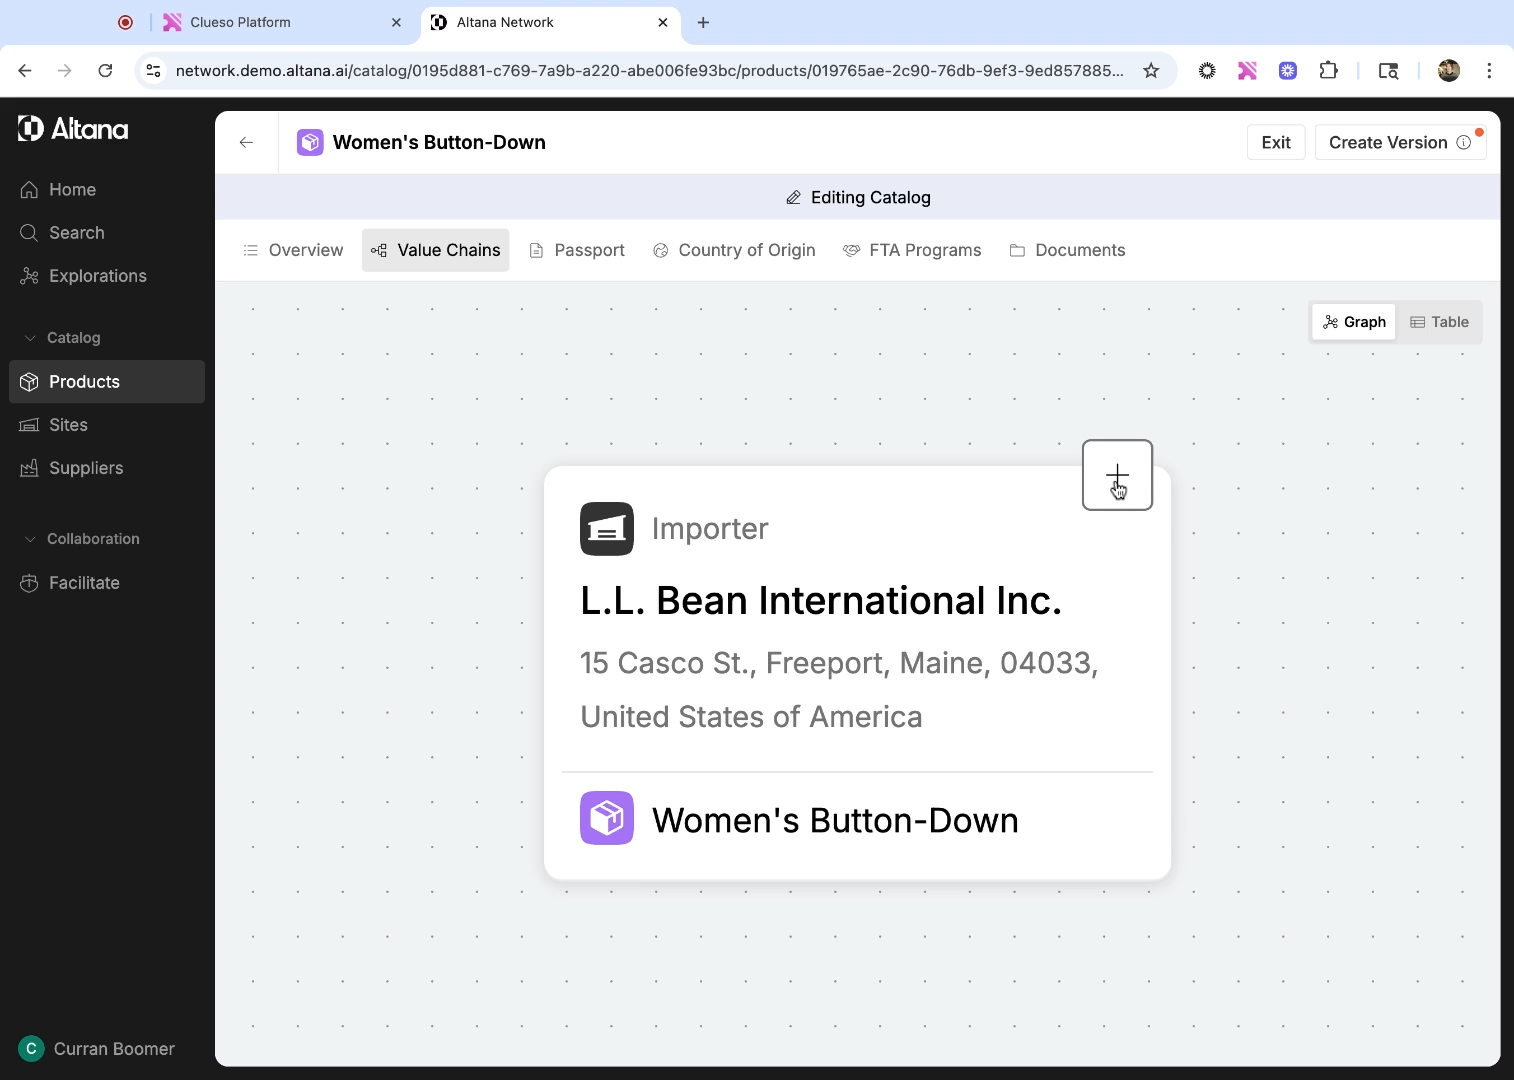
Step 2: To add a new node to the value chain, select the + button next to our existing facility. This will allow us to add an input good that's going into this facility. In this case, we want to add the facility that is producing and exporting the finished good to us.
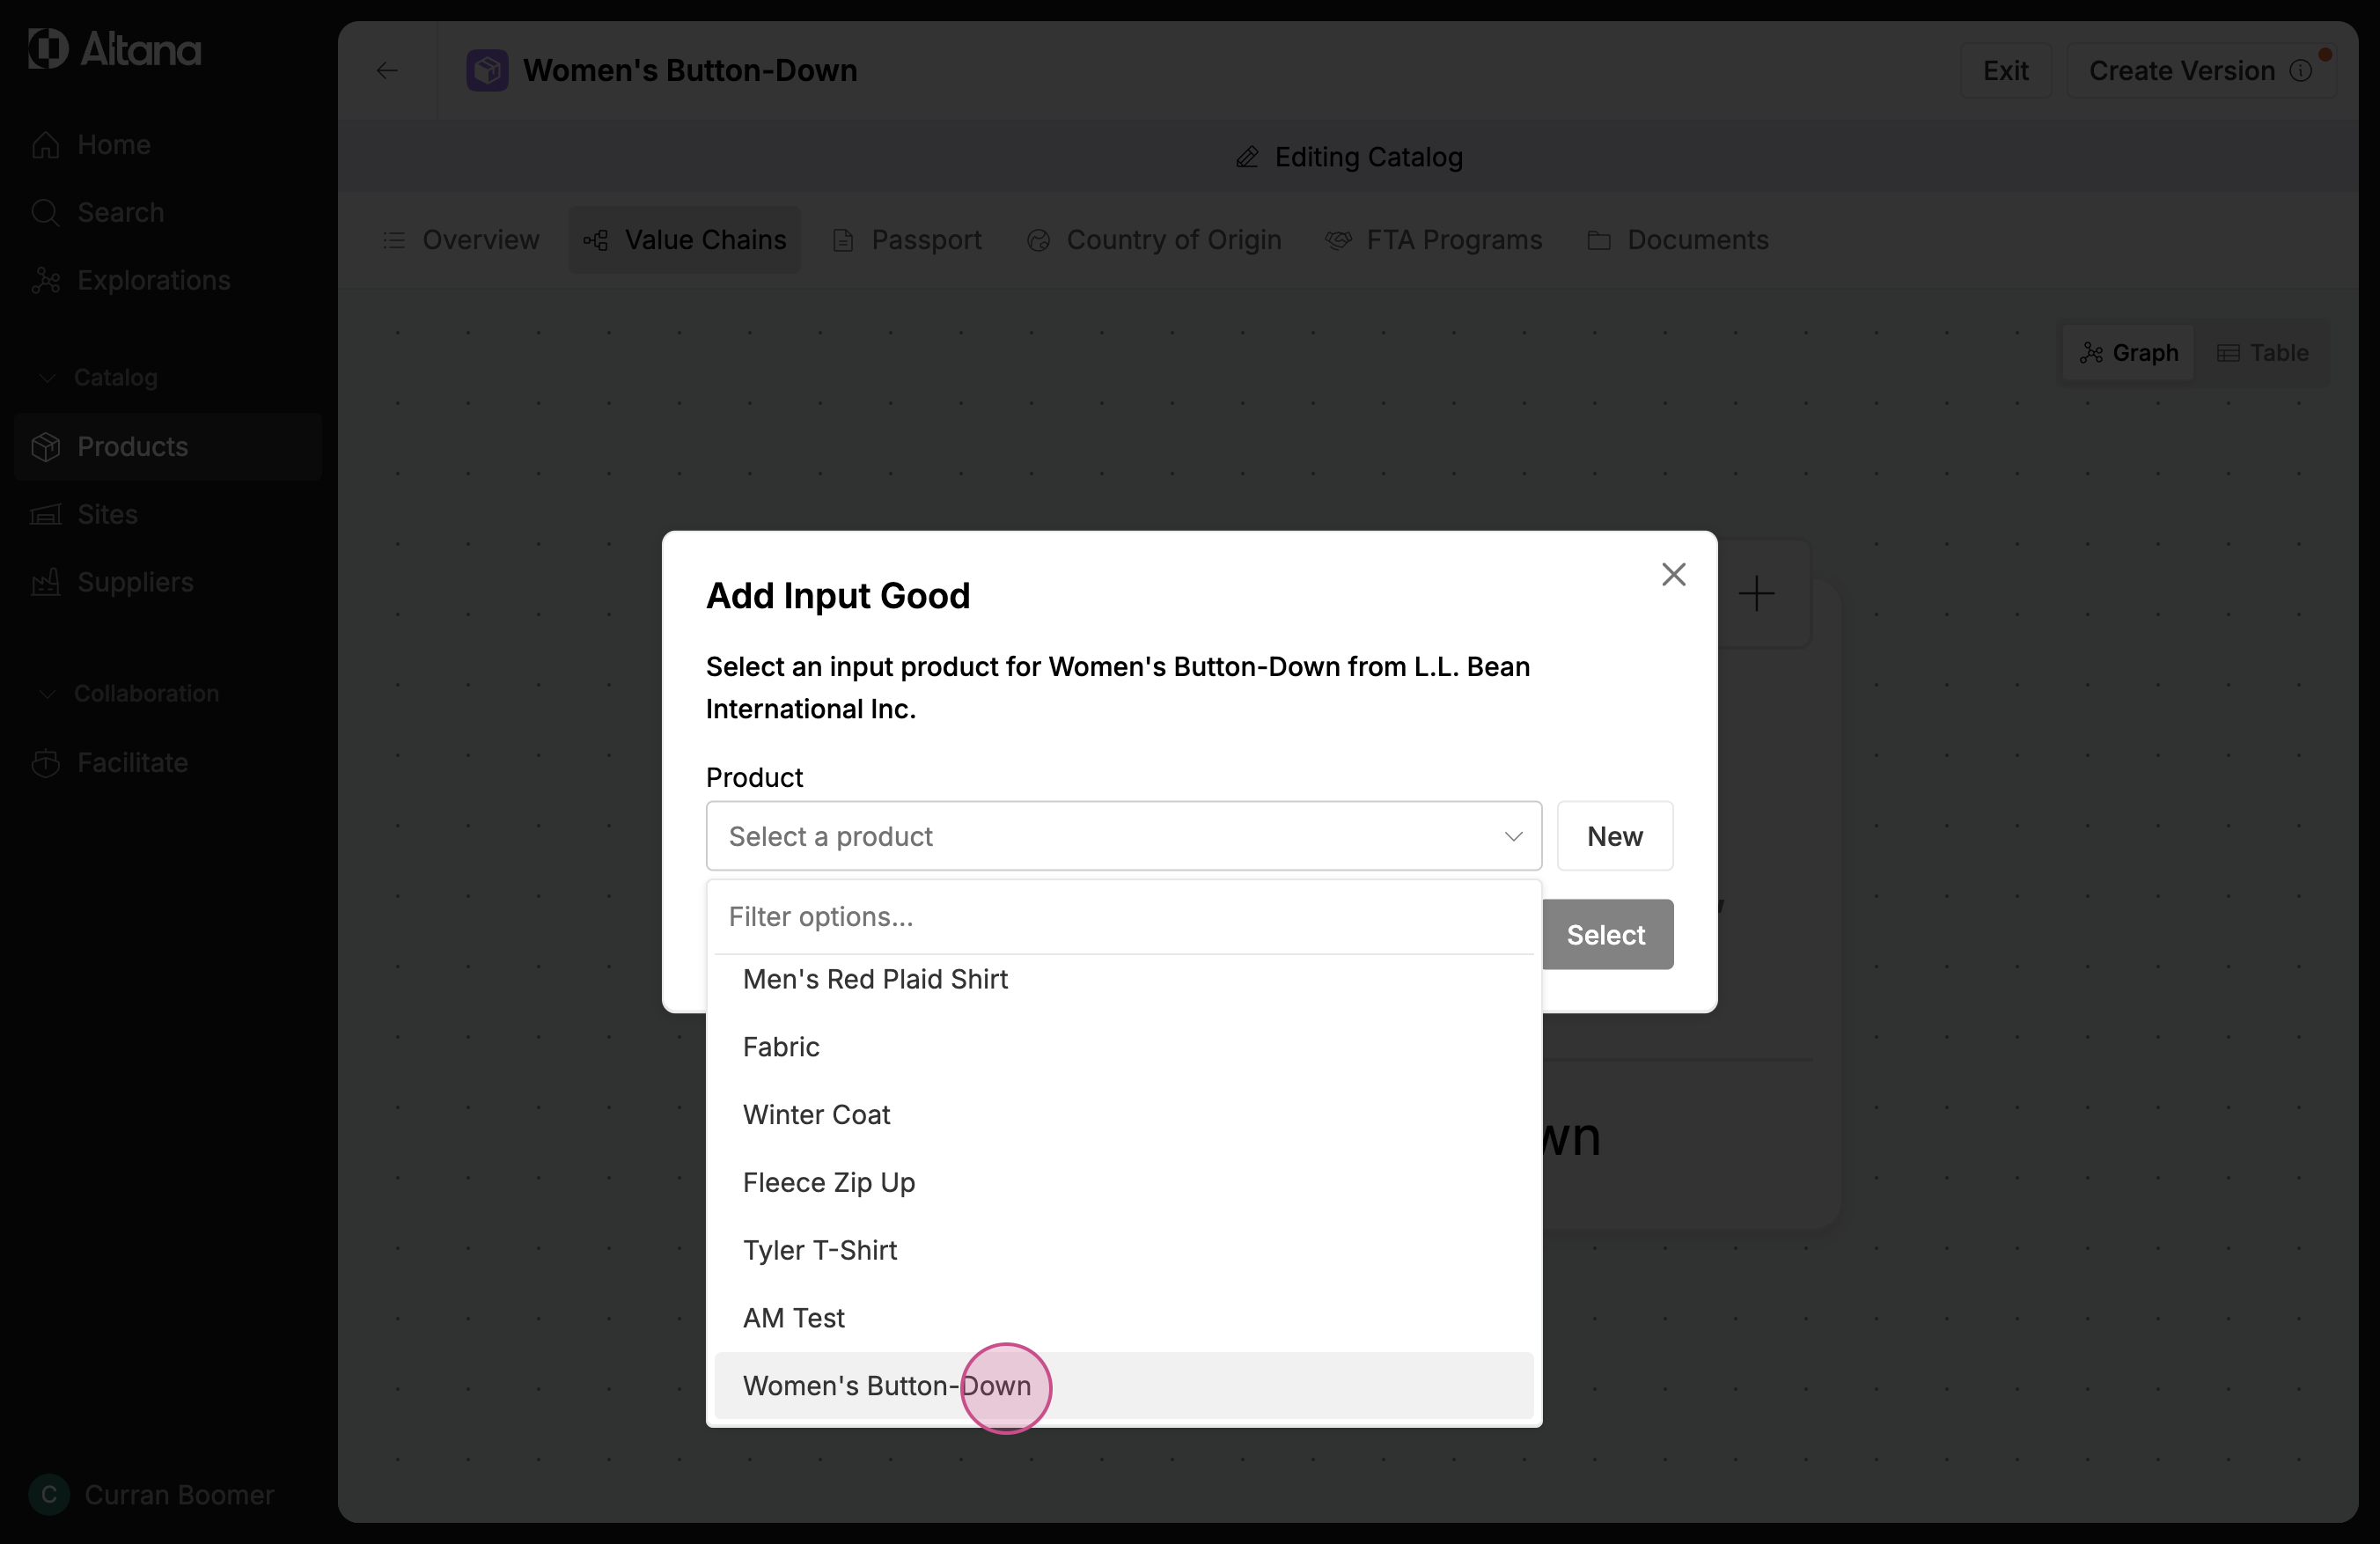
Step 3: Select a product. You can either select a pre-existing product from the drop-down menu, or add a new product by selecting New.
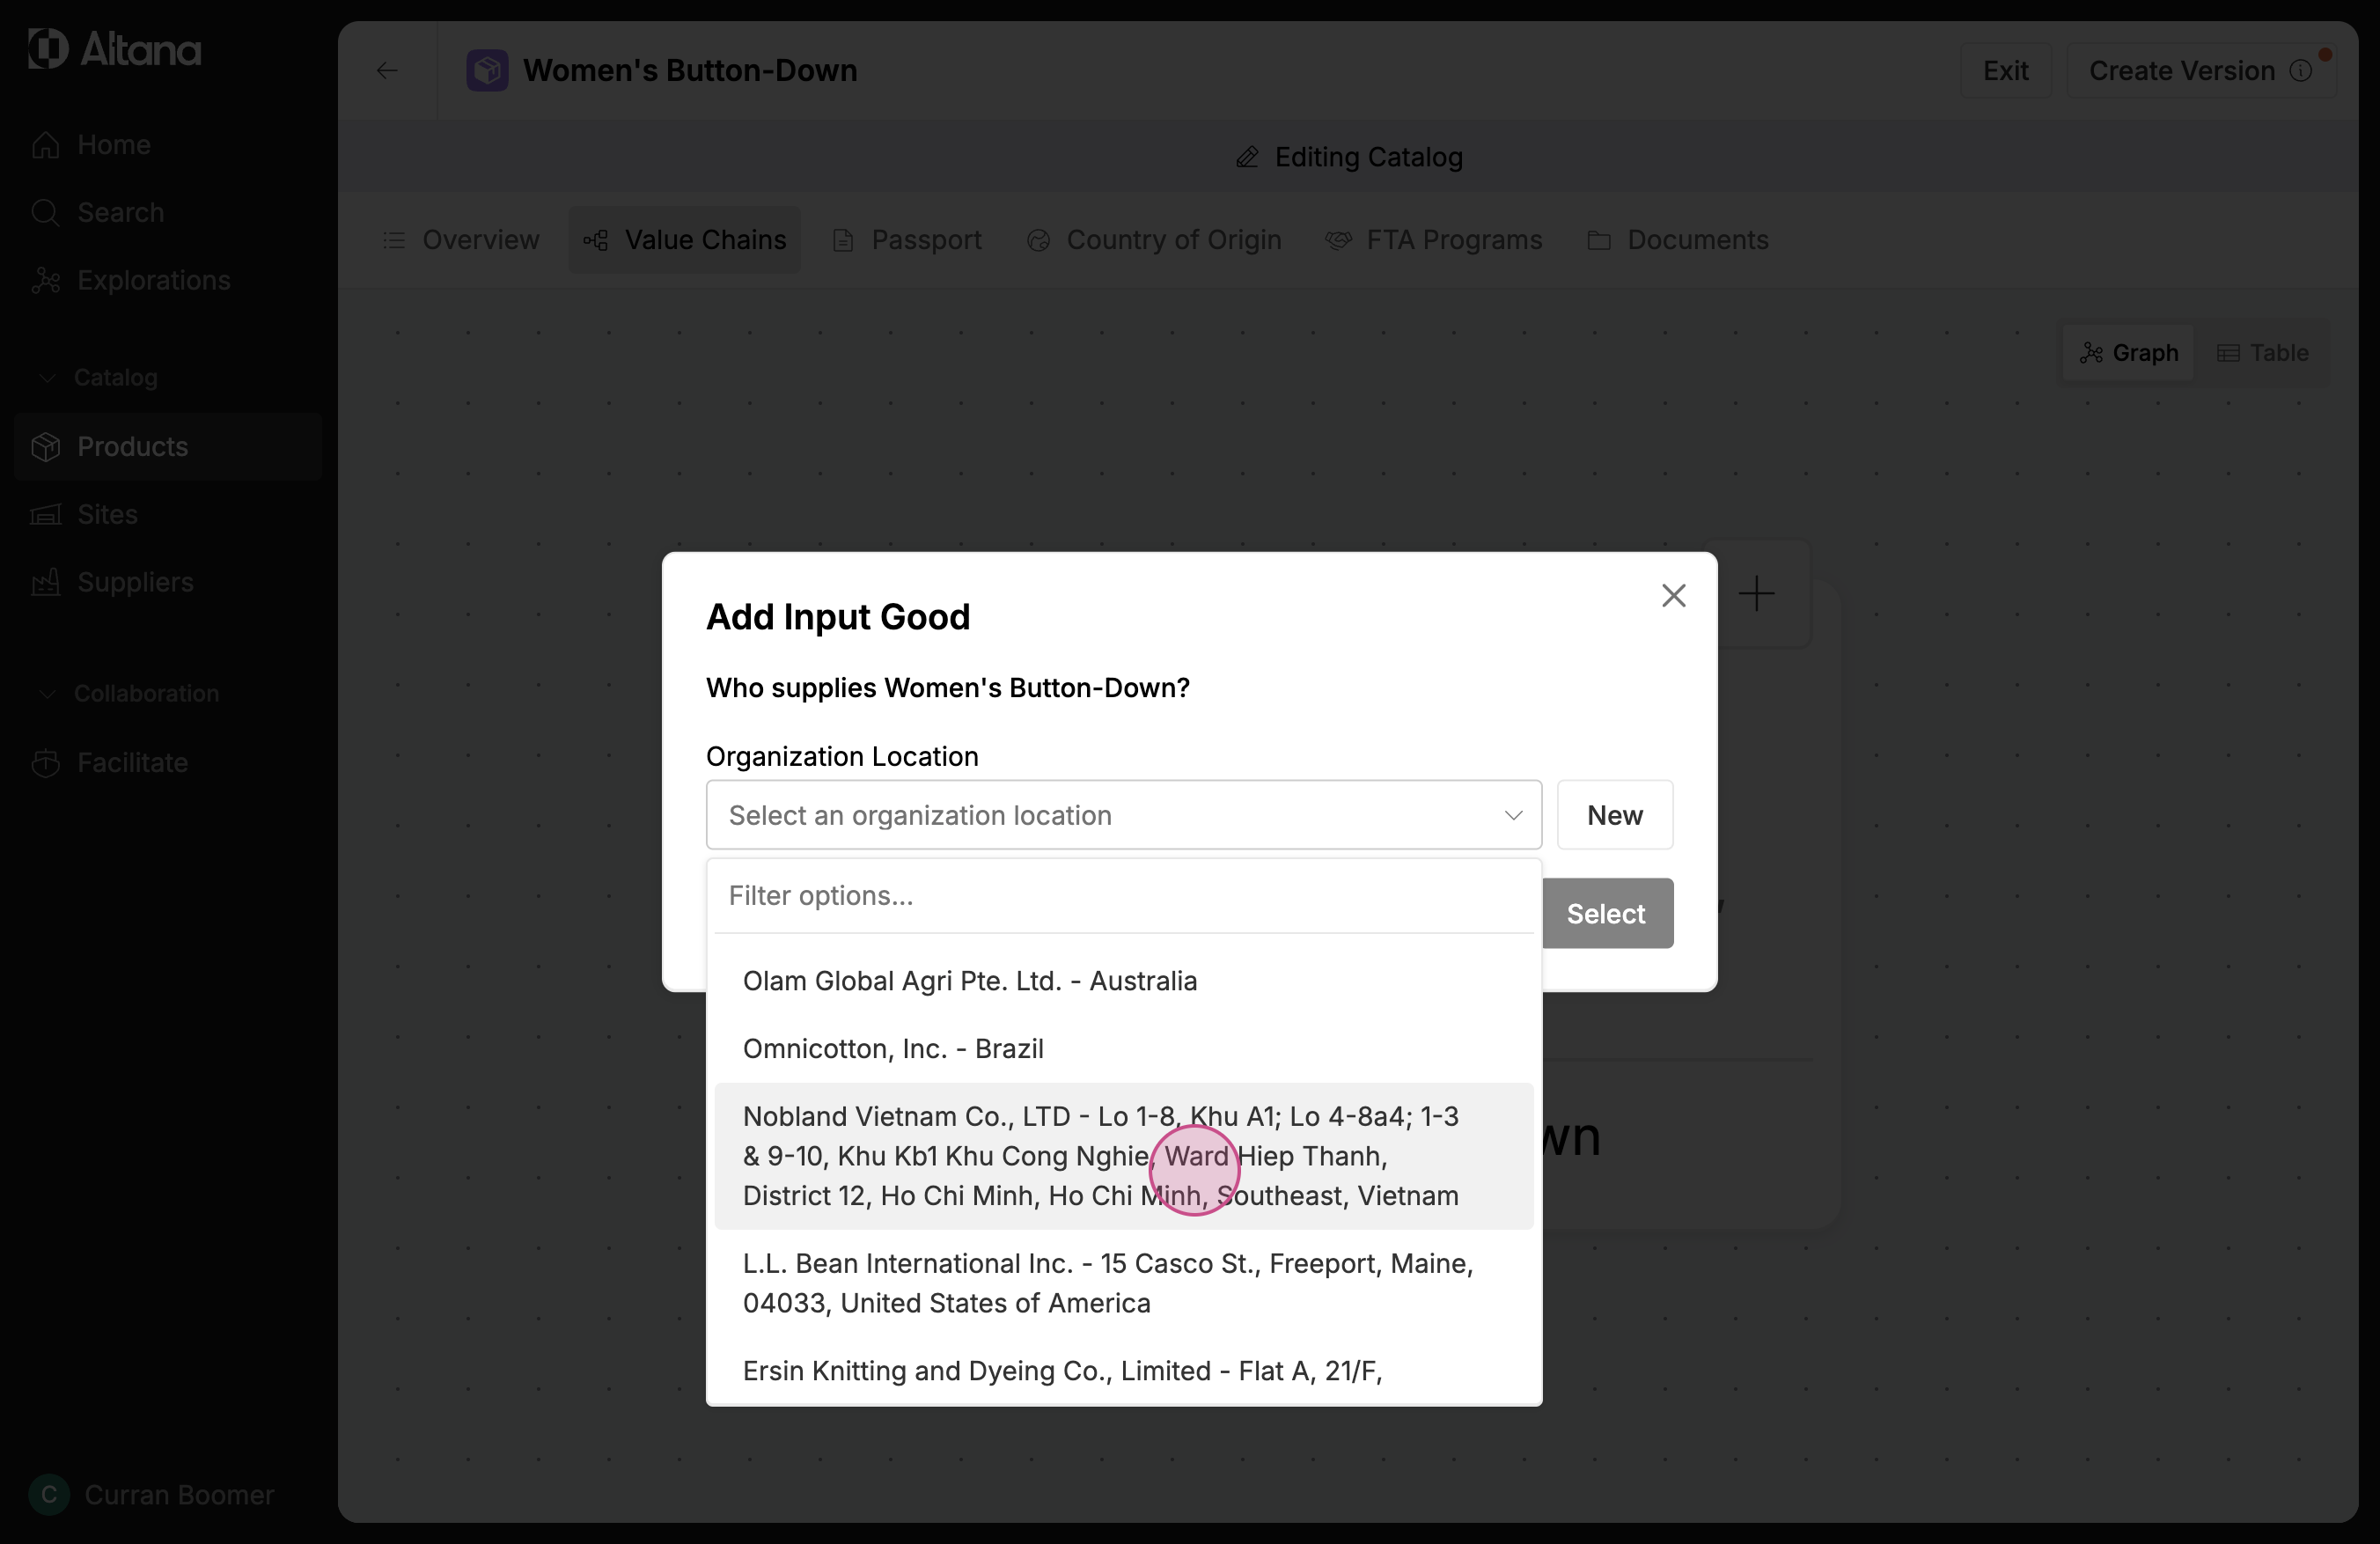
Step 4: Now, select the company that is producing and exporting this product. You can choose from the list or select New.
Step 5: Add a label to help you understand this company's relationship to you. In this example, the facility is the exporter.
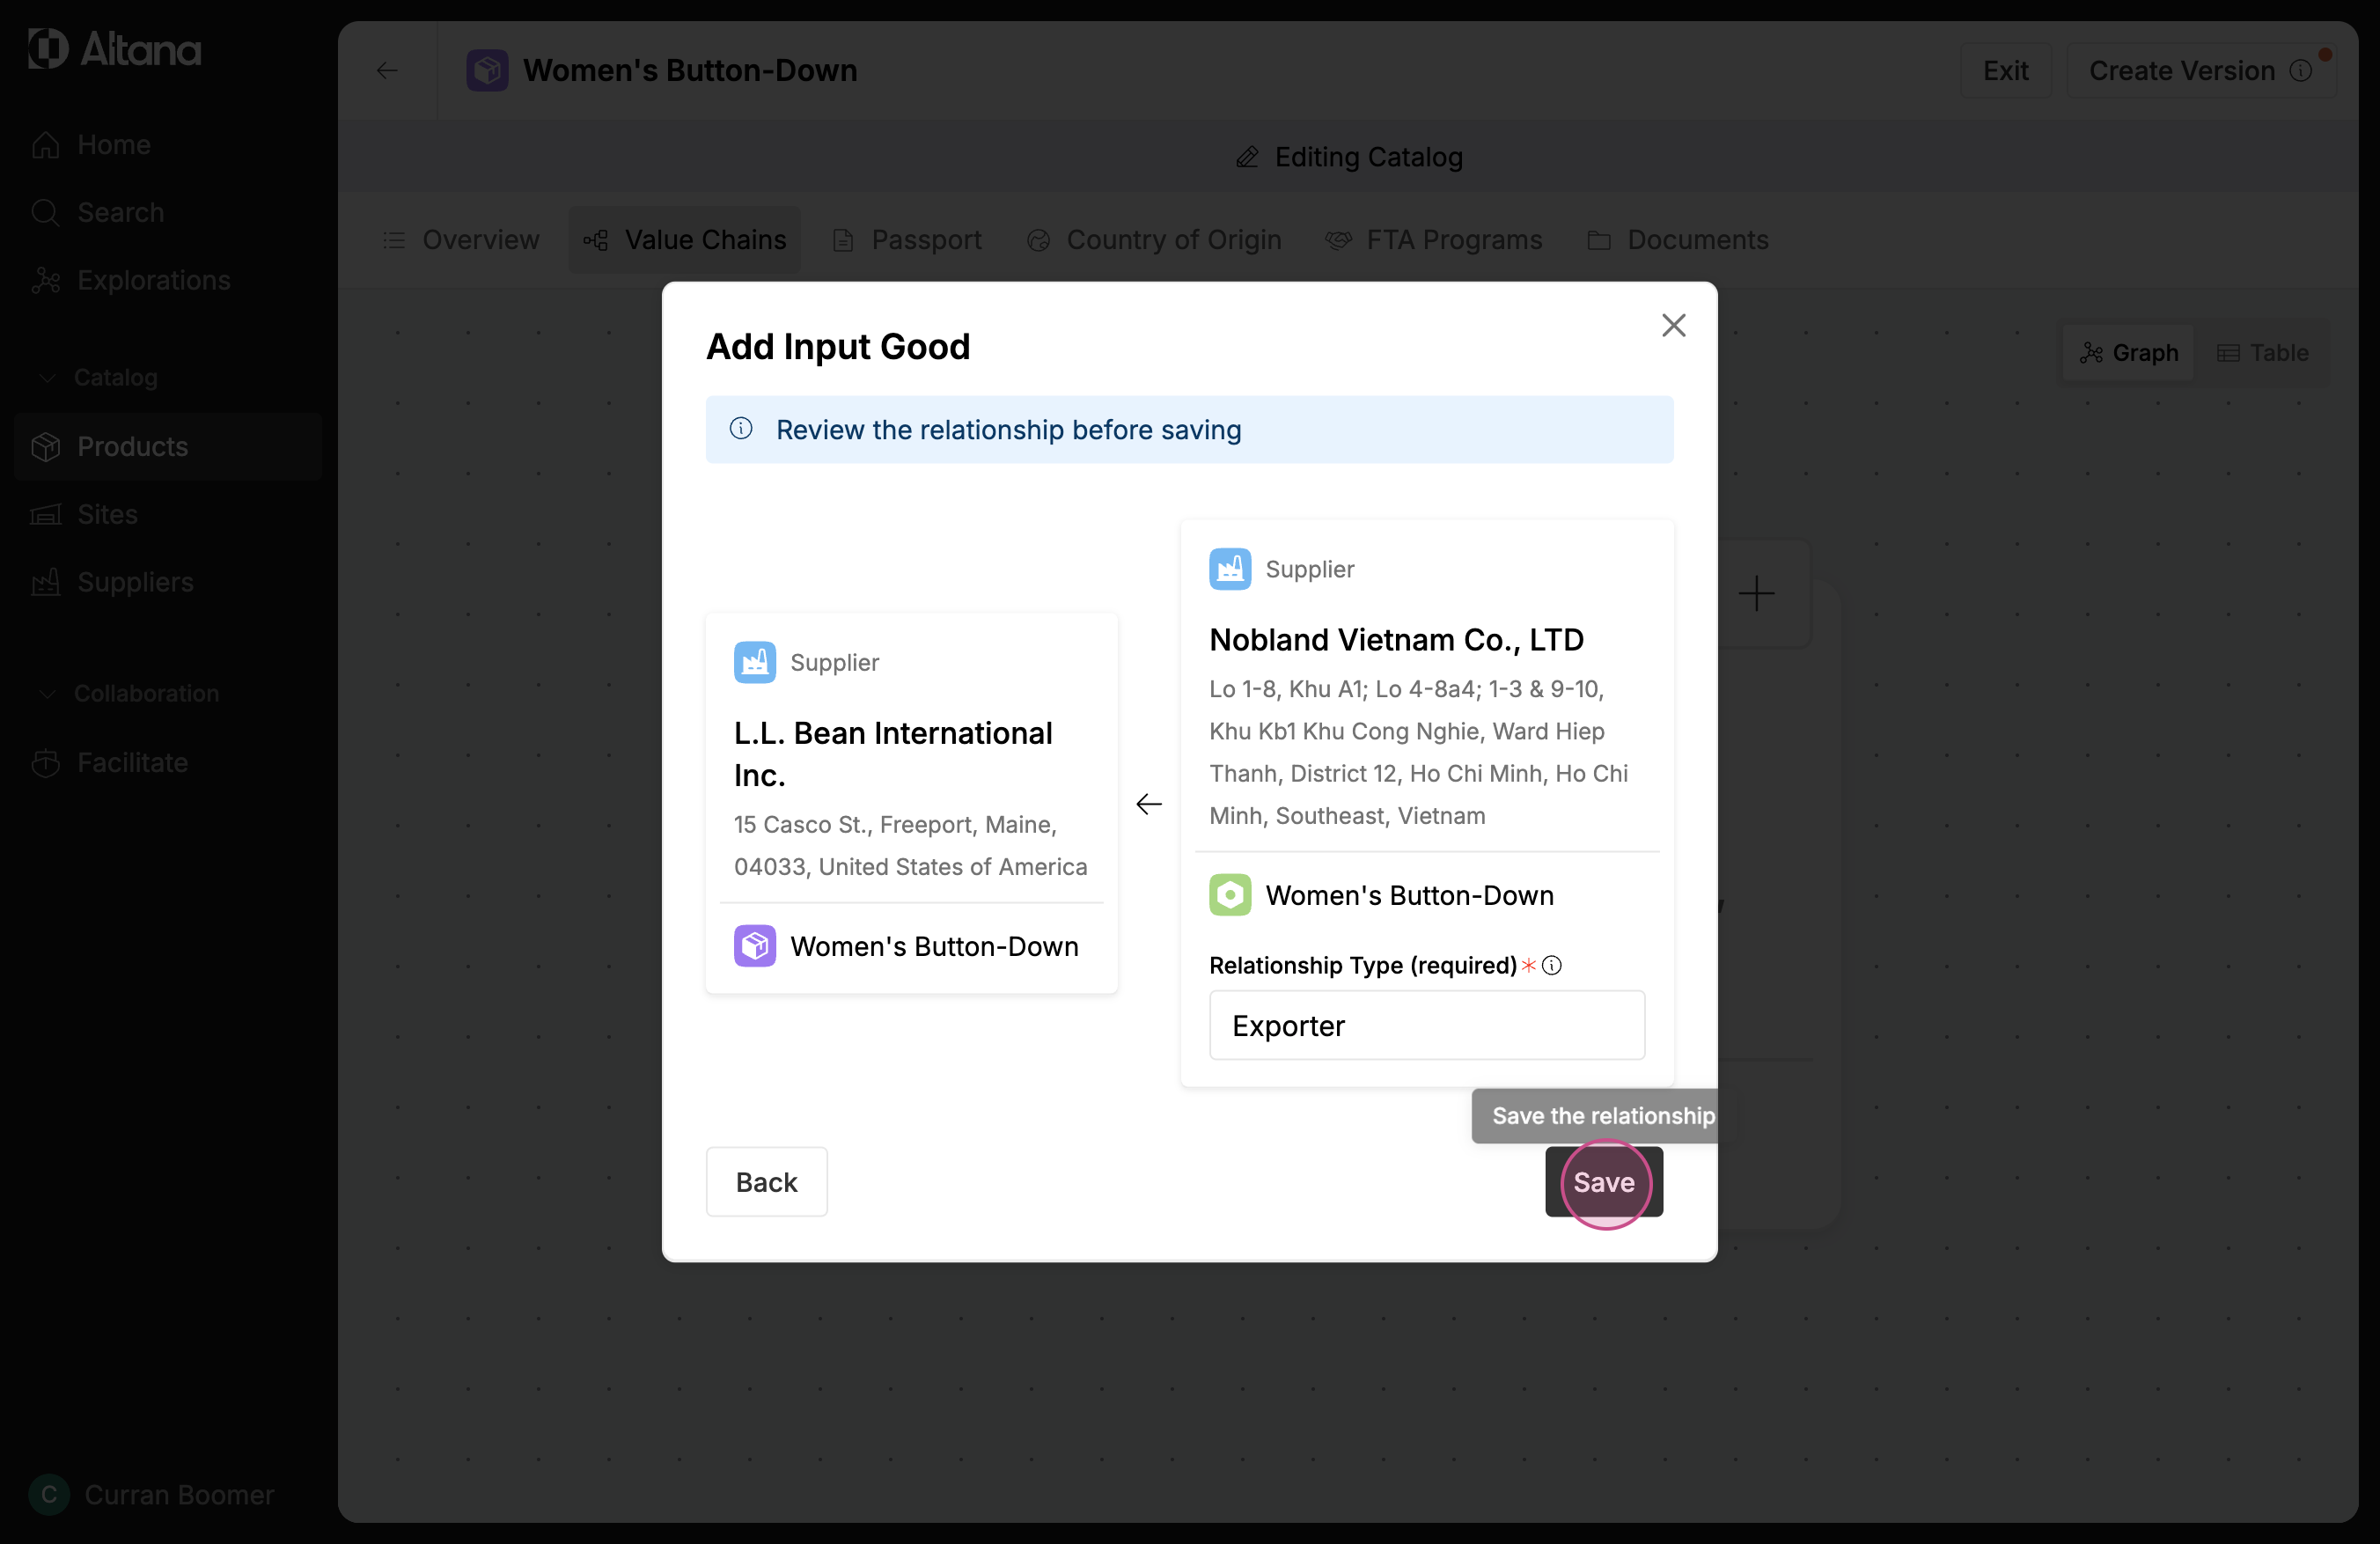
This new node now appears in the value chain.

Step 6: You can continue building out your value chain by clicking the + button next to an existing node to add a new input product for that step of the value chain. Please reference the video for more information.
Step 7: When you're done editing, select Create Version to save your changes to the catalog.