Sending Traceability Requests in Altana
This article will guide you on how to send traceability requests in Altana.
Requests allow you to conduct traceability work at scale, giving you the ability to ask multiple questions of multiple suppliers at once. They give you the ability to tell suppliers exactly what information you'd like to see in the Product Passports you're collaborating on together.
Please note: all requests occur at the product level and are sent and received via product passports.
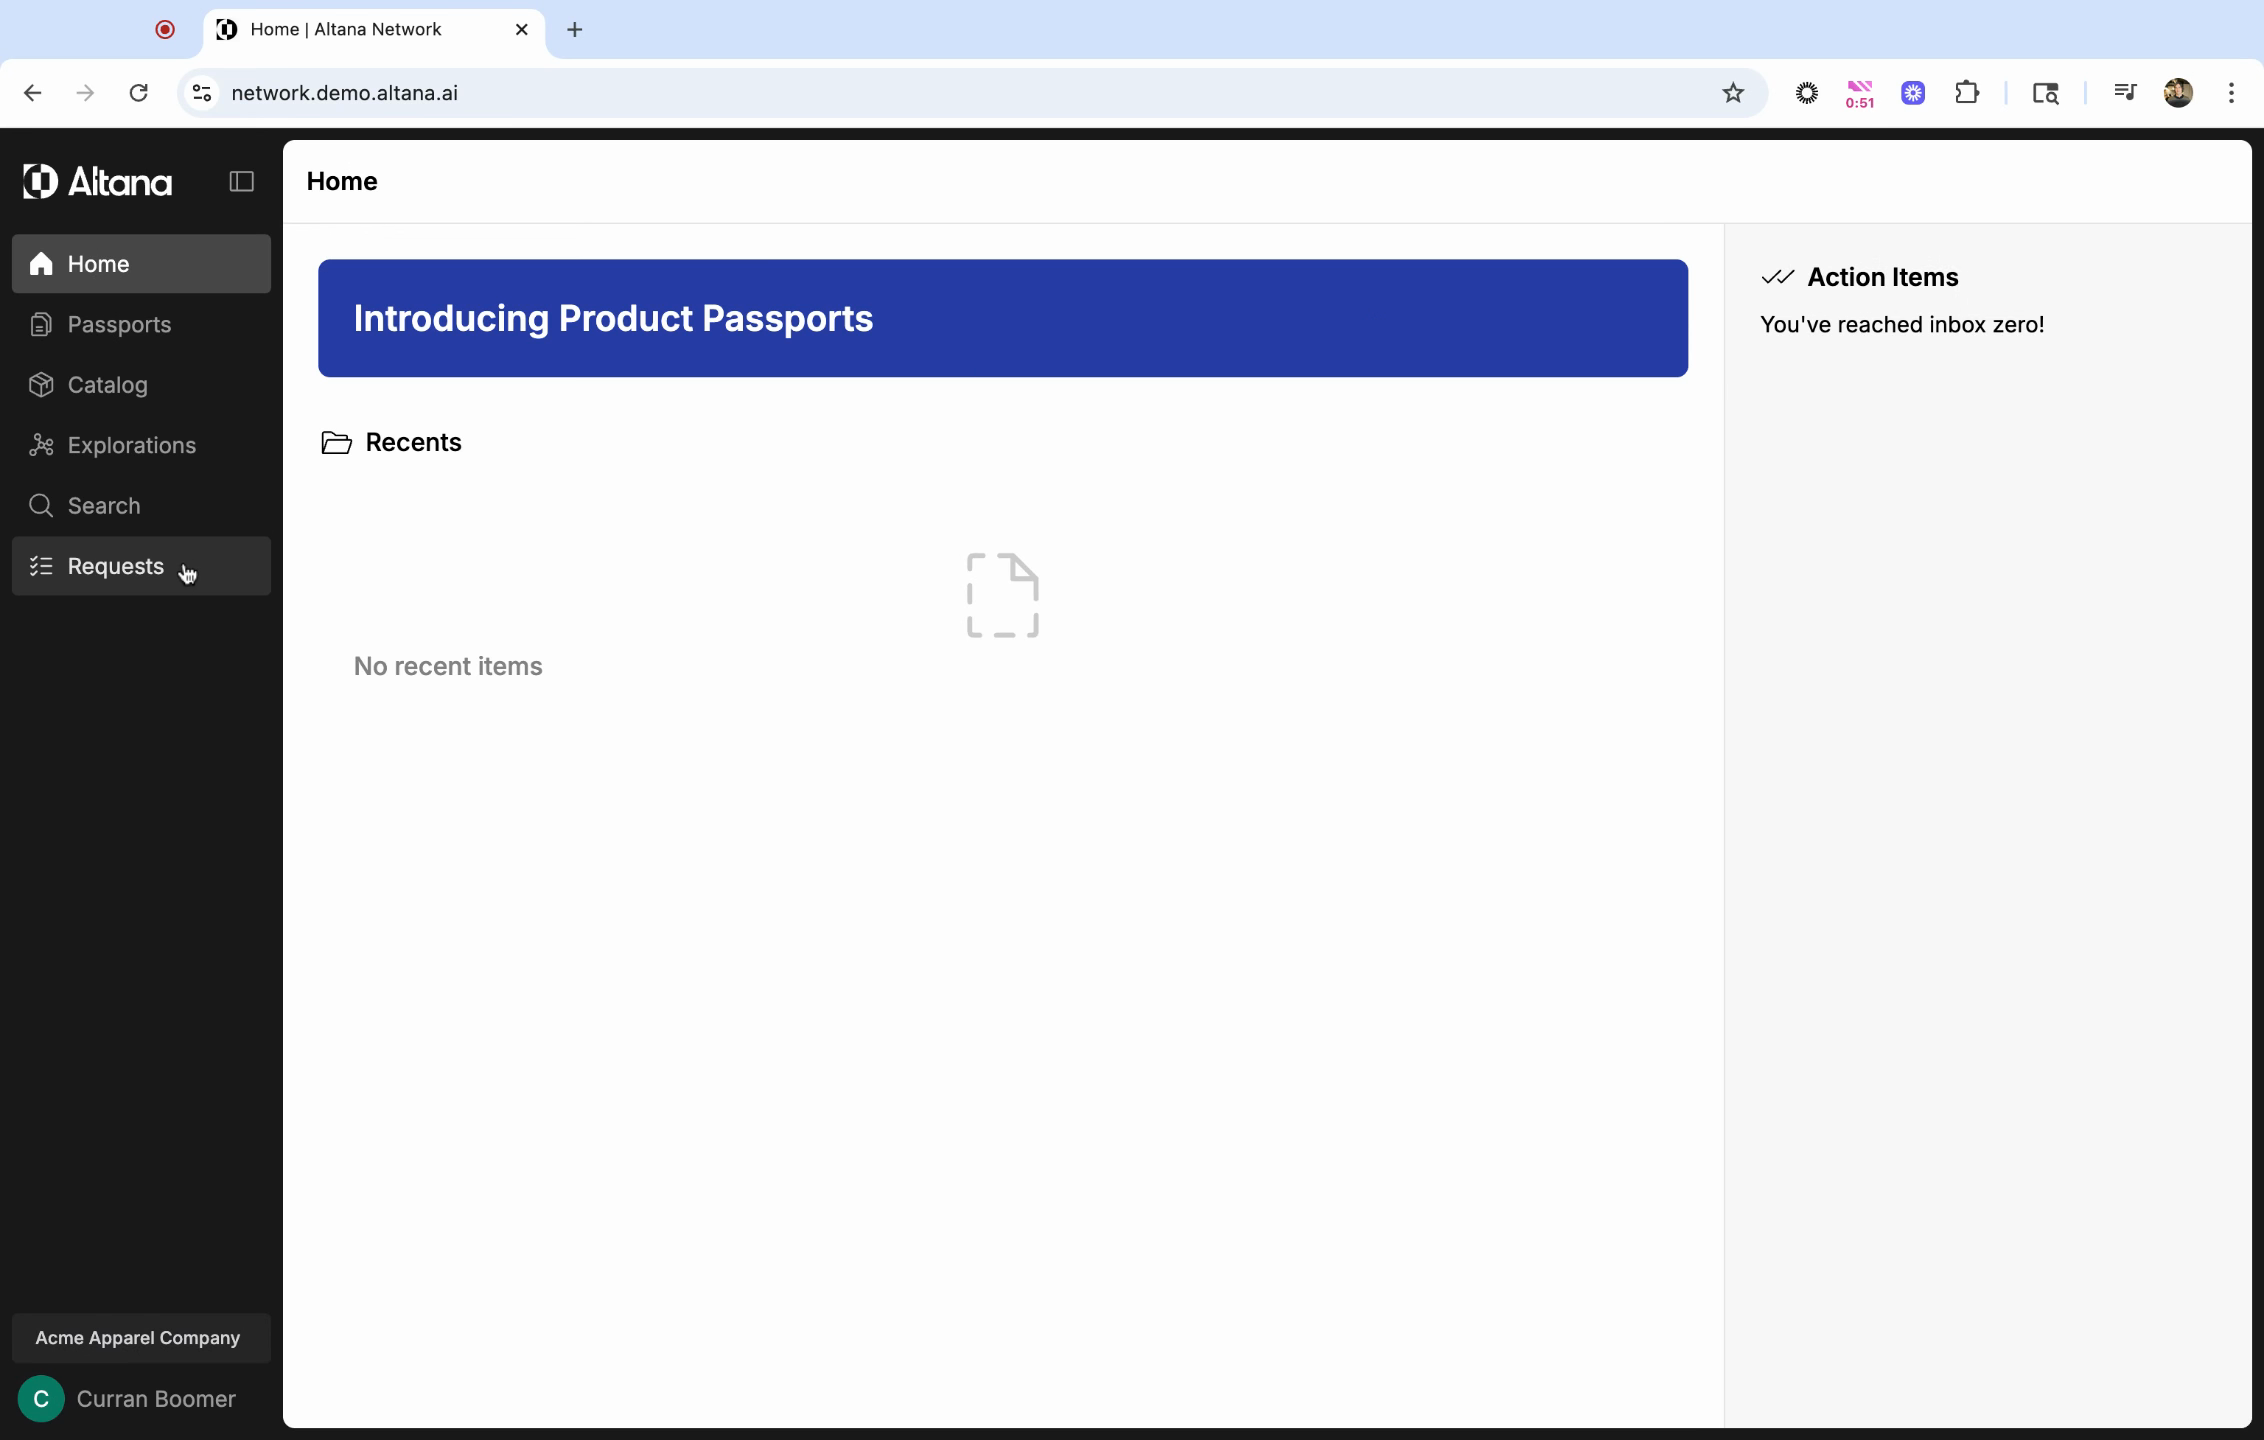
Step 1: Navigate to the homepage and select Requests from the left-hand menu.
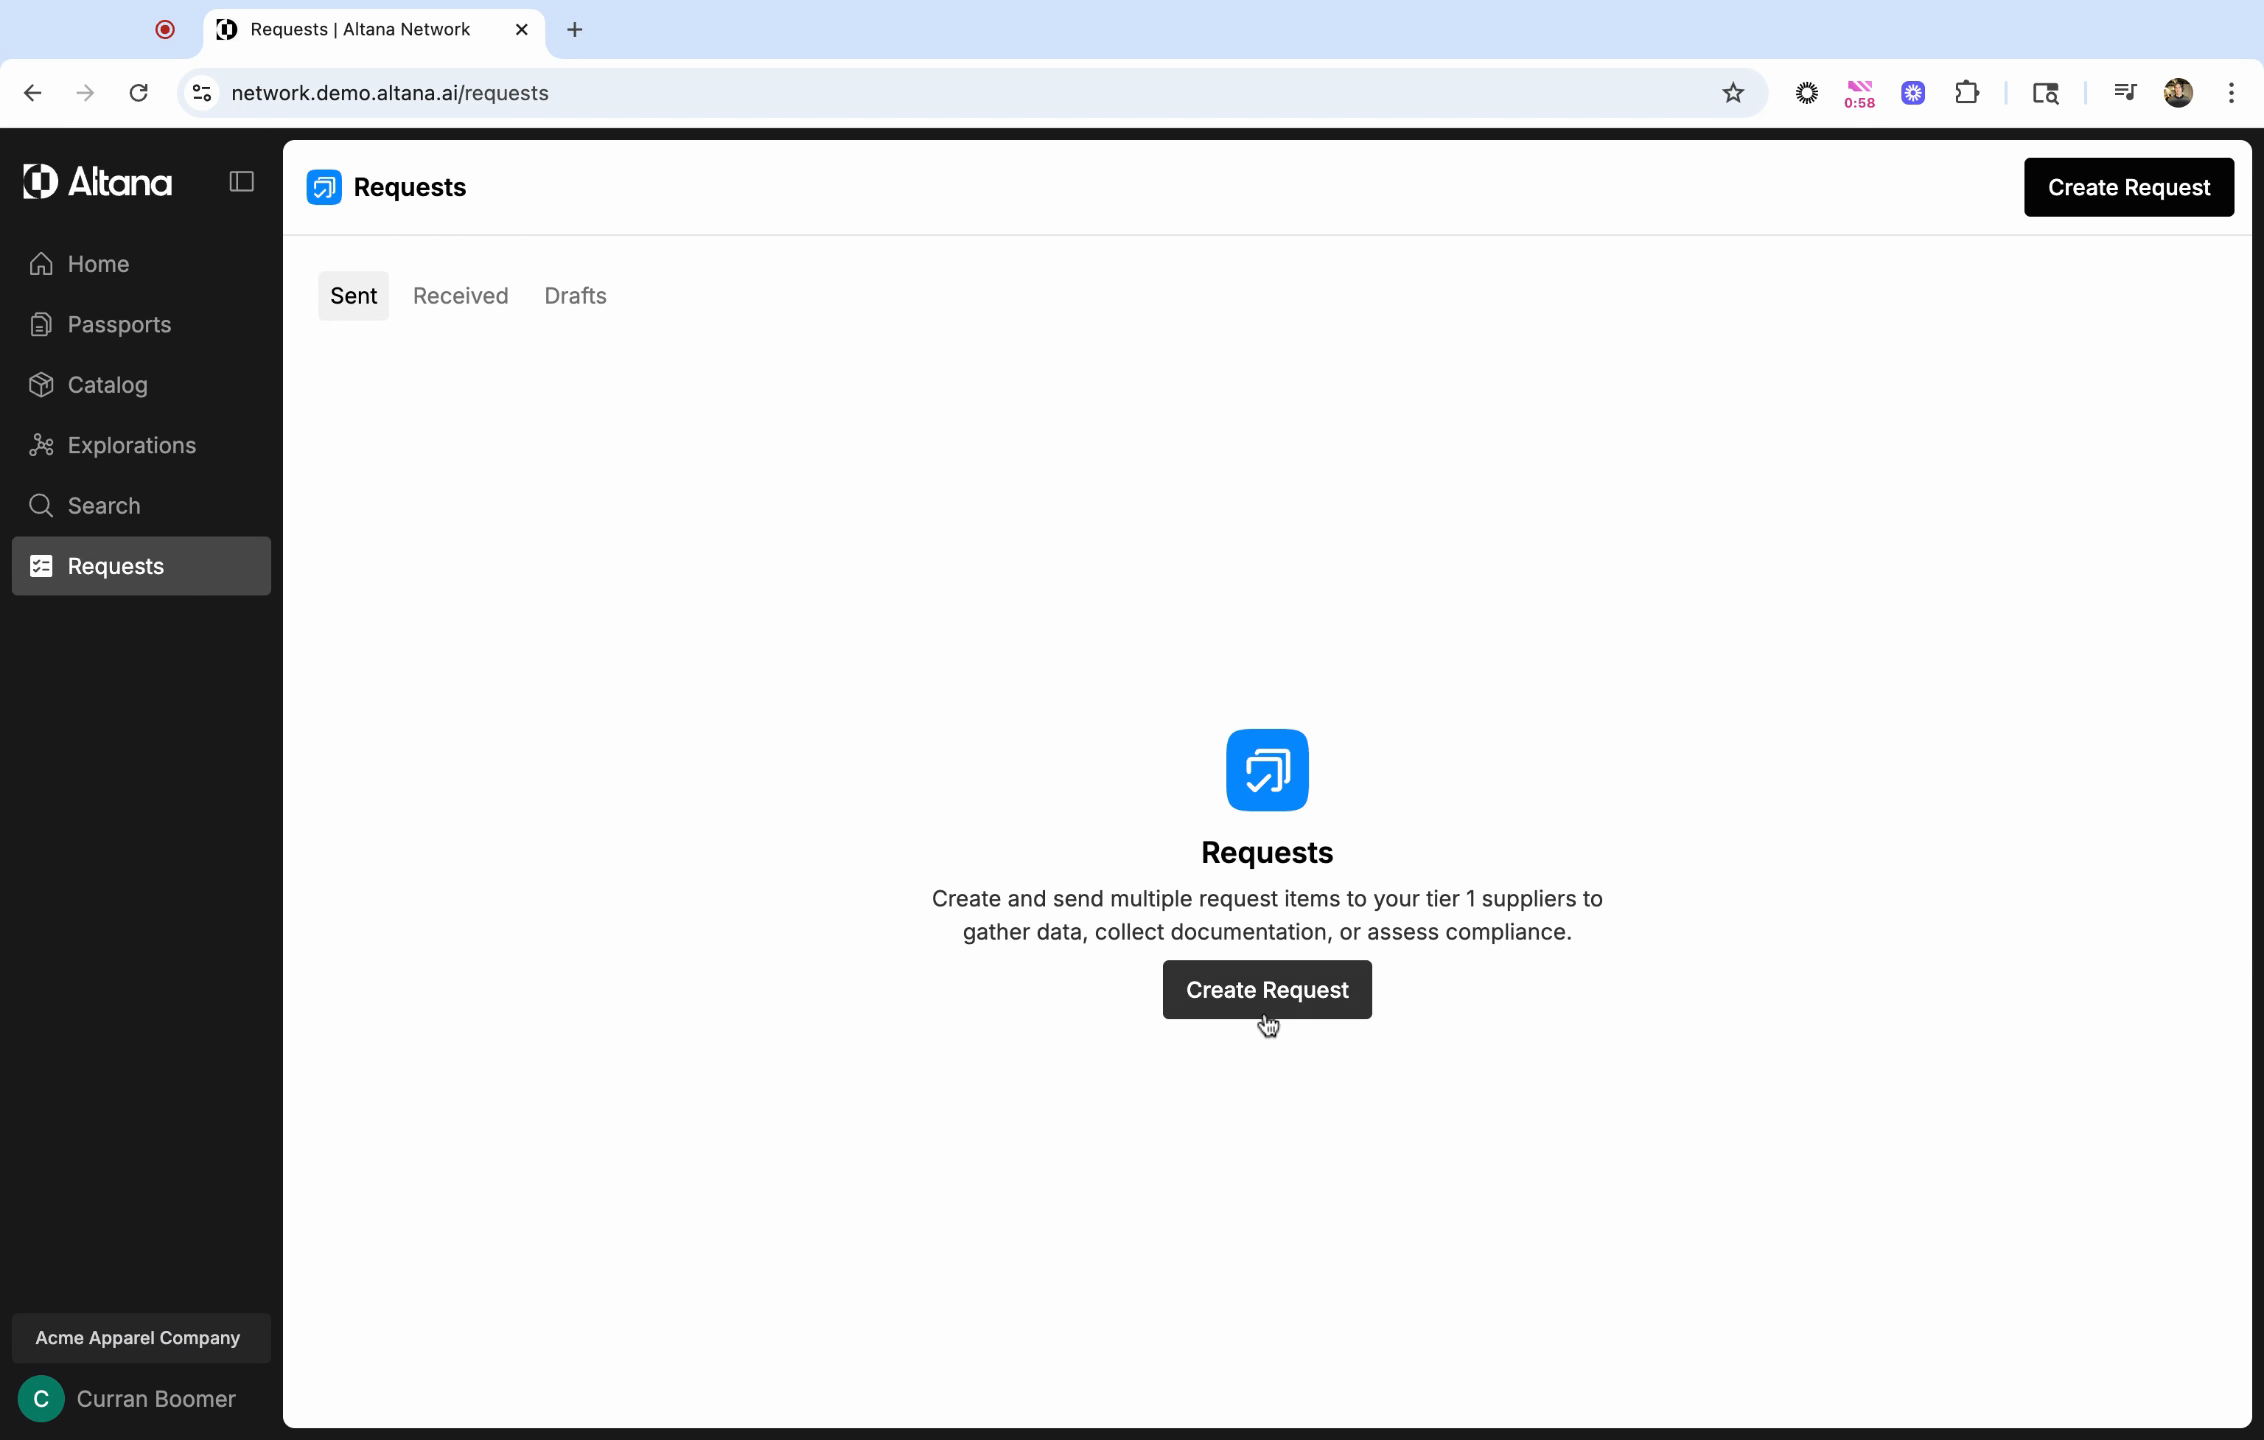
Step 2: Click on Create Request to start a new request.
Step 3: Assign a name to your request.

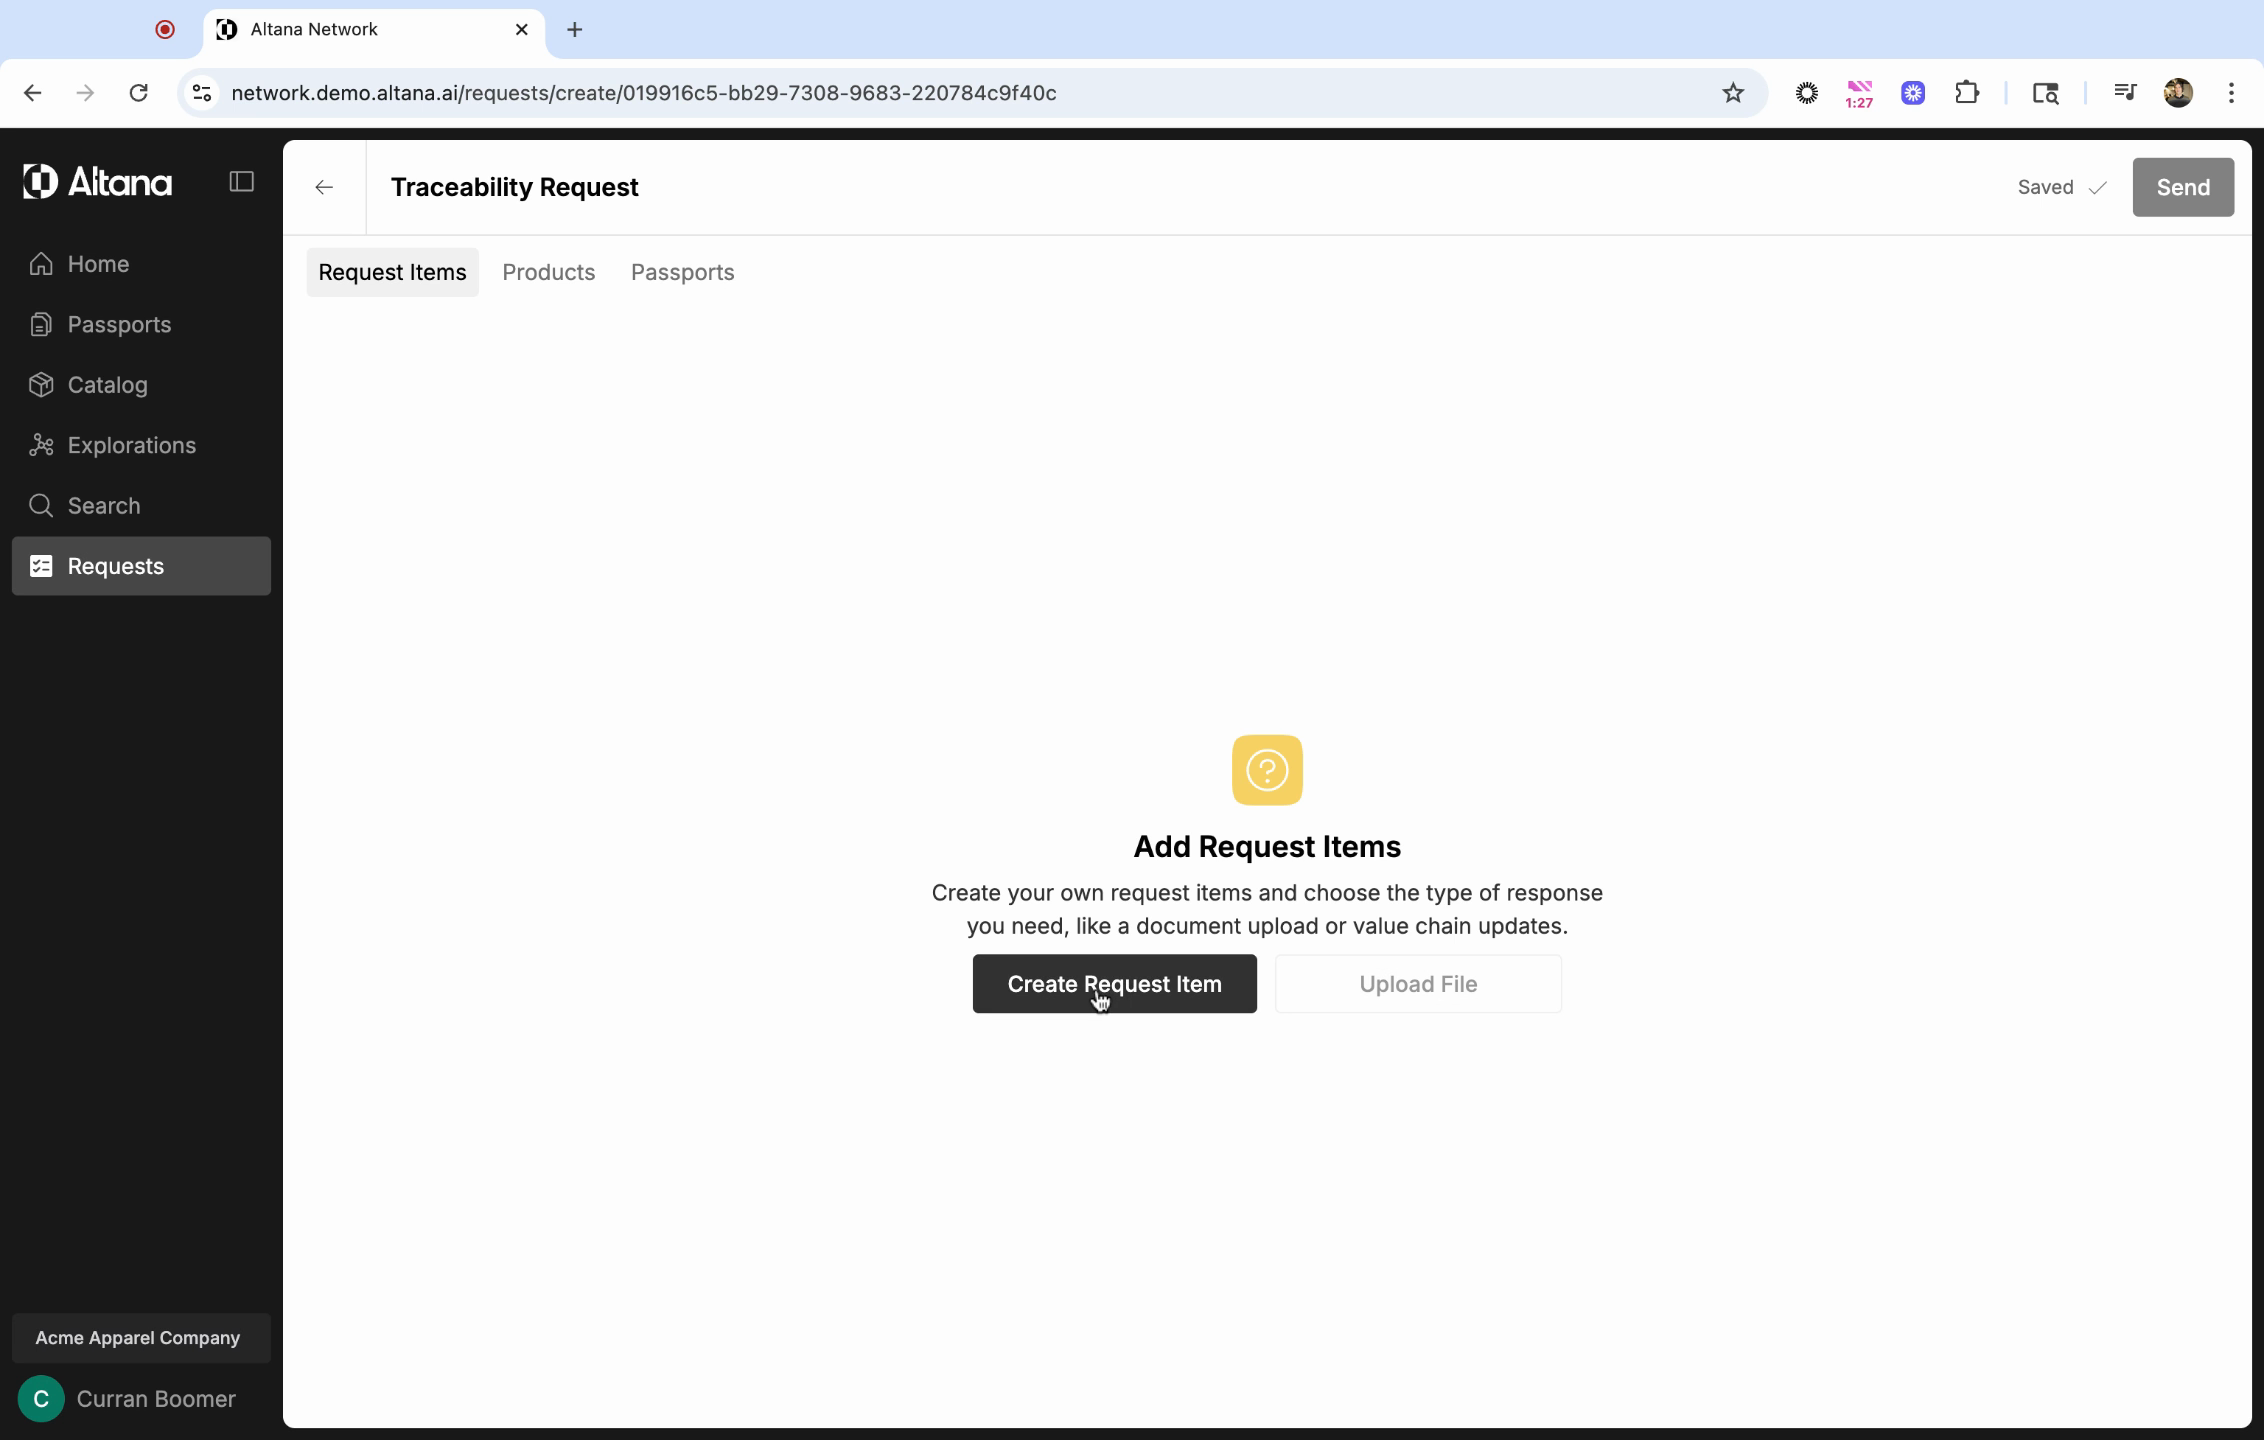
Step 4: The first task in your new traceability request is to add request items. These are the specific questions or information you want from suppliers. Click on Create Request Item to add your first request item.
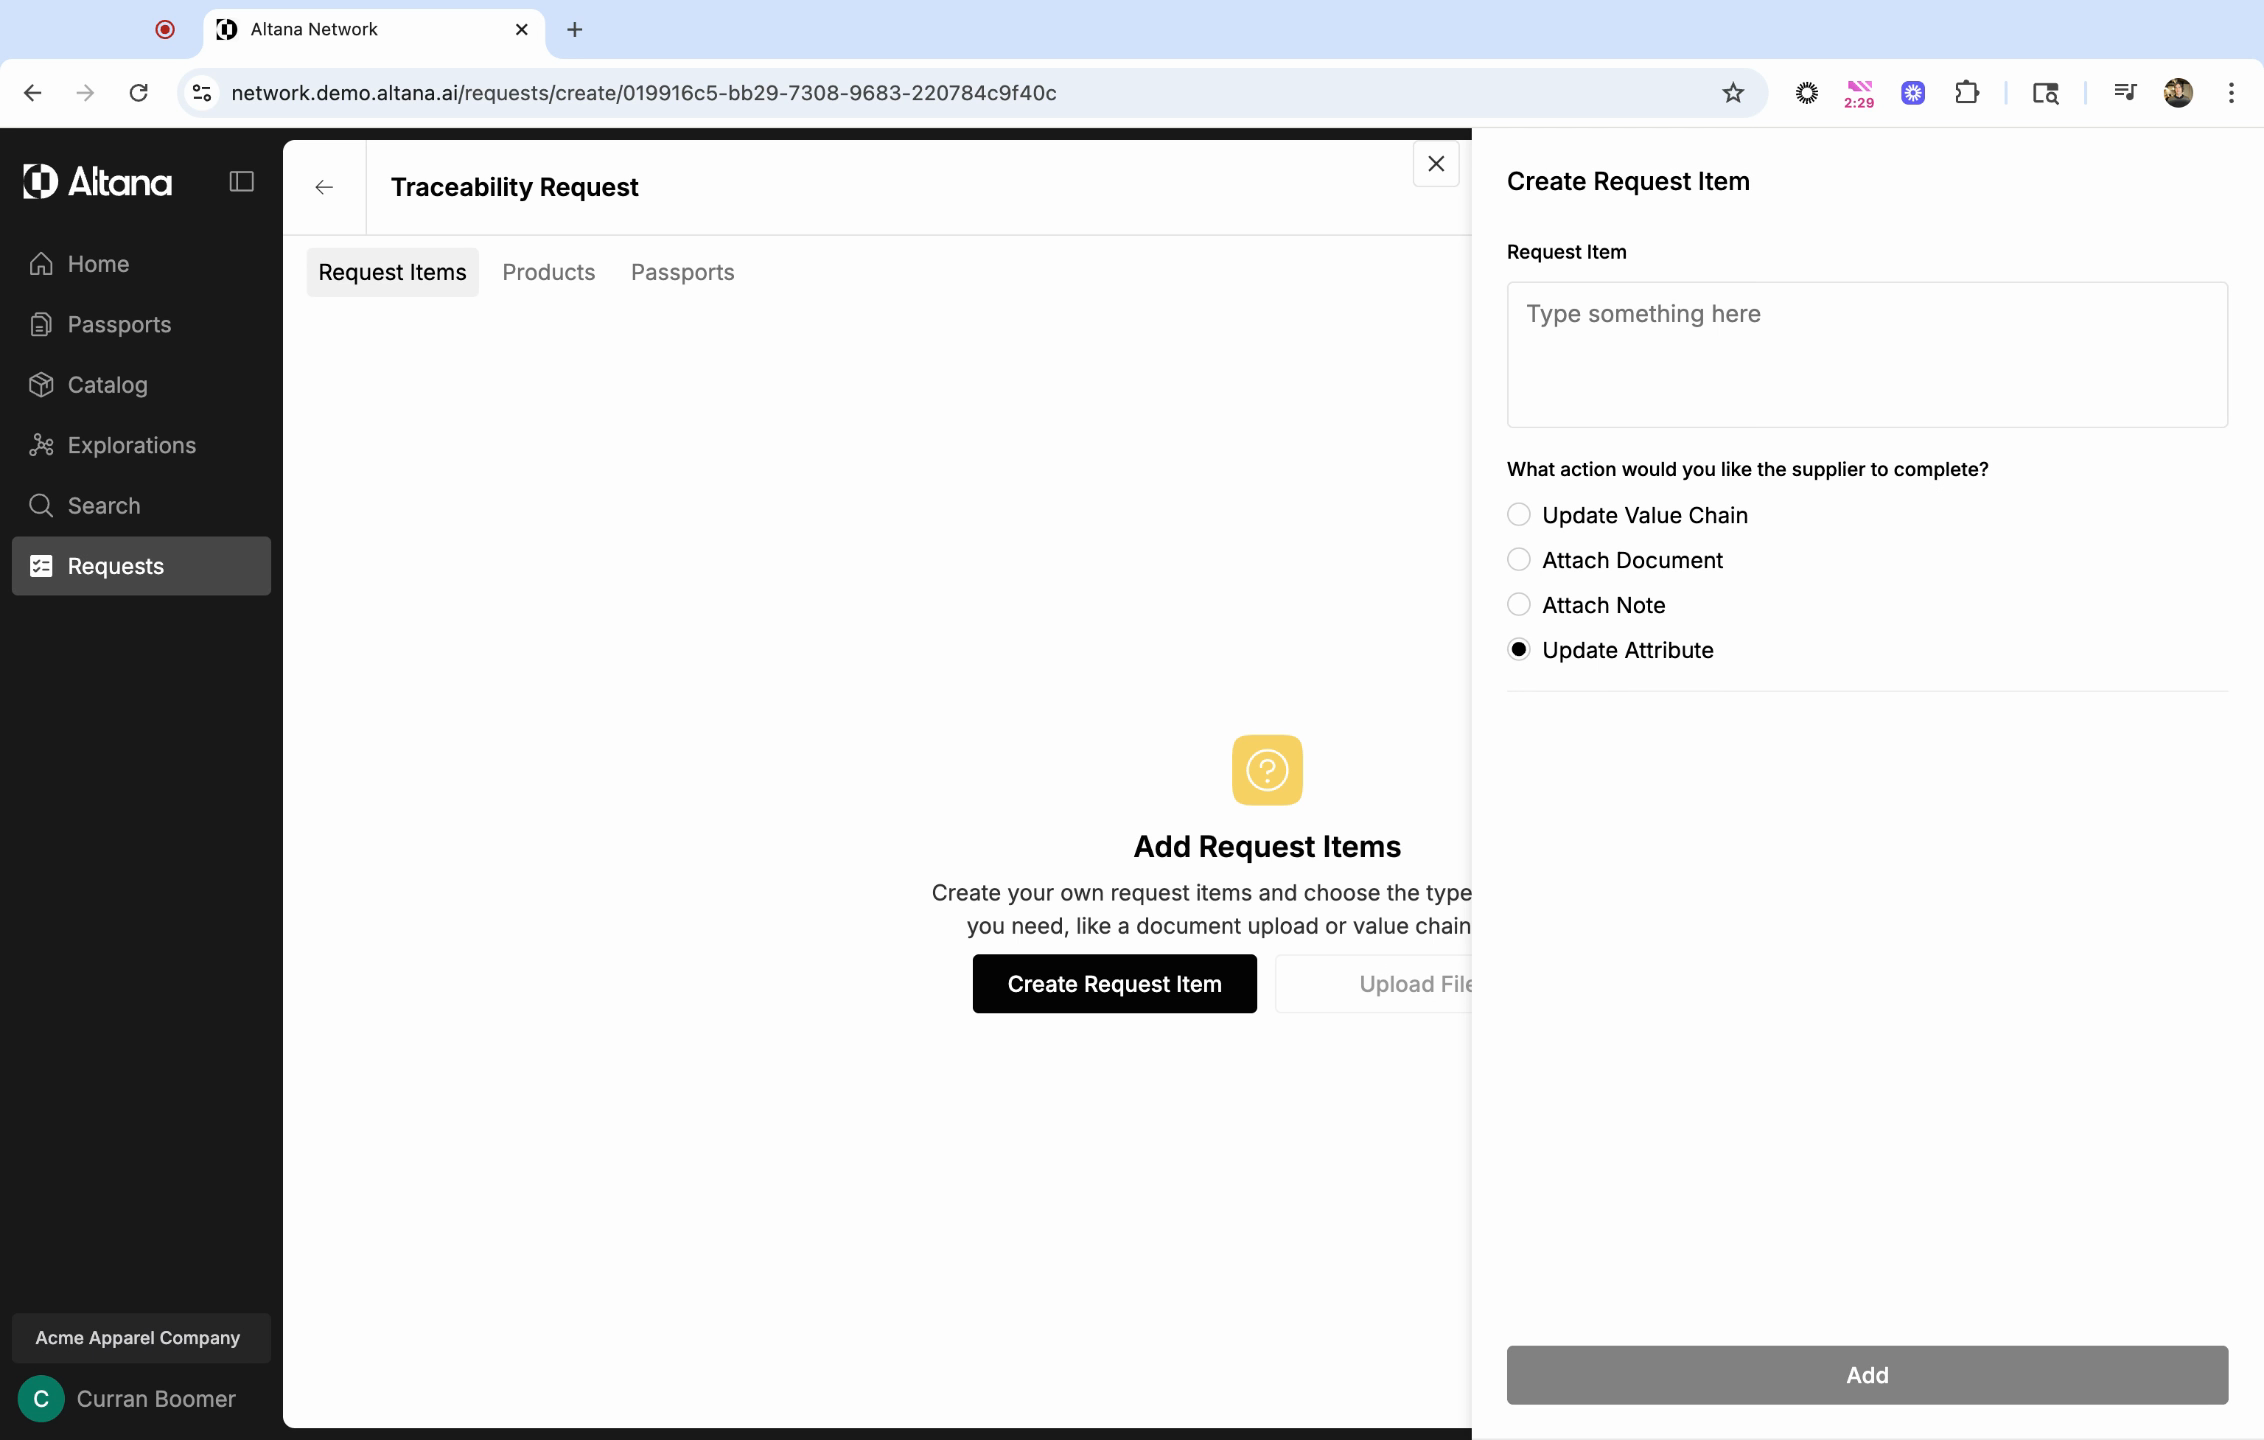
Request items fall into four categories:
- Update Value Chain: Choose this if you want a supplier to provide more value chain information.
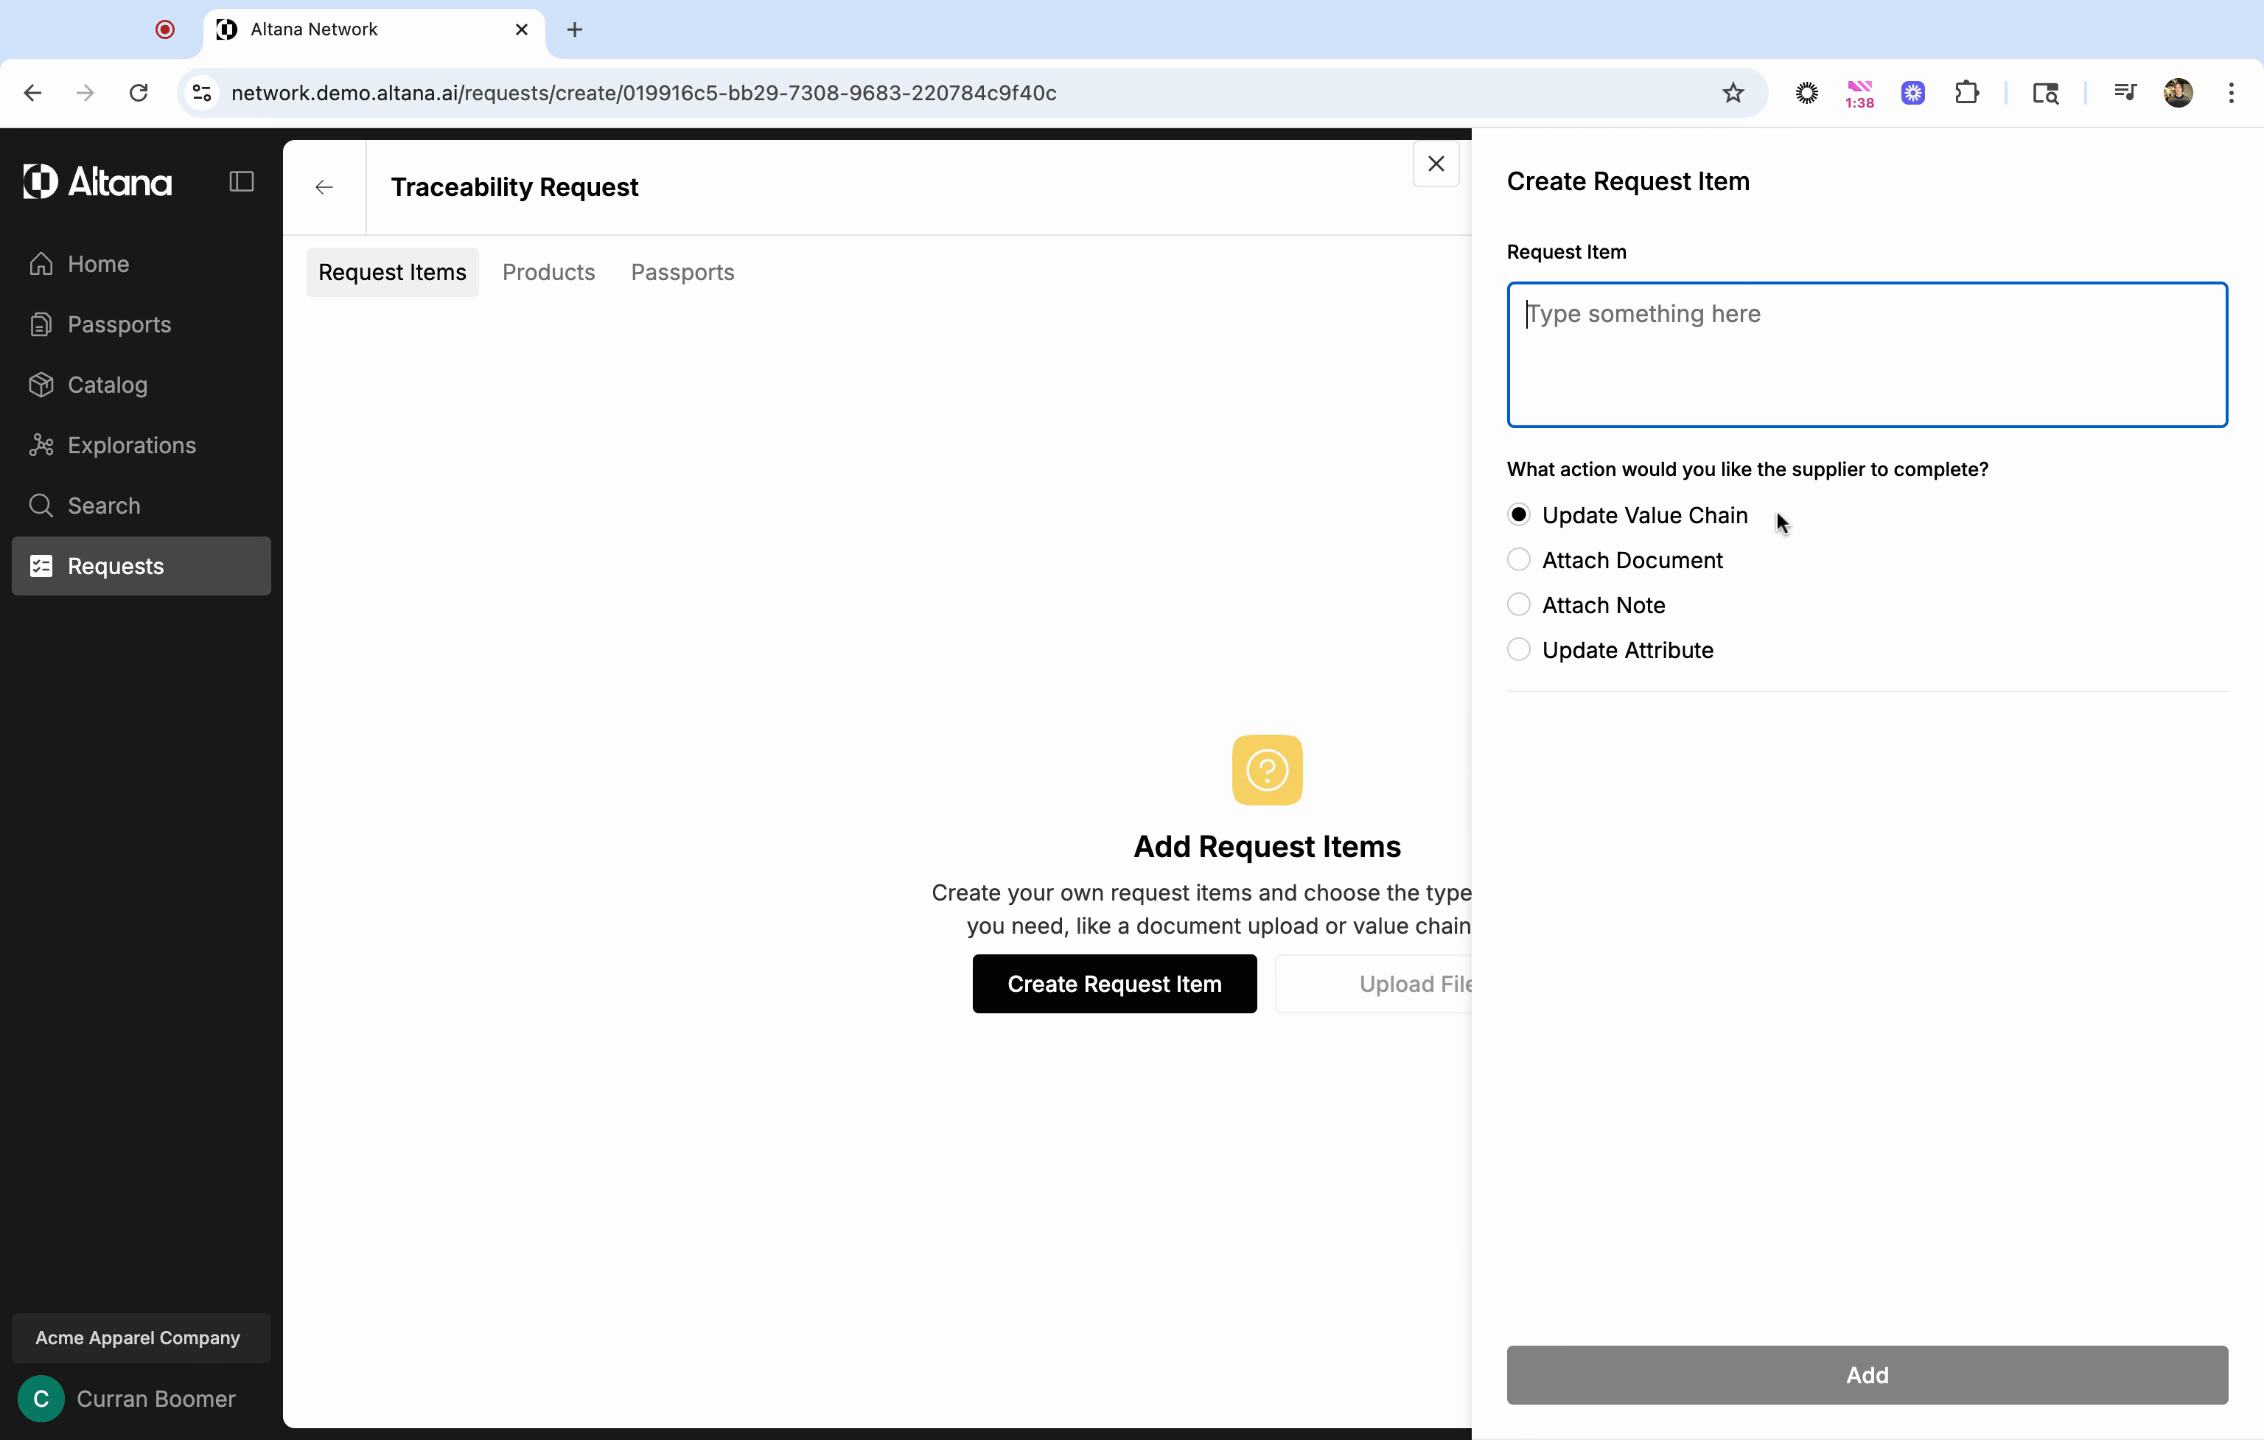
- Attach Document: Select this if you want a supplier to attach a specific document.
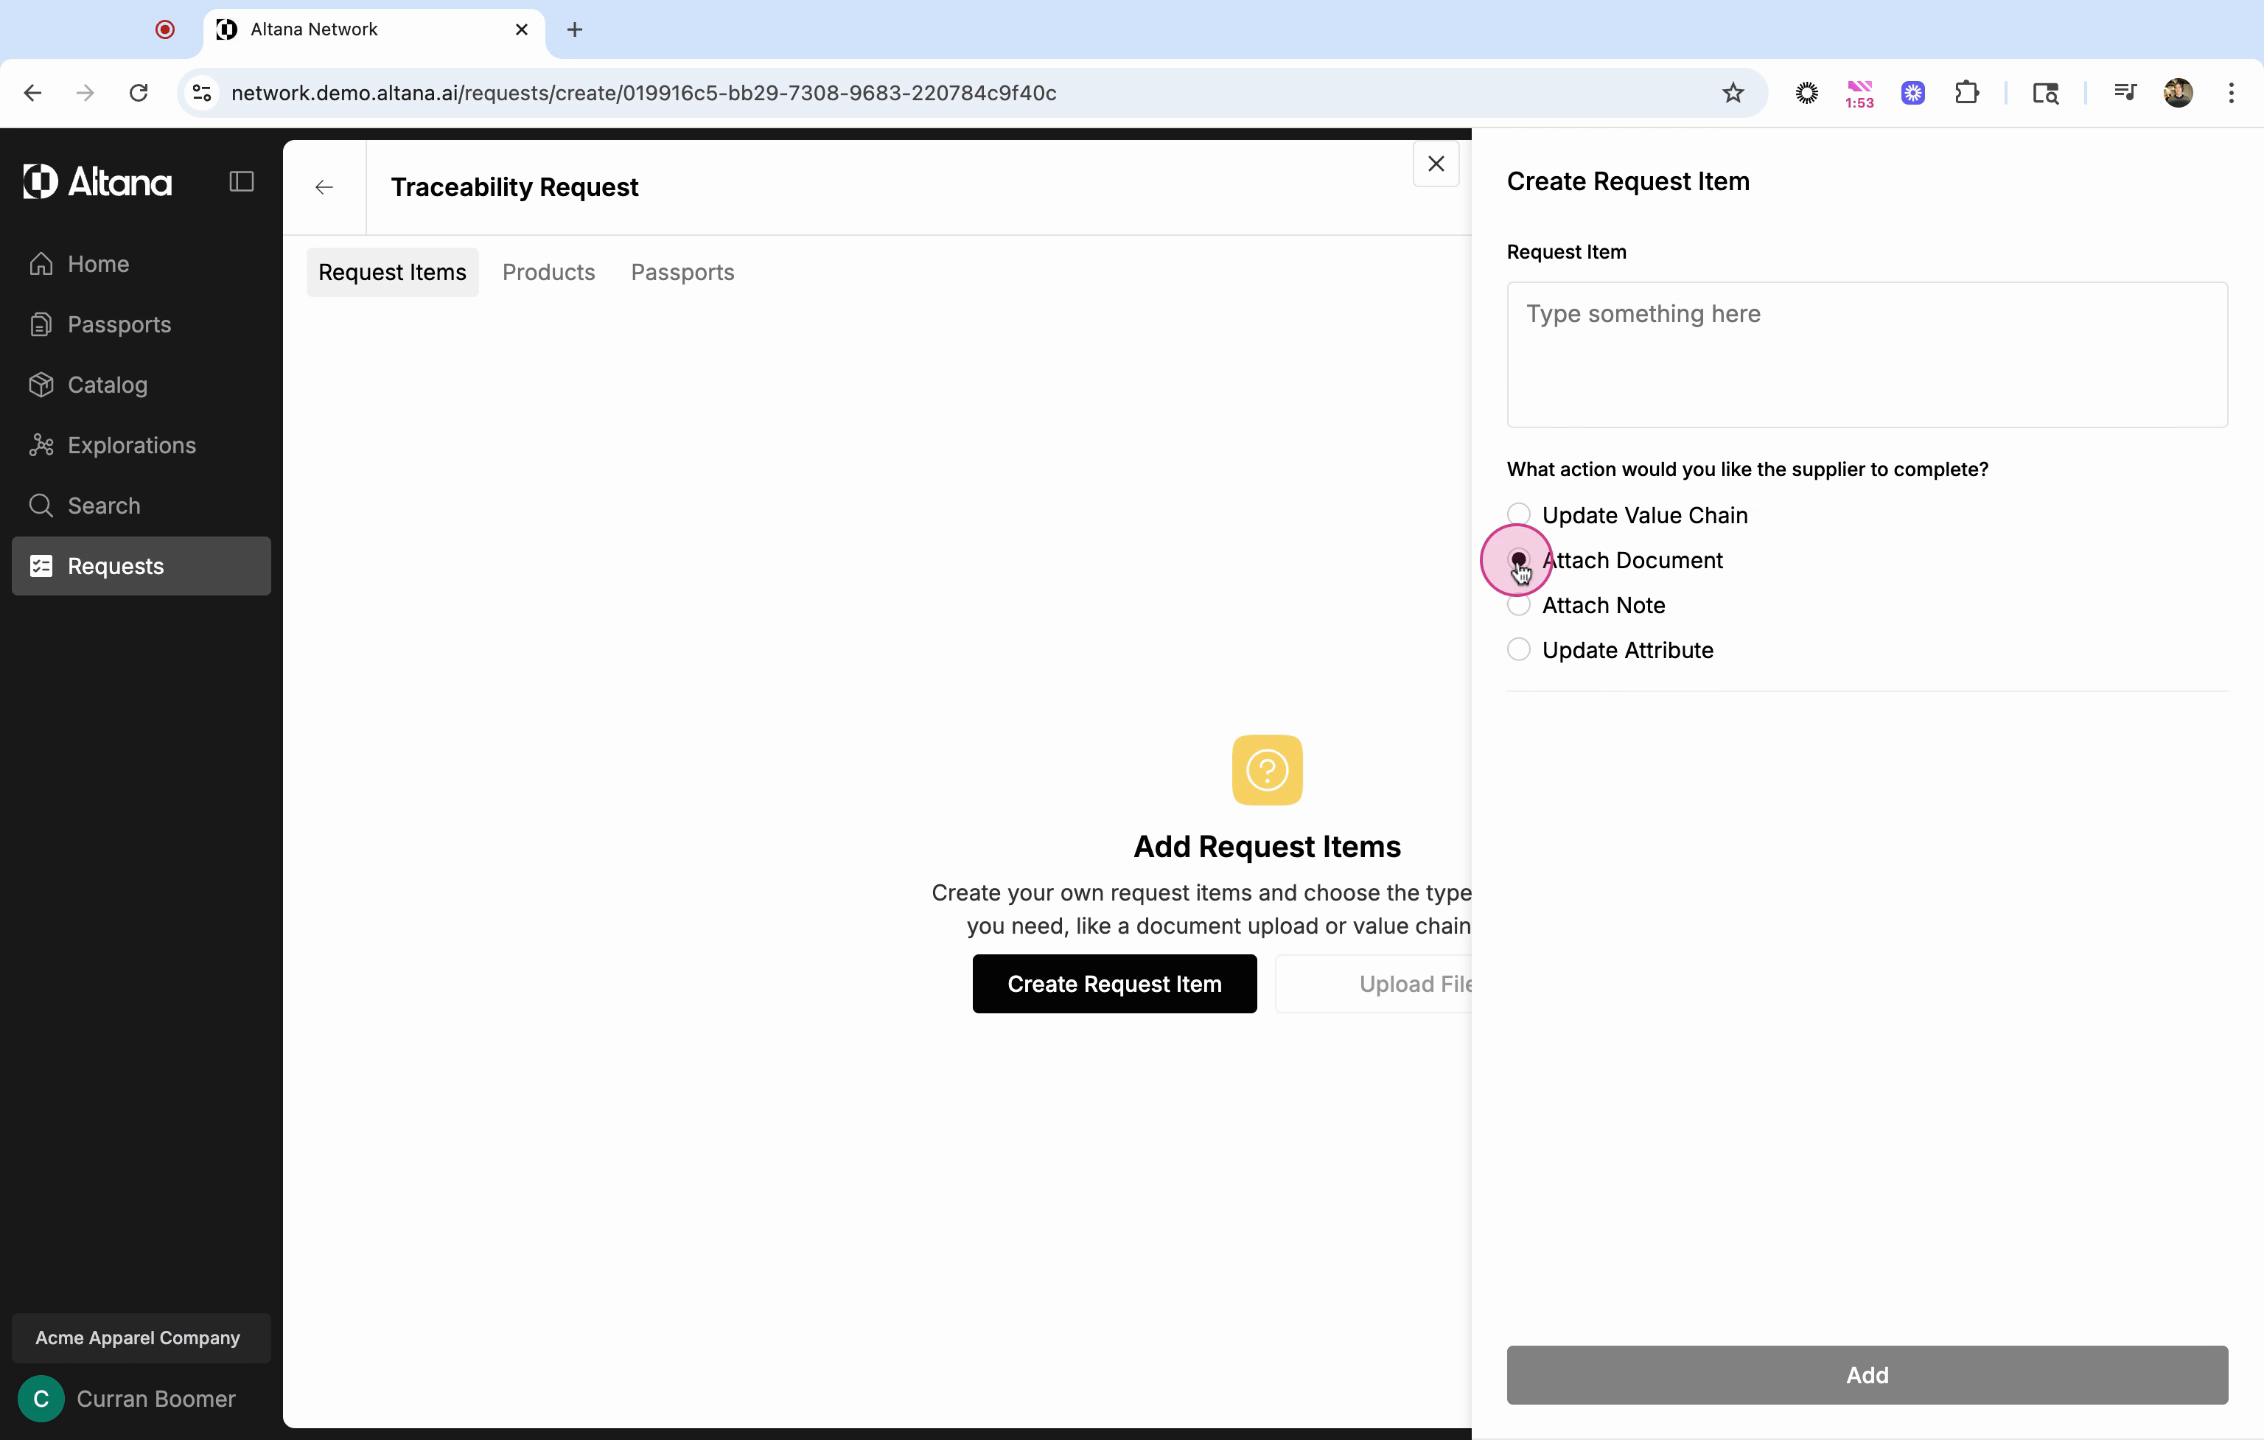
- Attach Note: Choose this if you want a supplier to attach a note to a particular entity in the value chain.

- Update Attribute: Select this if you want a supplier to update a specific field in the value chain, like the relationship type field or the input product.
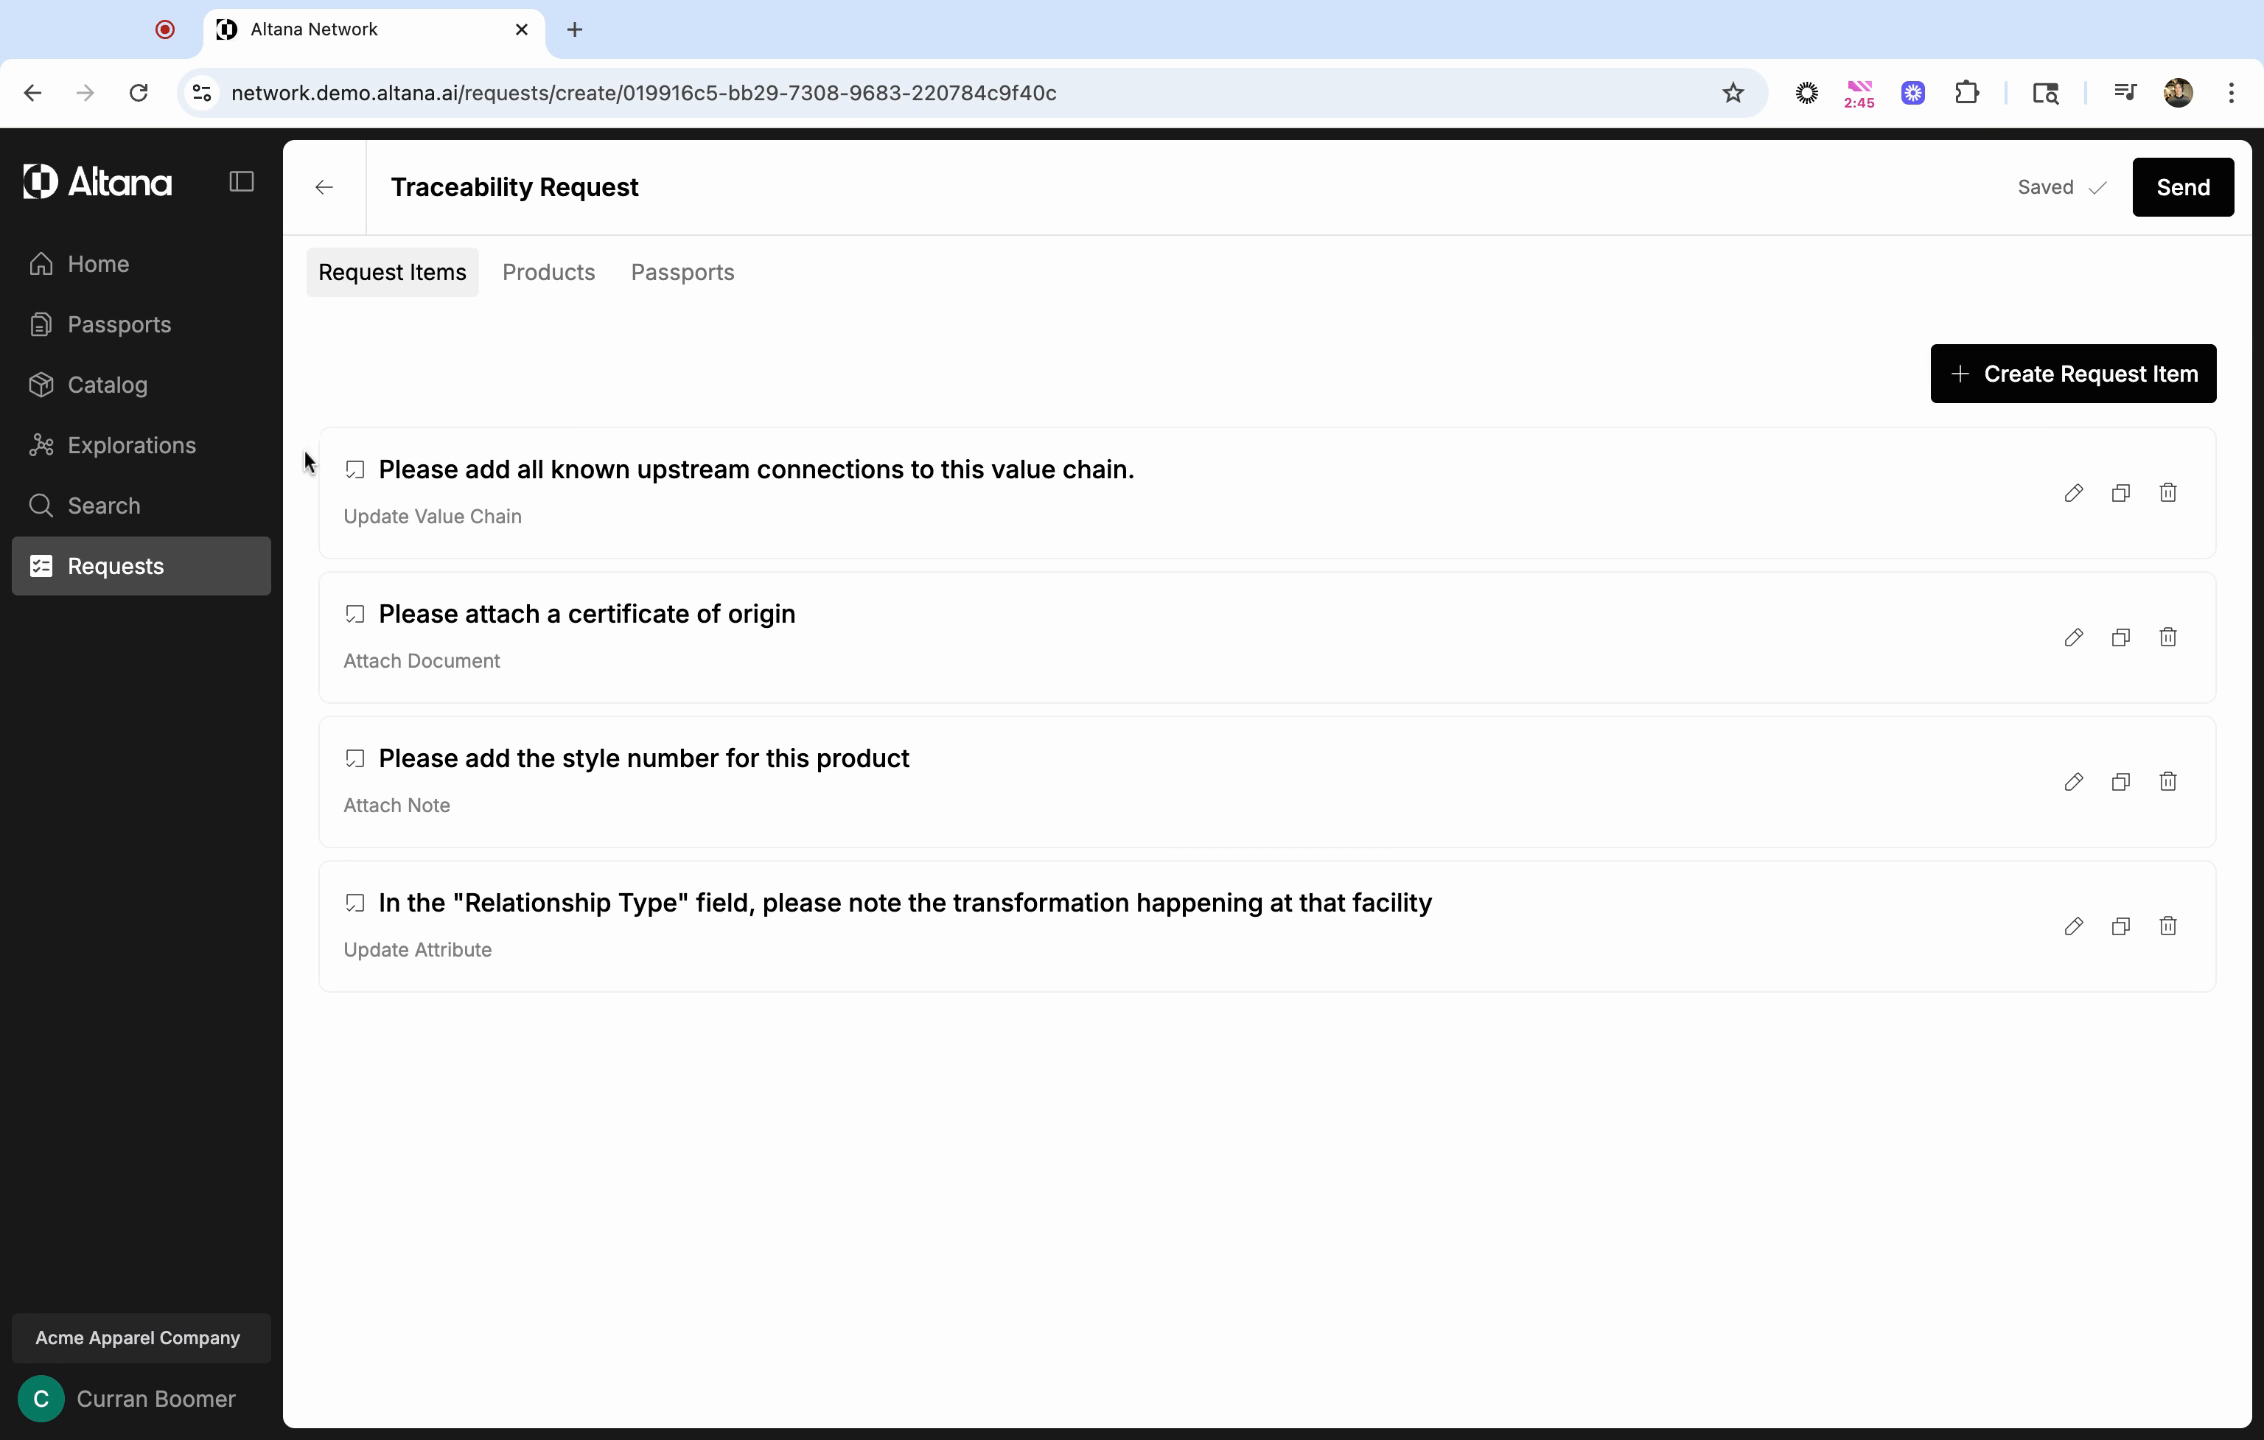
In this example, we've added four questions, each reflecting a different type of request item.
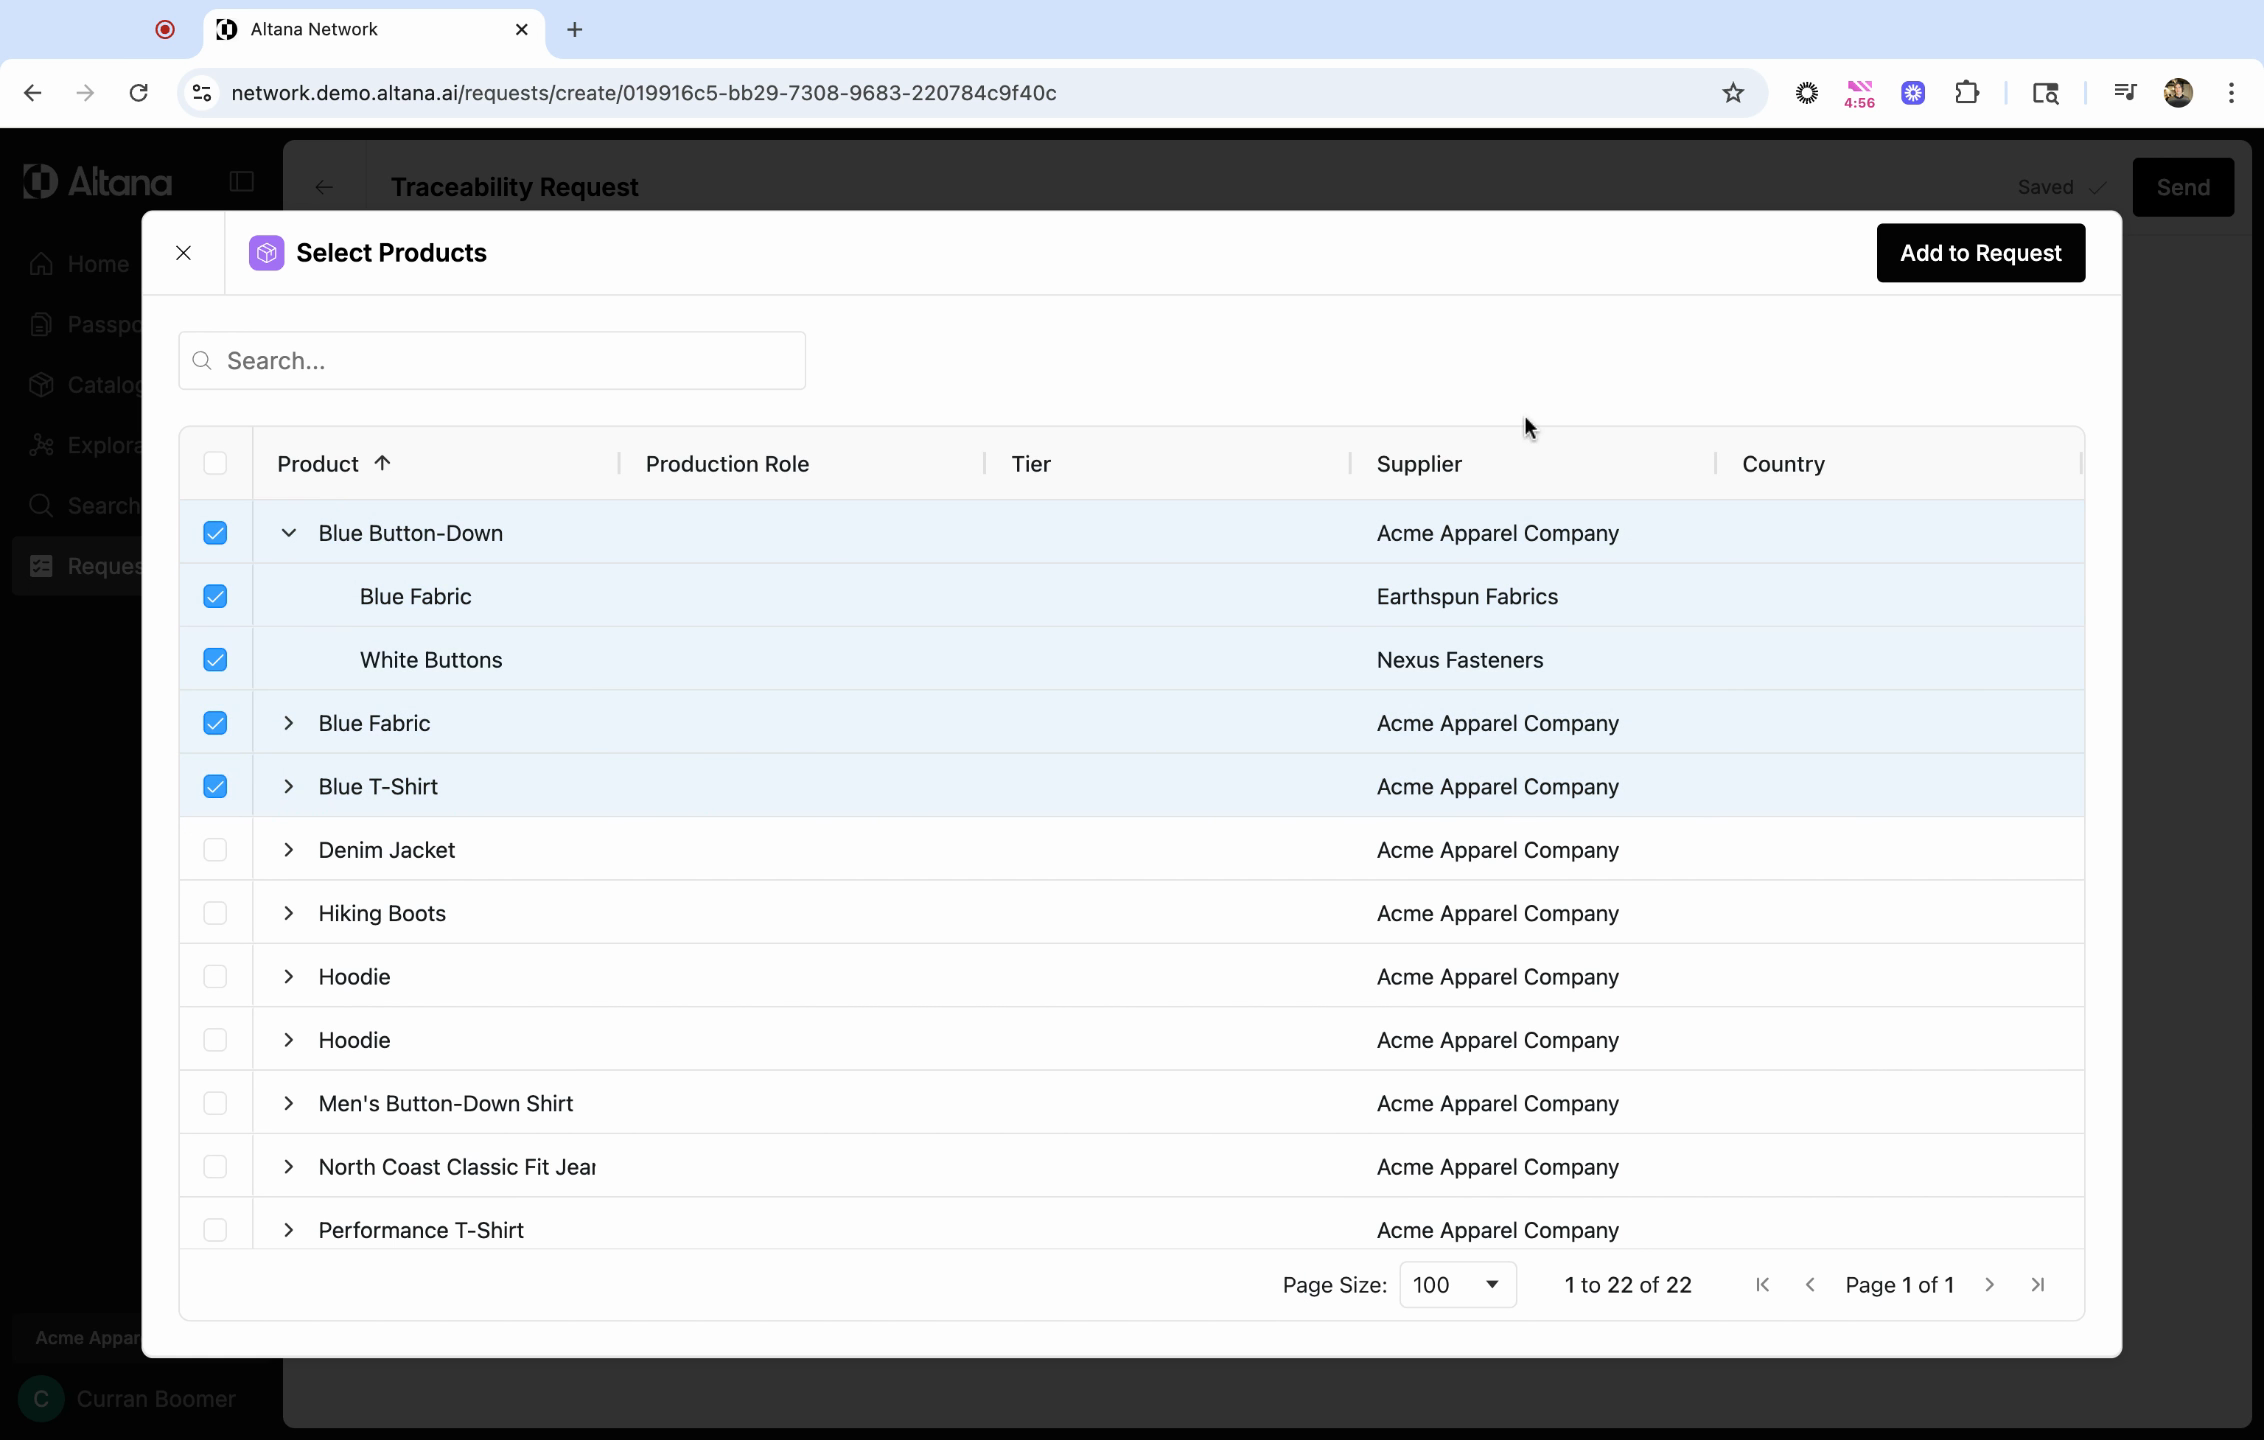
Step 5: Once you've selected all your request items, choose the products this request applies to. Click on Select Products to make your selection from your product catalog.
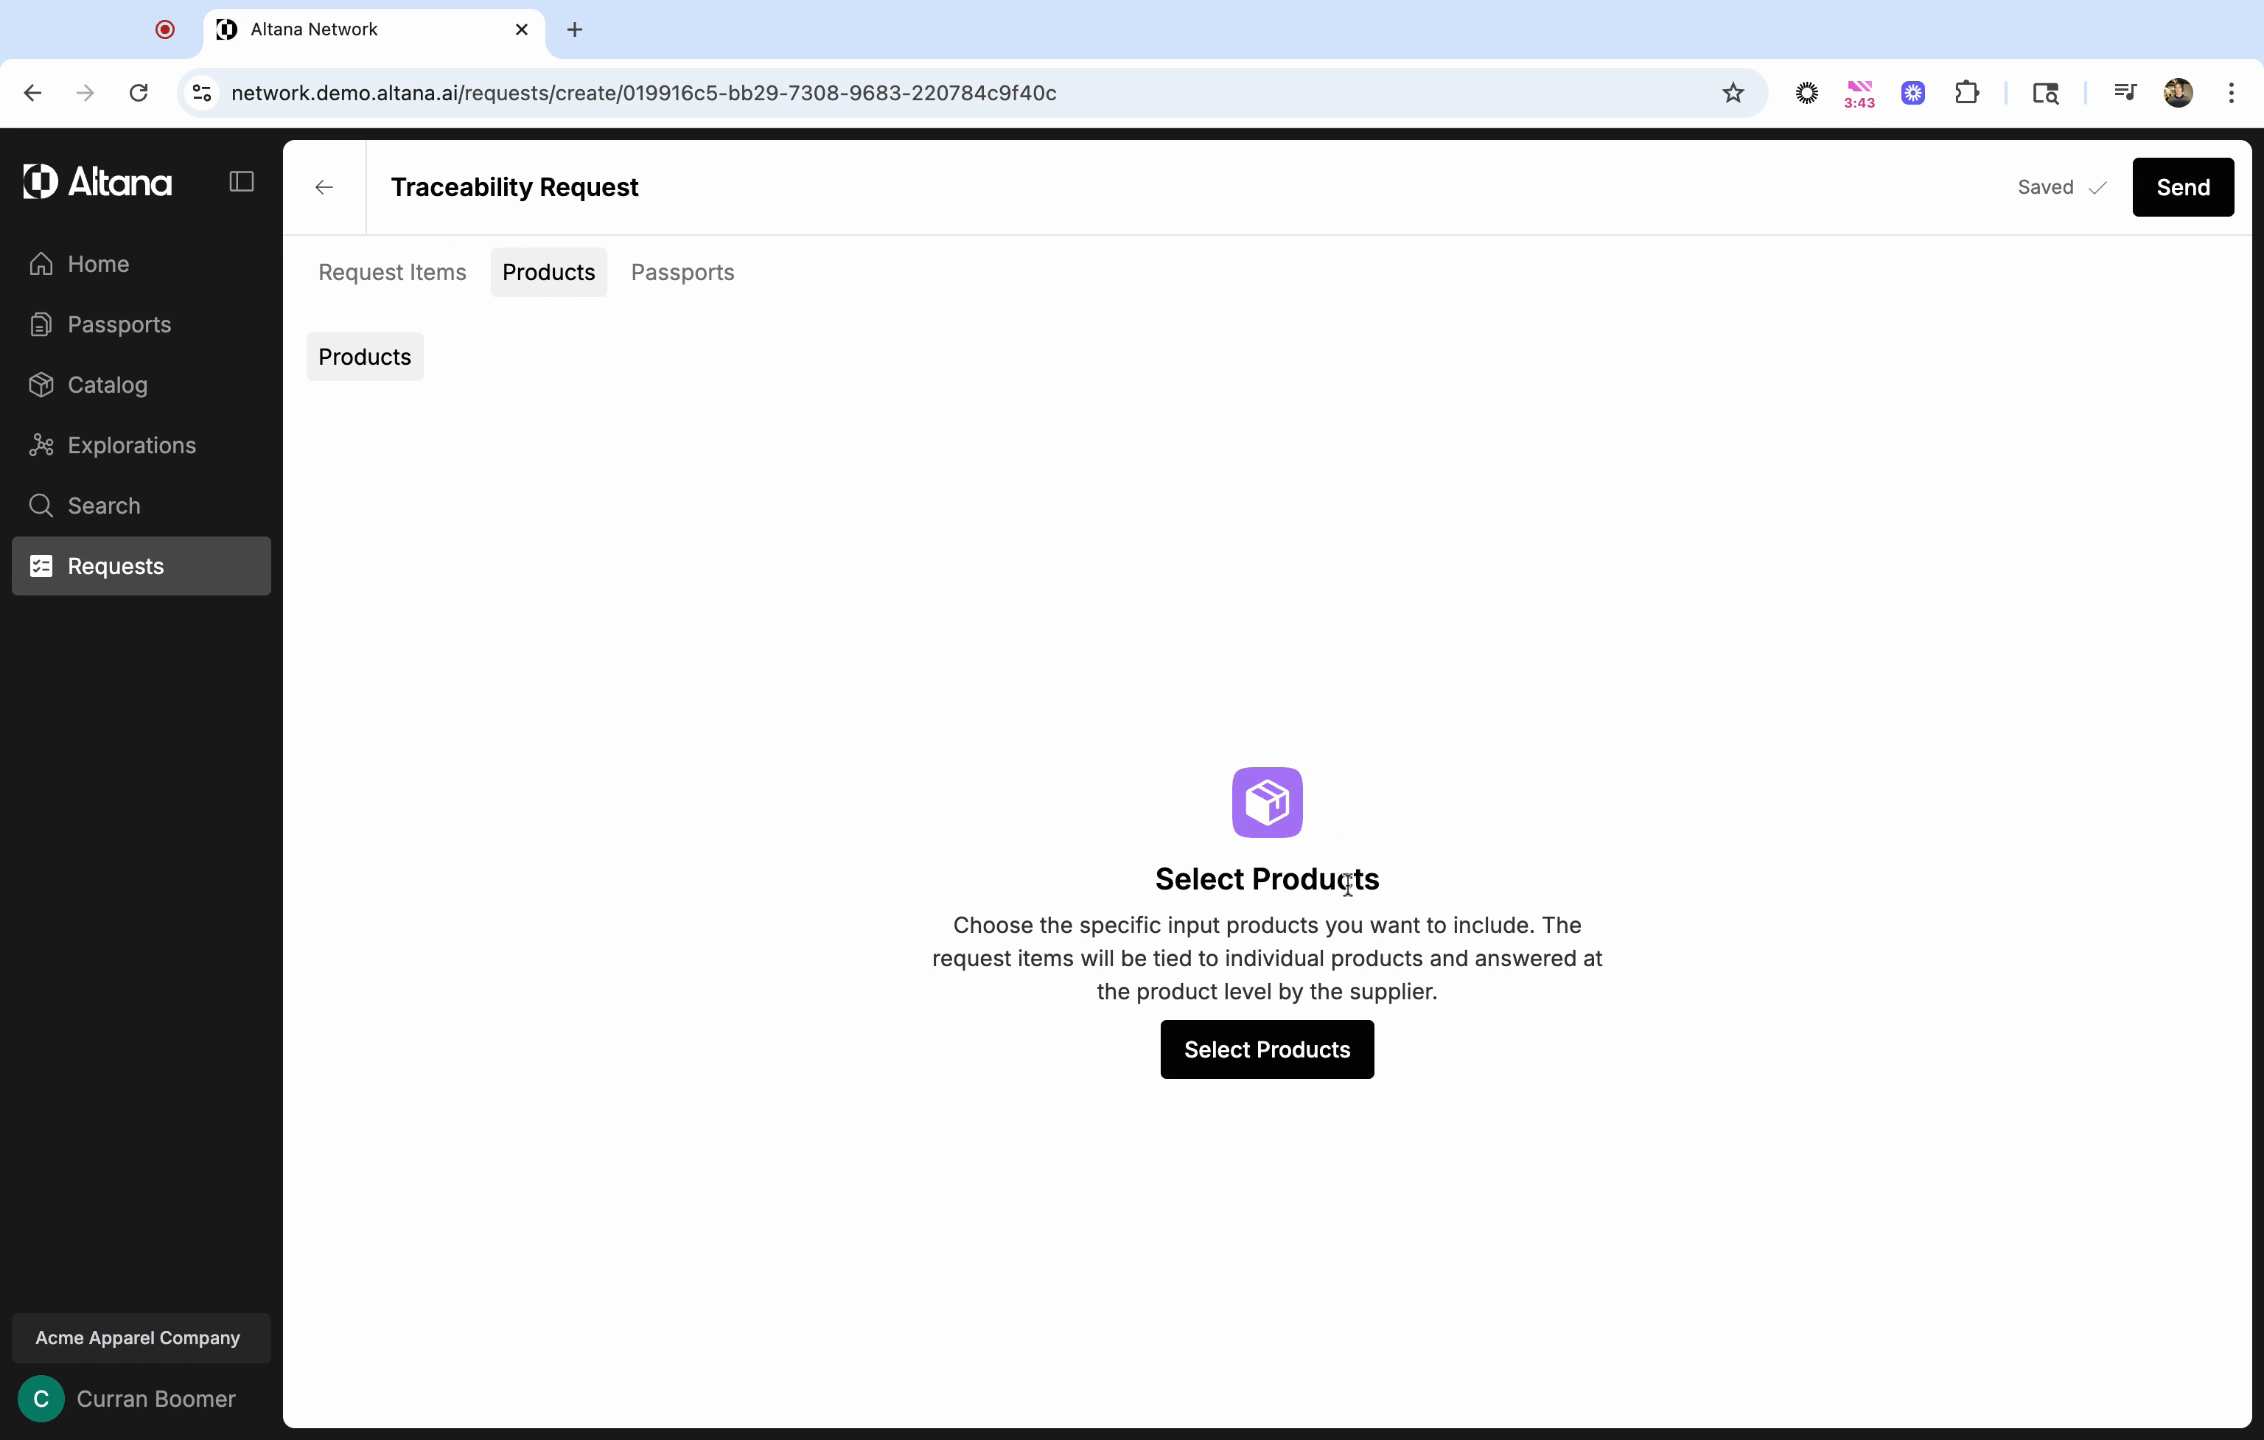
Step 6: Select the checkbox next to the products this request applies to. If you select one of your output products, the request will be sent to all of the T1 suppliers that provide inputs for that product. If you select a specific input product from the drop-down menu, it will only send the request to that specific supplier.
After selecting the products, click on add to request.
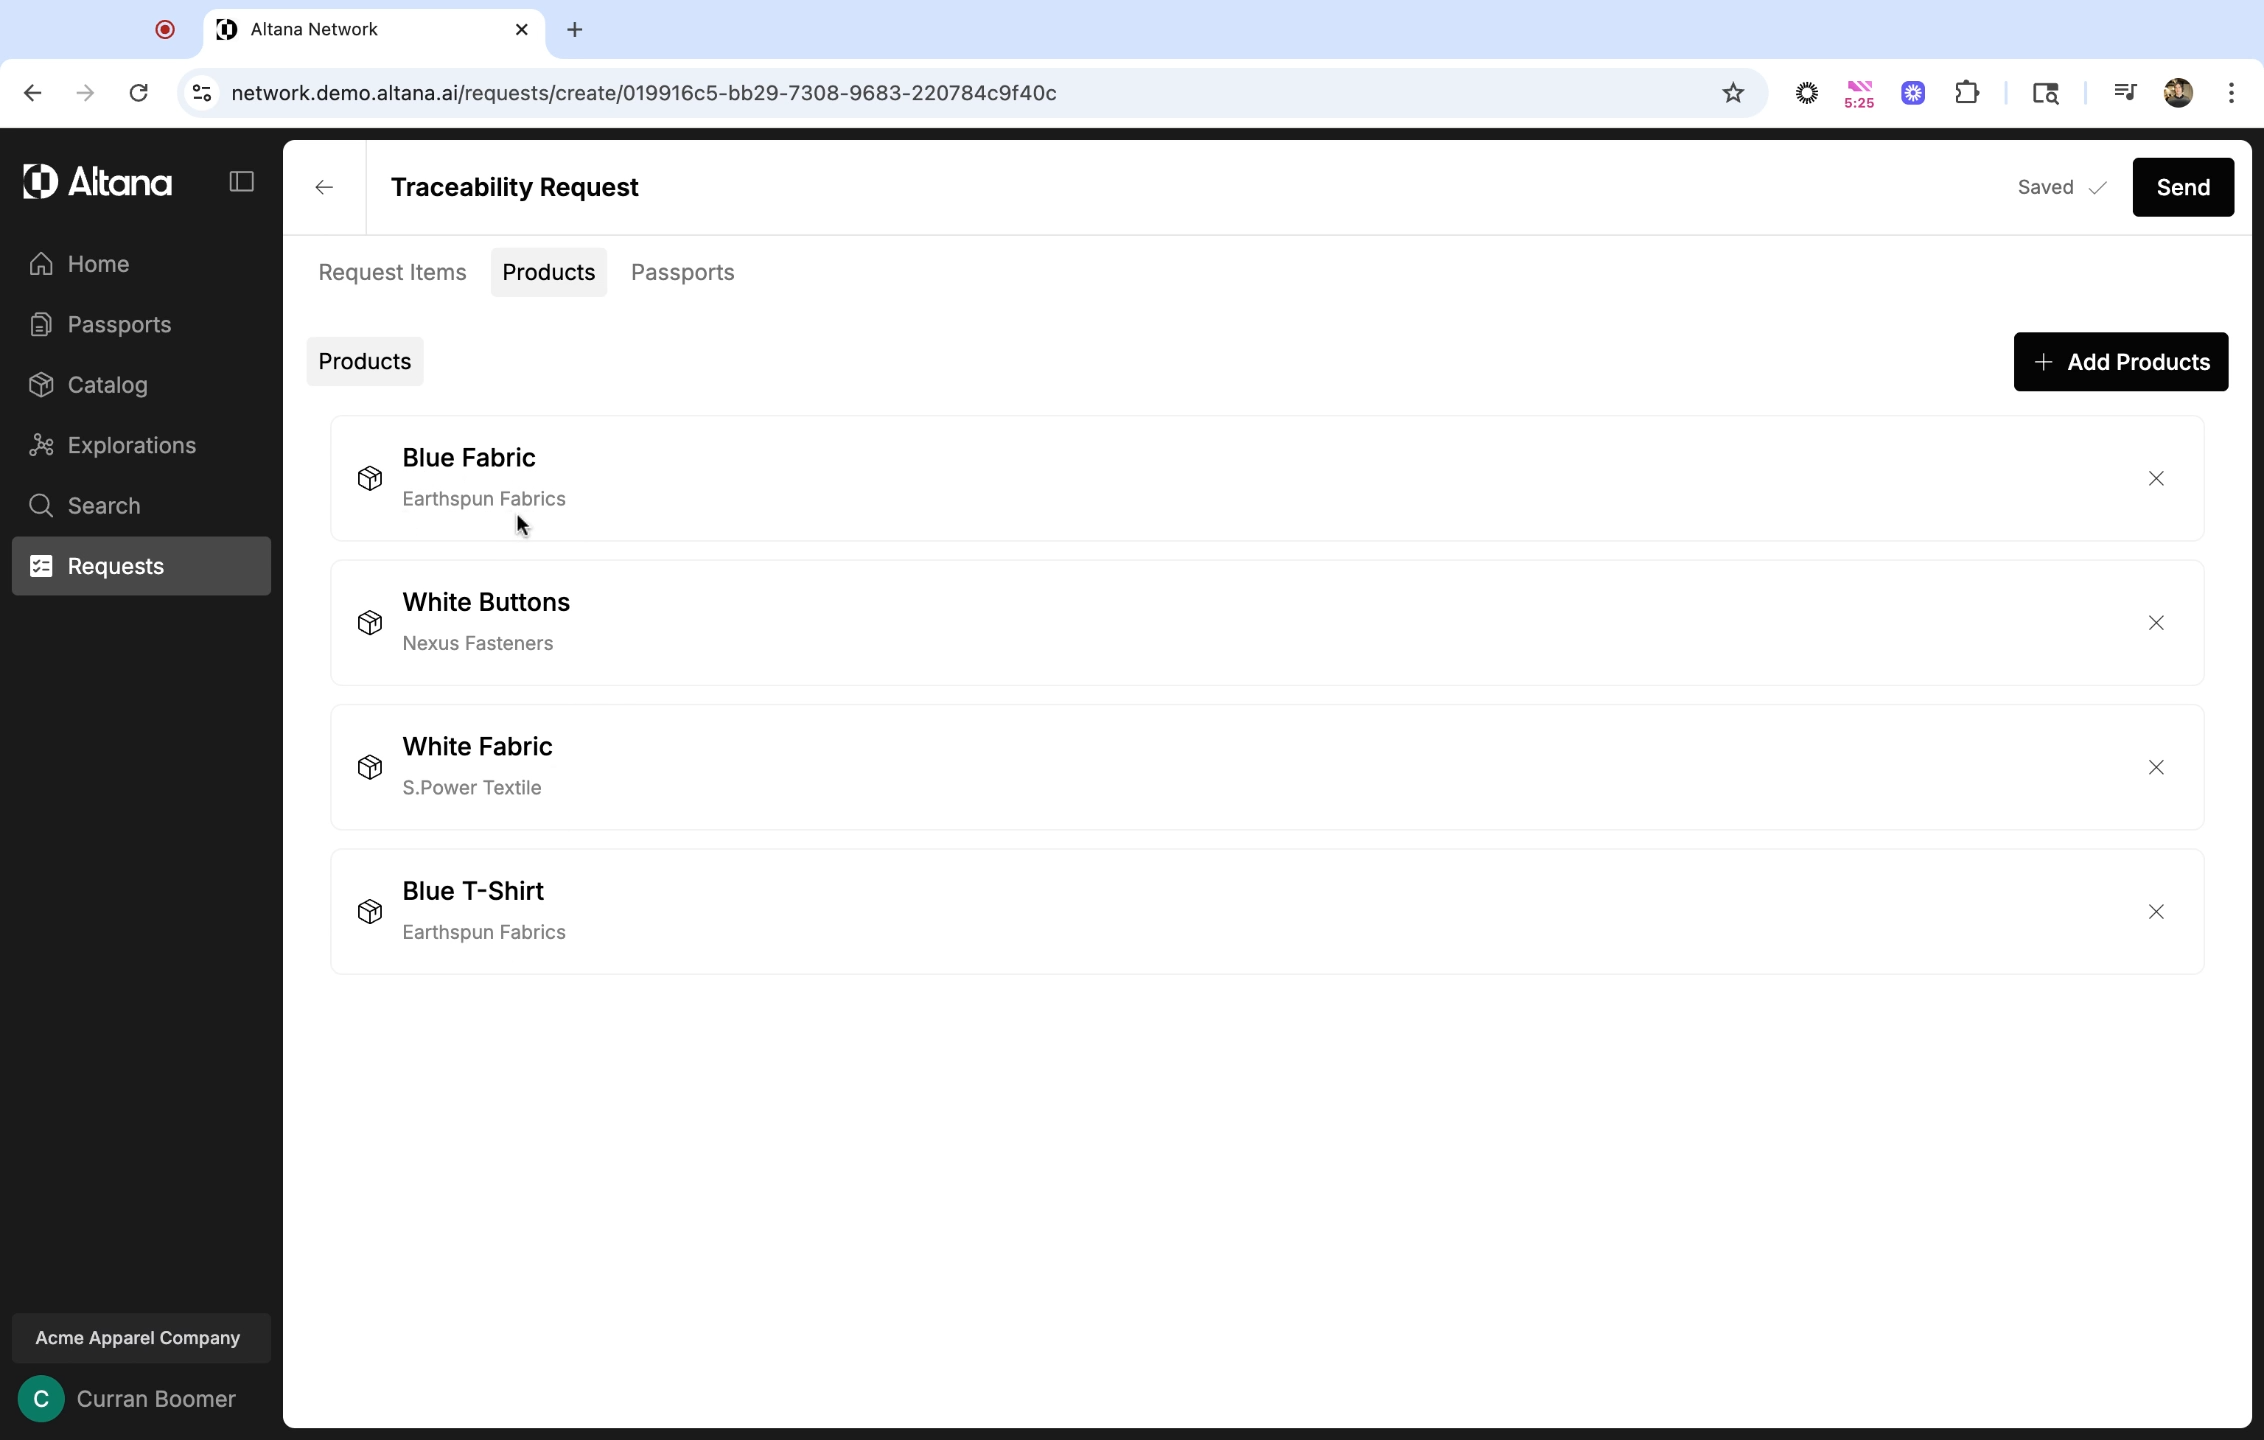
After you select your products, you'll be able to see the specific suppliers this request will be sent to, and the specific input products the request applies to.
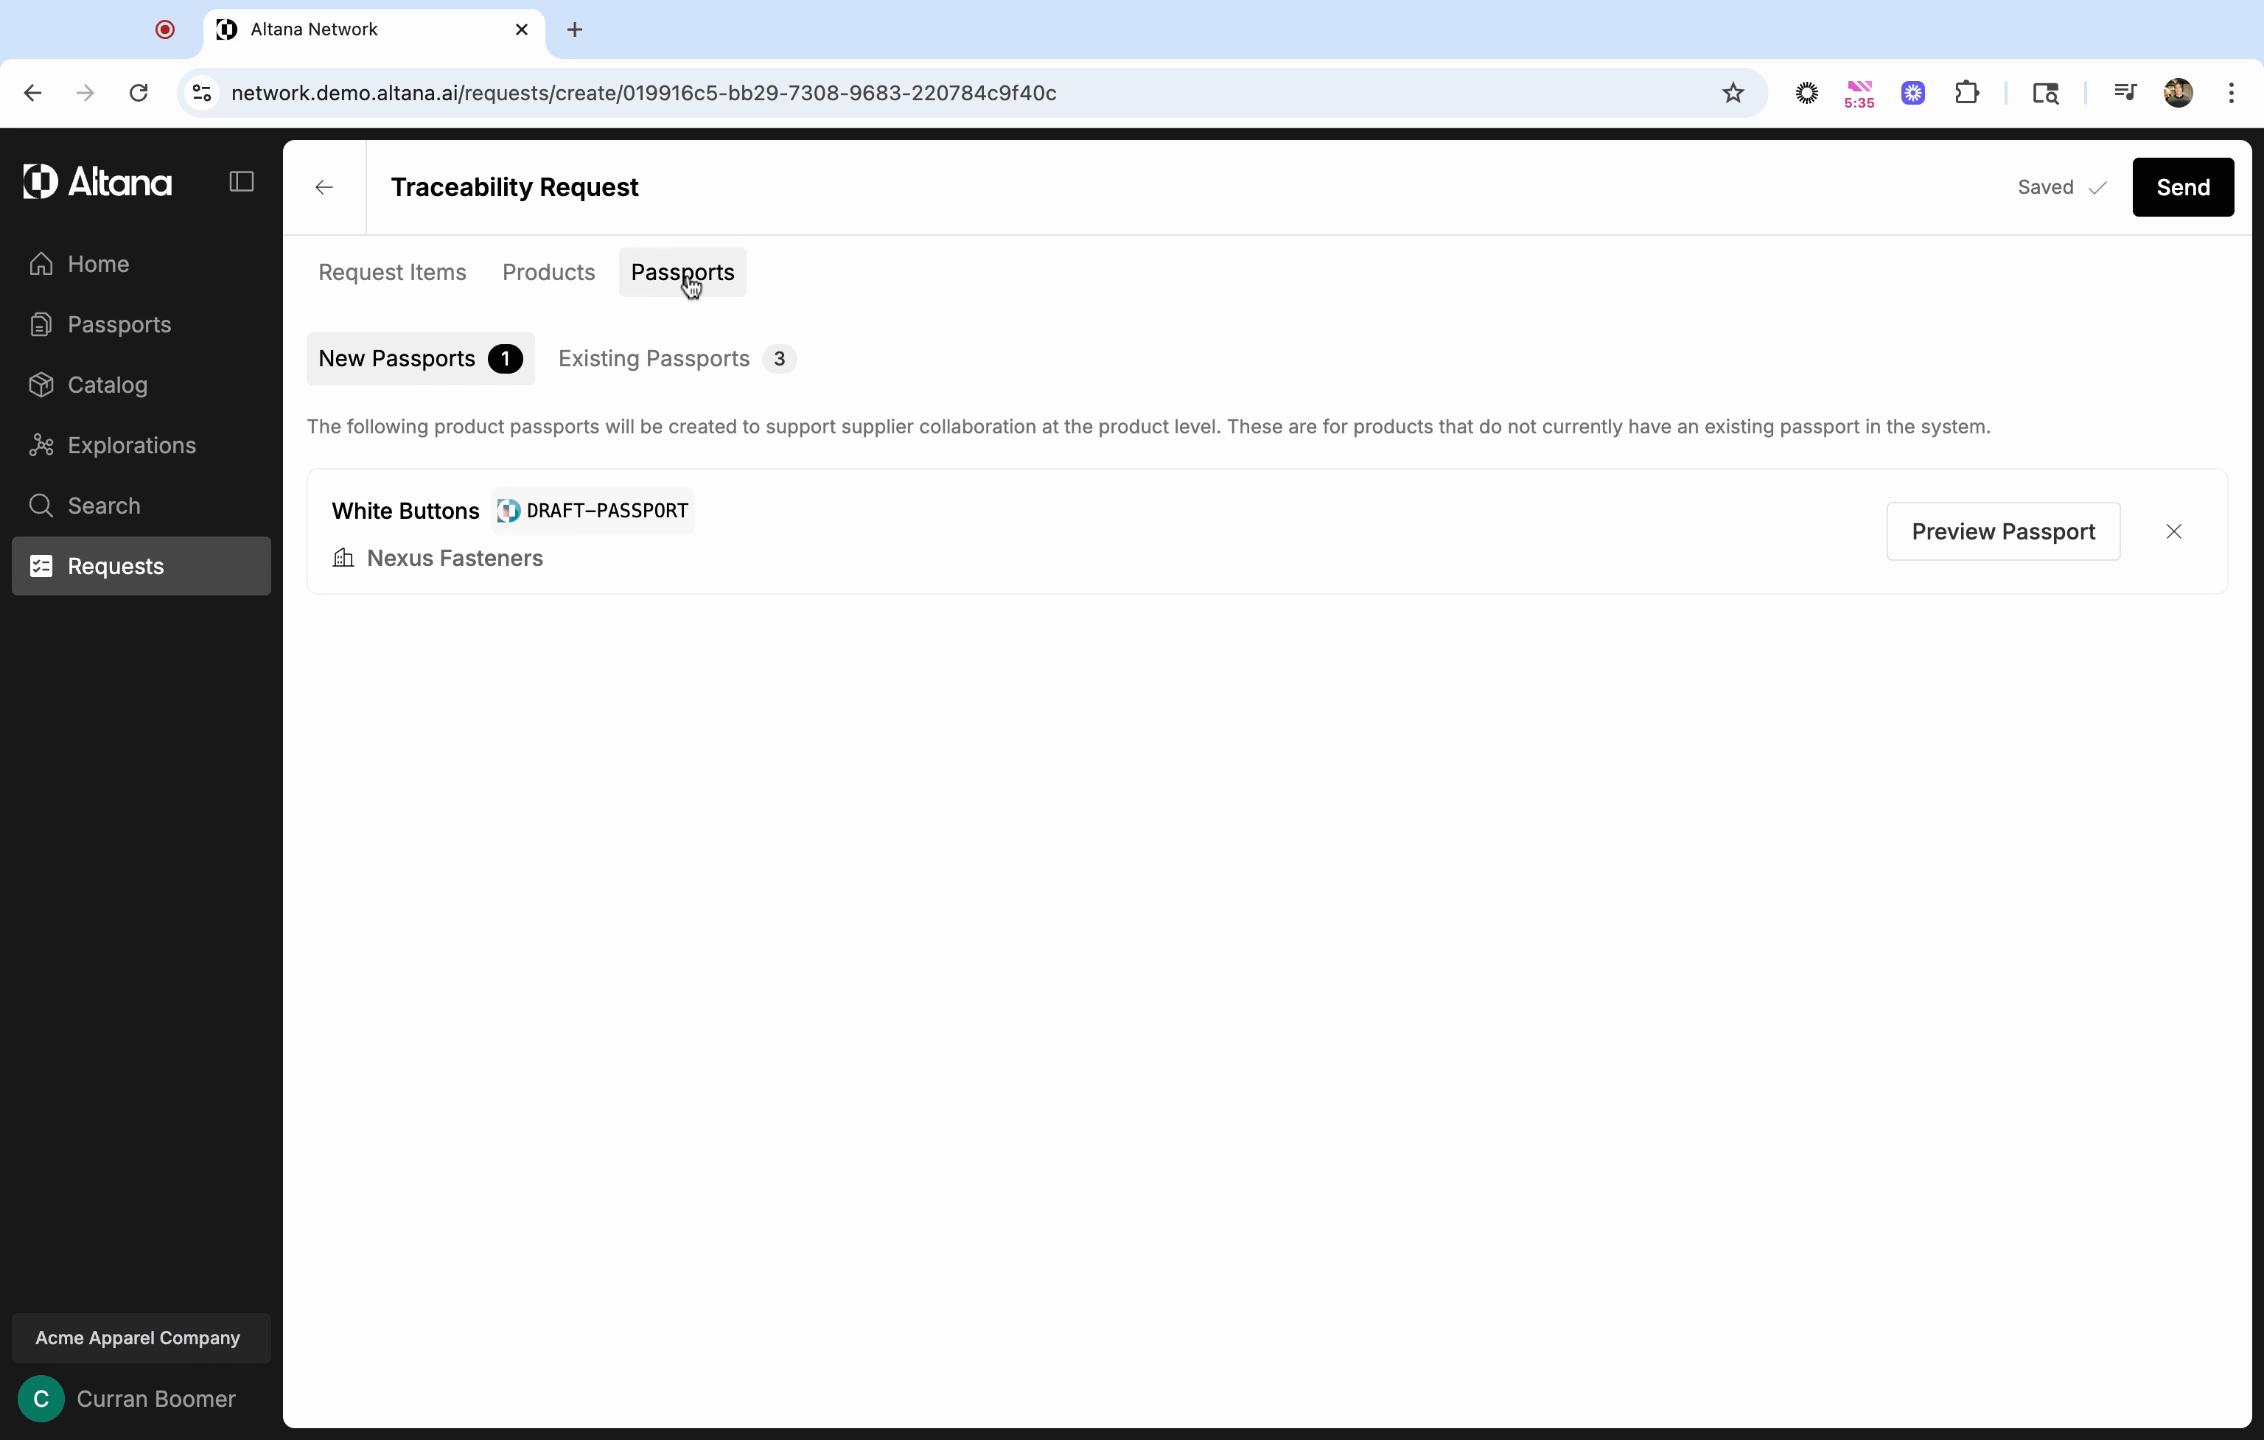
Step 7: Navigate to the Passports tab to see the specific Passports you'll be collaborating within. Remember, requests are sent via Product Passports, and the answers from your supplier are received via Product Passport as well.
Under New Passports you'll be able to preview any Product Passports that don't yet exist.
If it looks good, hit Send. This will send your request to the selected suppliers.
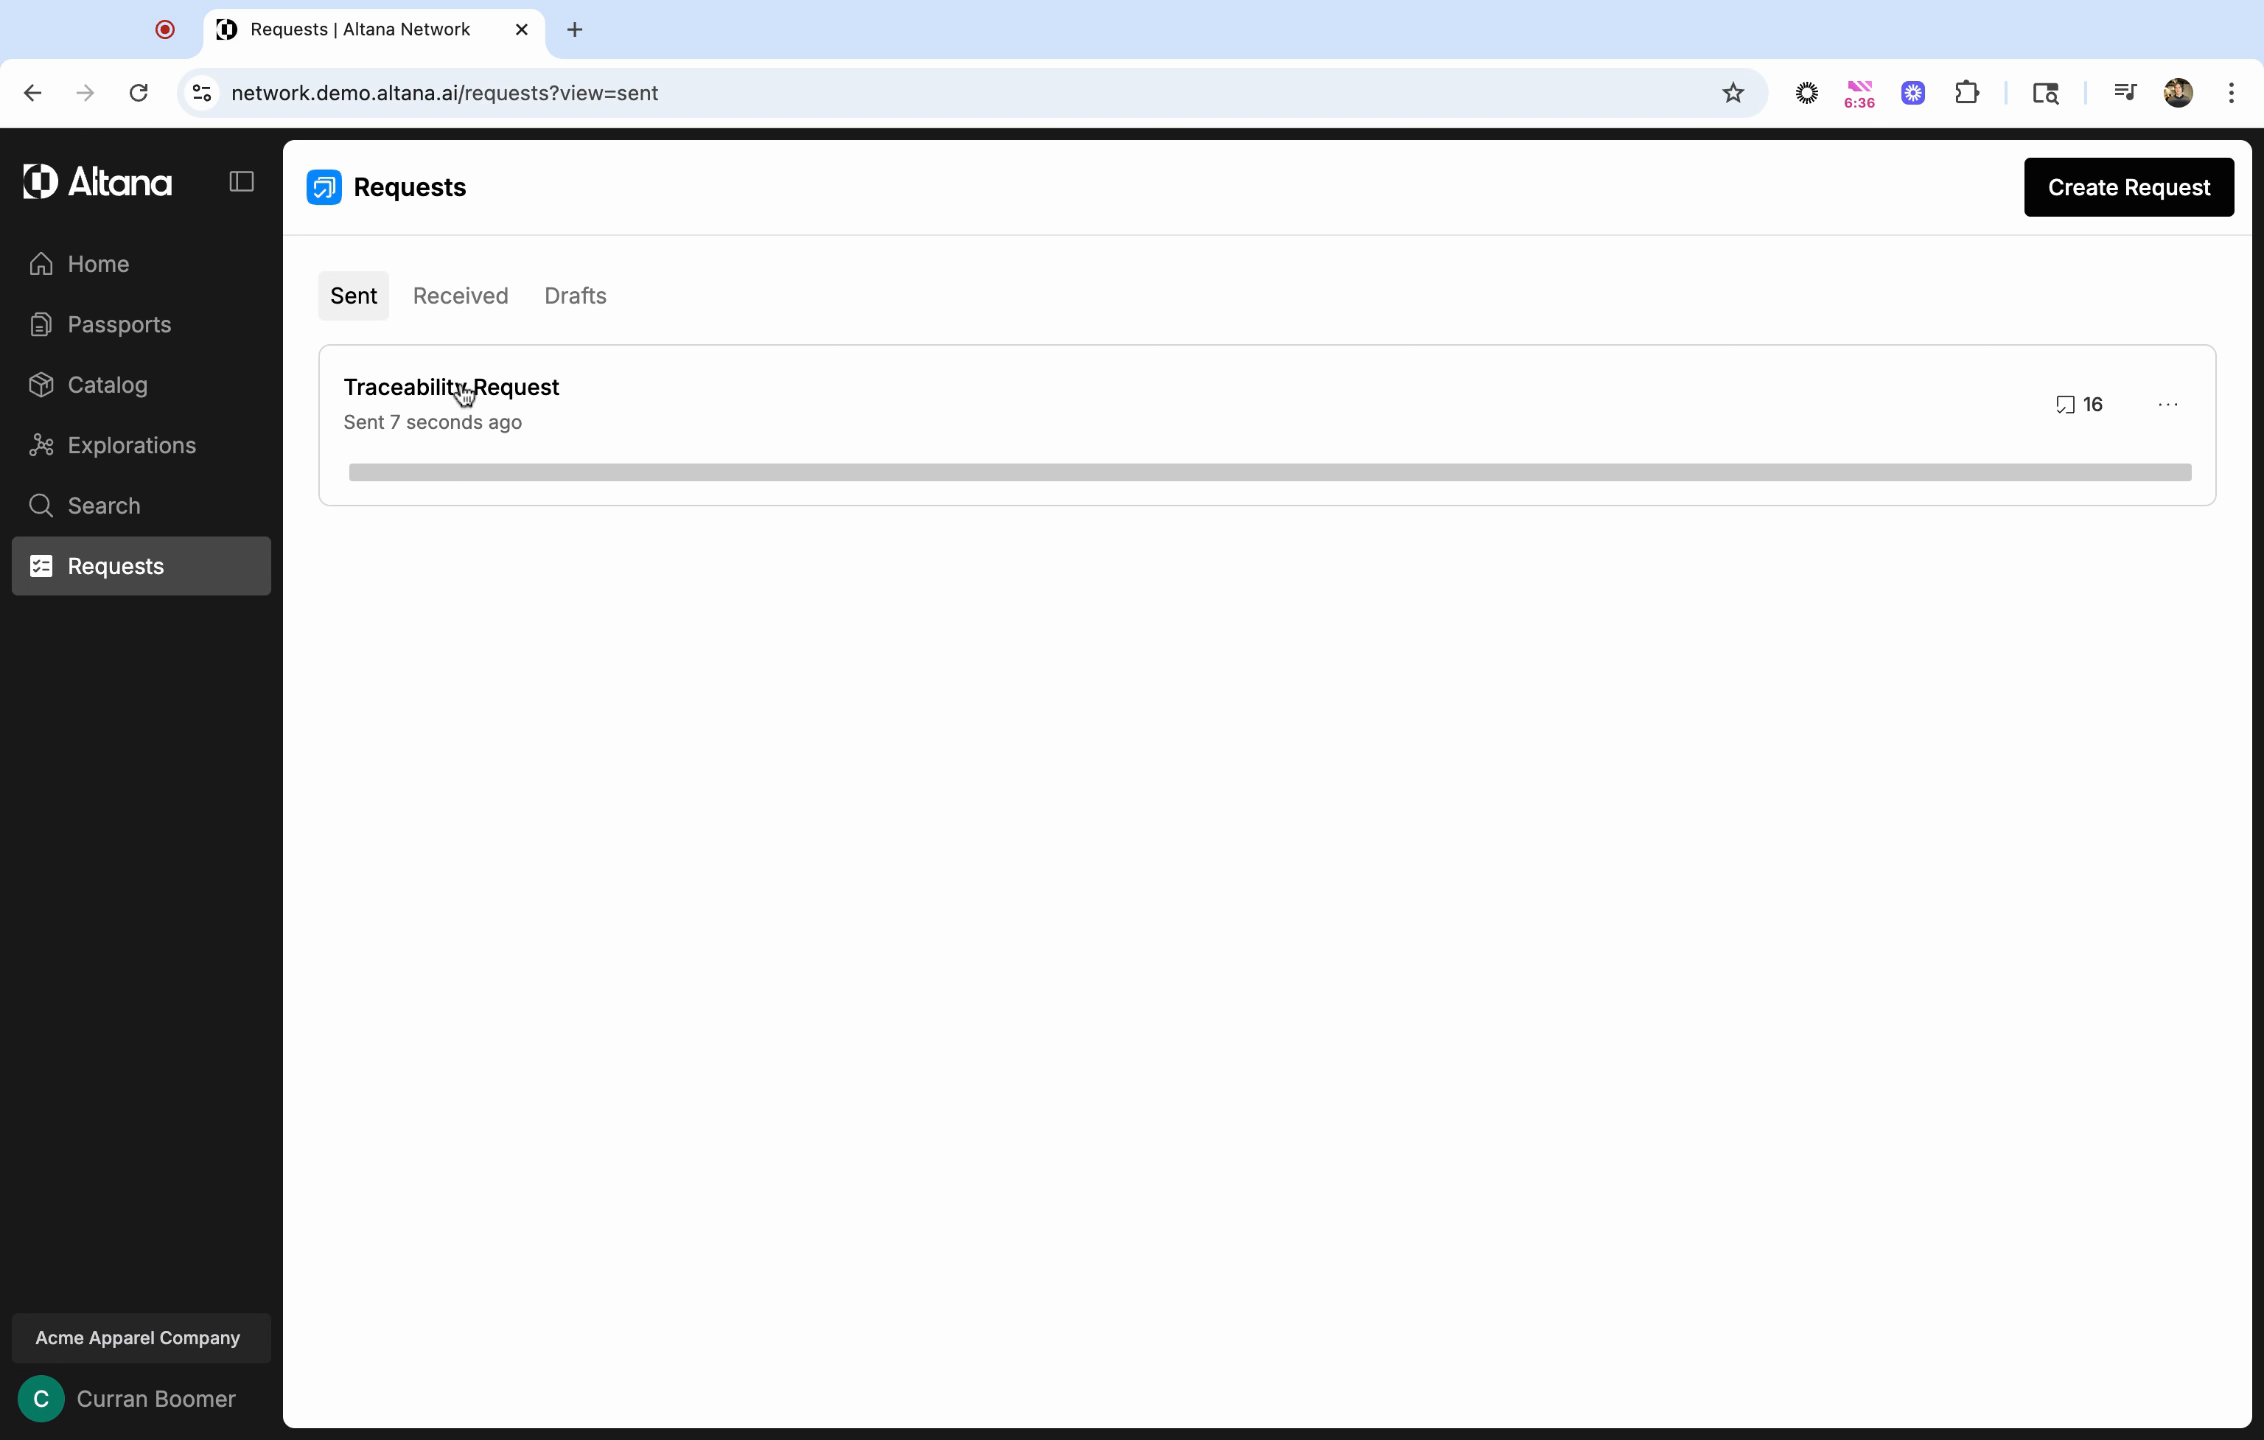
You can view your sent request in the Sent tab under Requests.
In this article, you can learn how to receive information from your suppliers and track the progress of your requests.