Creating & Sharing a Product Passport
In this guide, we'll cover how to use product passports to collaborate with other businesses in your network. Product passports can help you share product information with partners and expand your understanding of your product value chains.
Step 1: Identify the product in your catalog you want to learn more about. In this example, we're using a shirt.
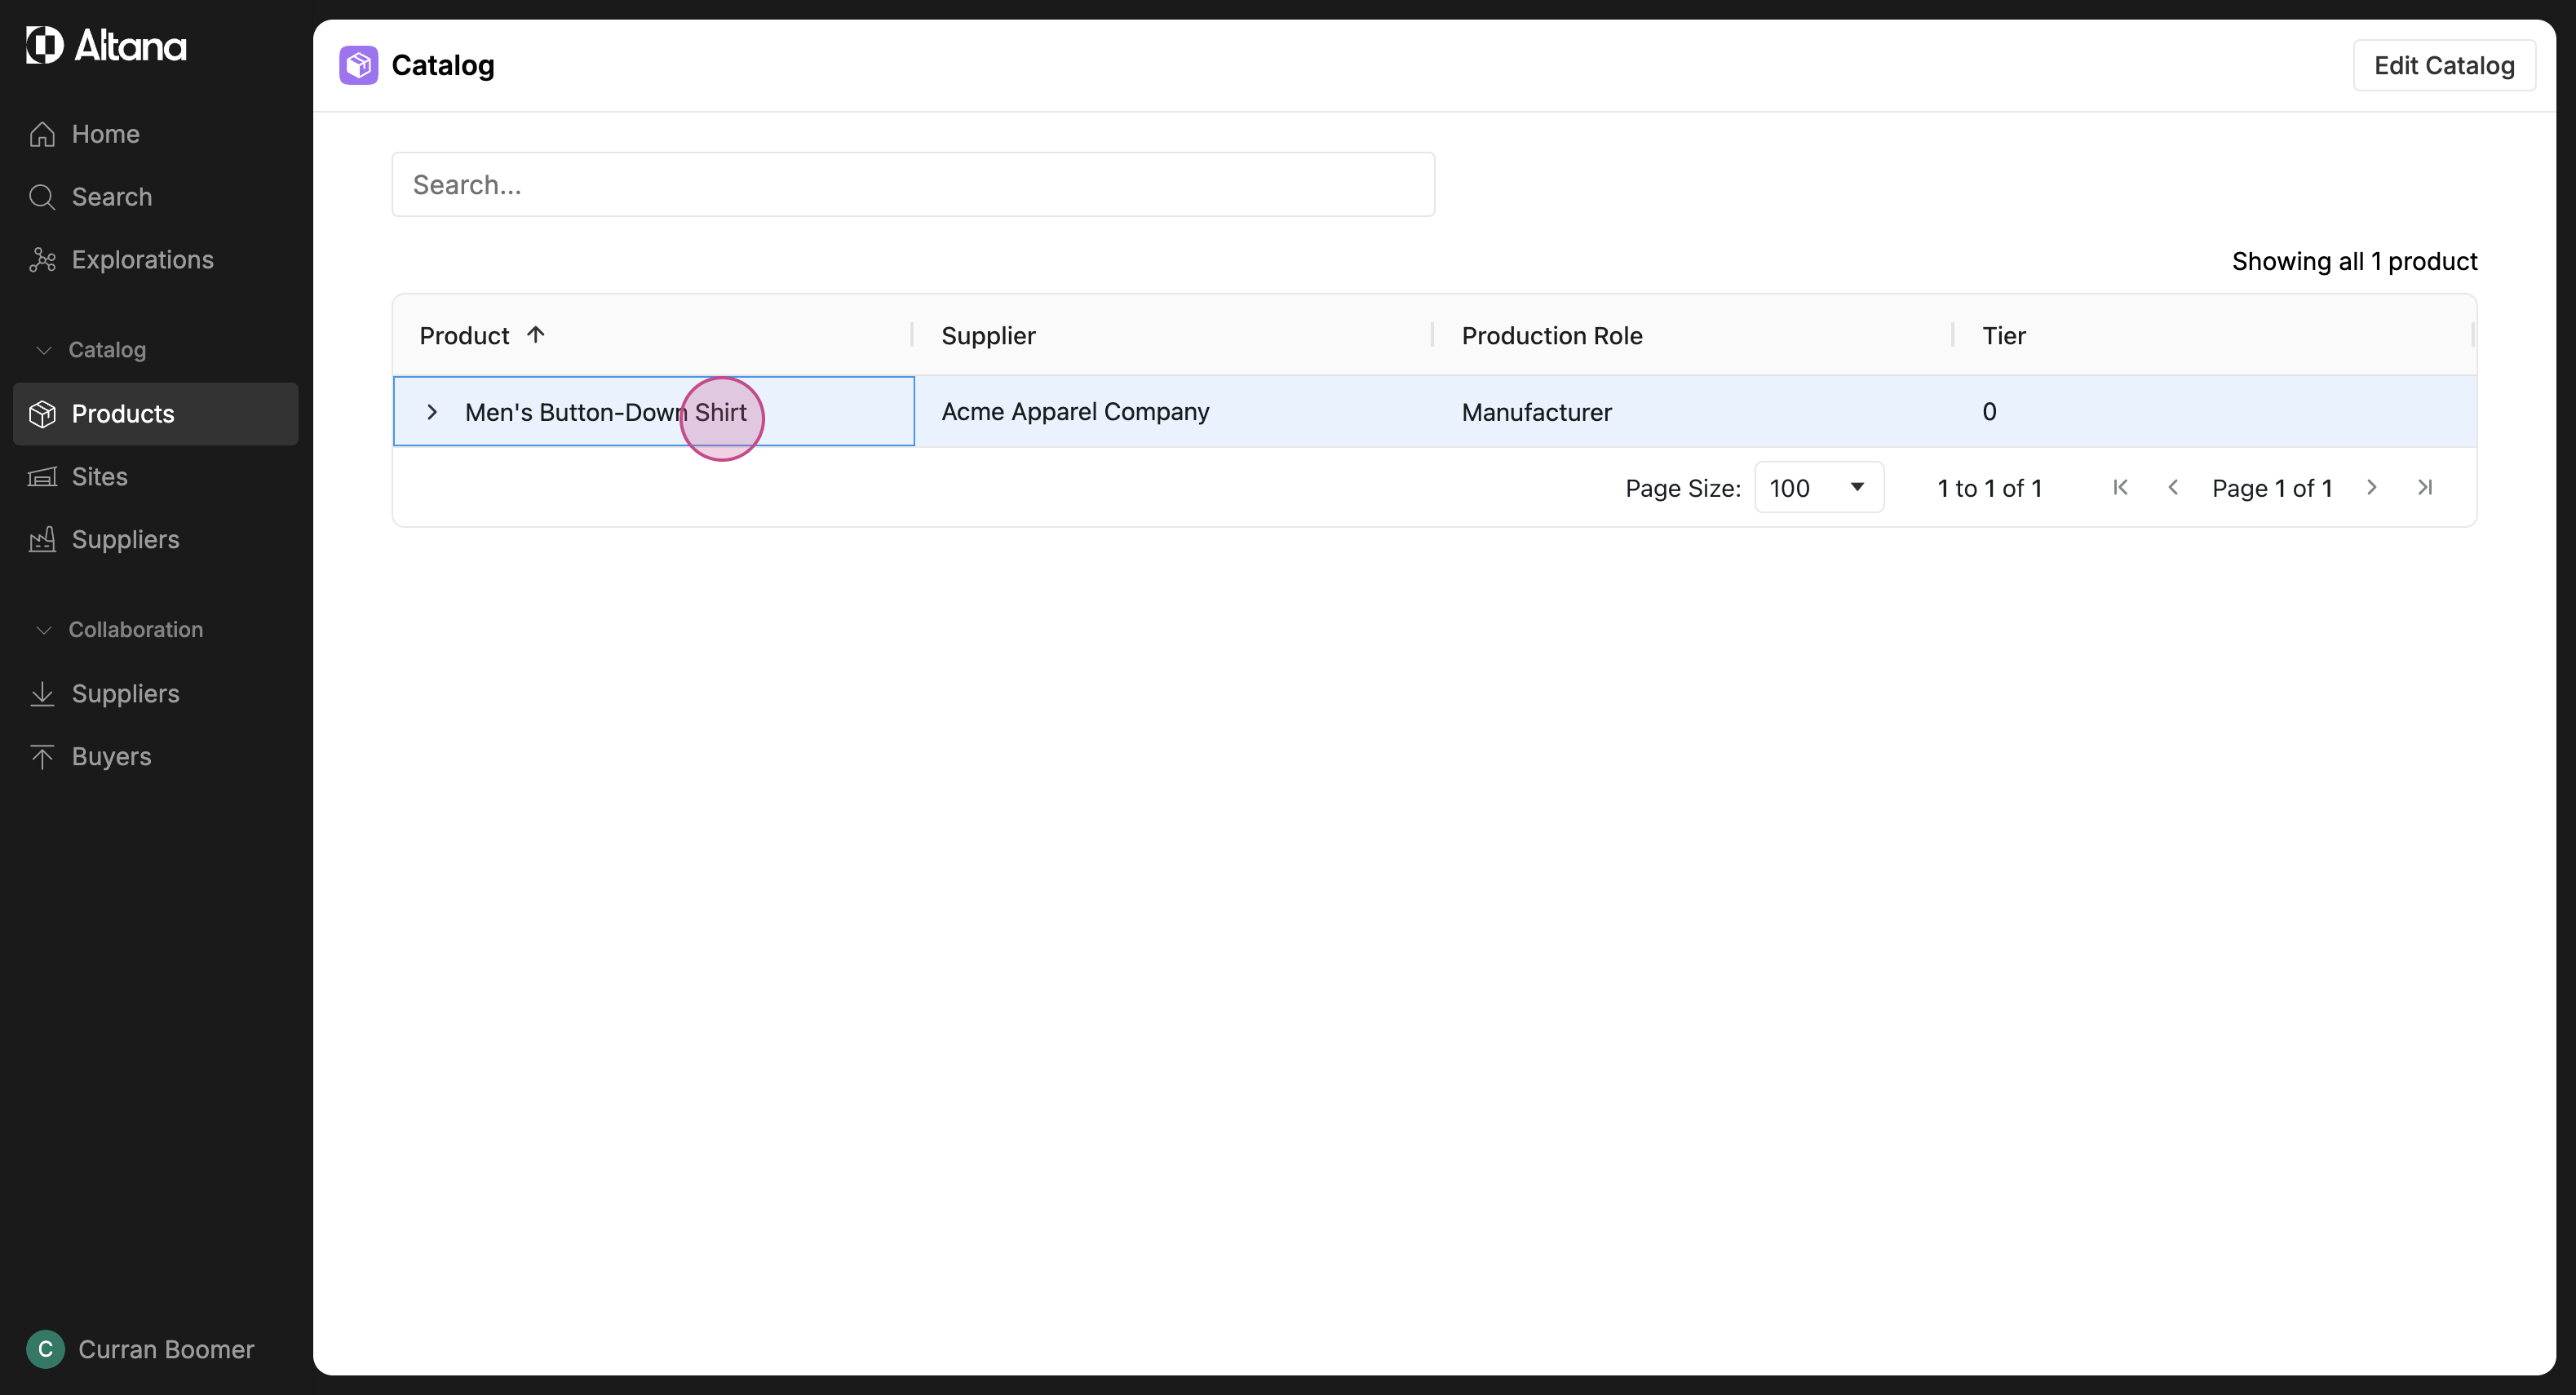
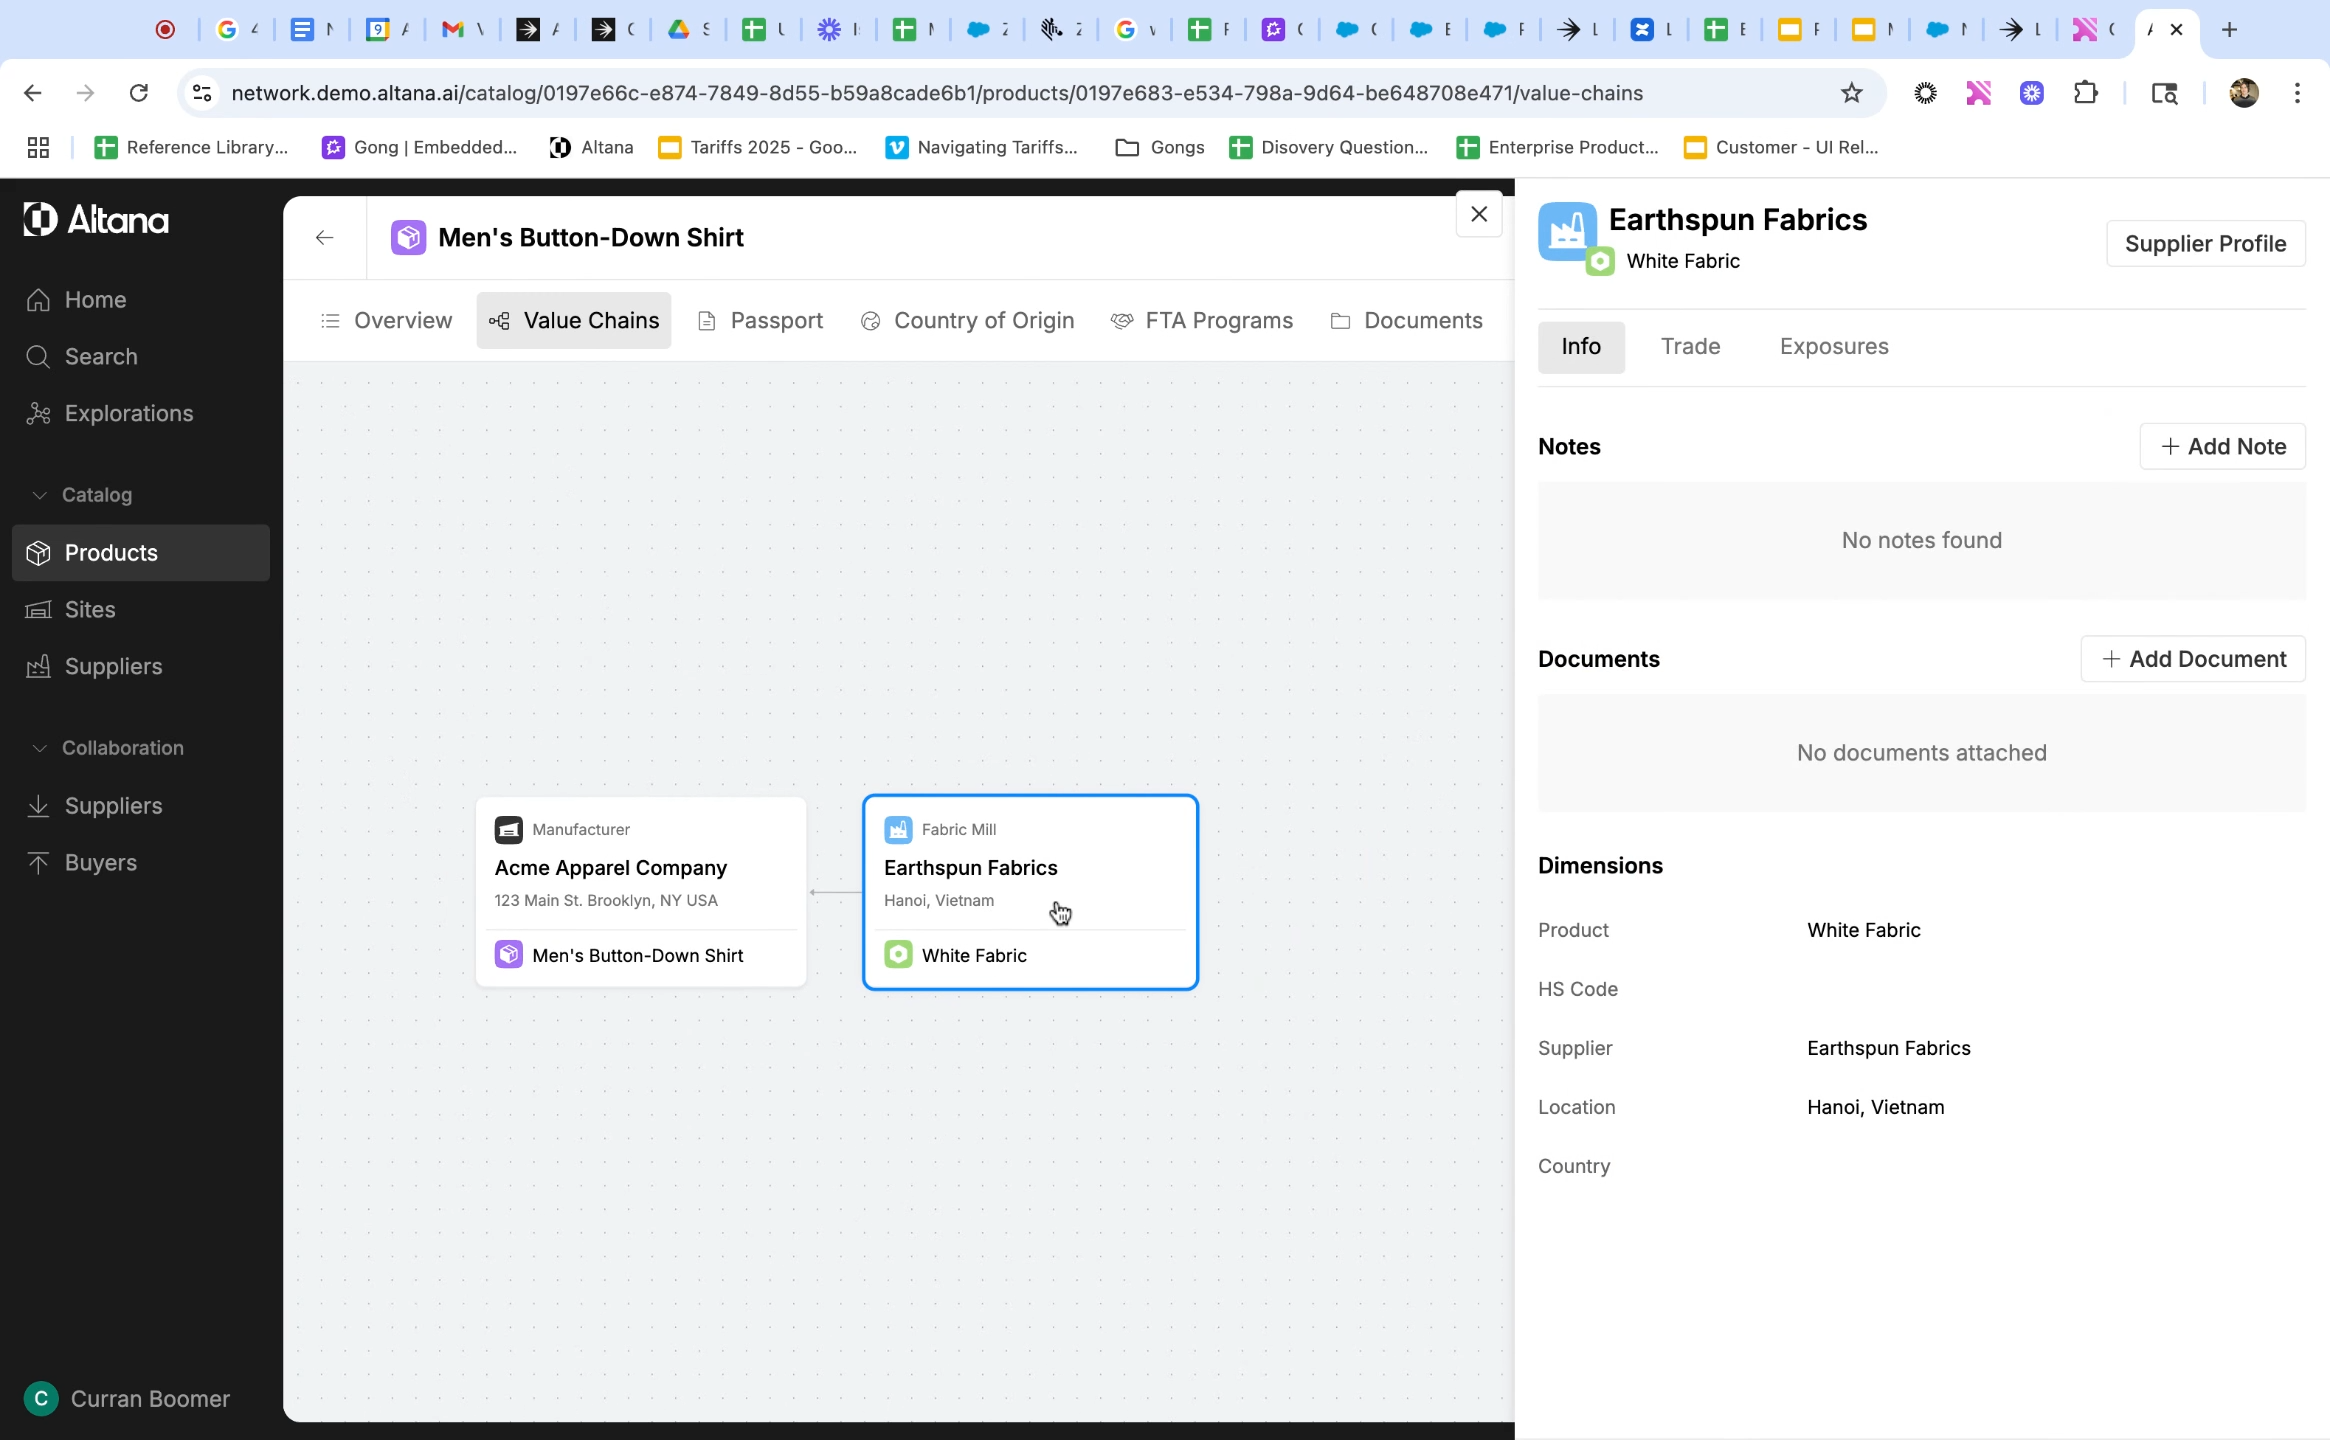
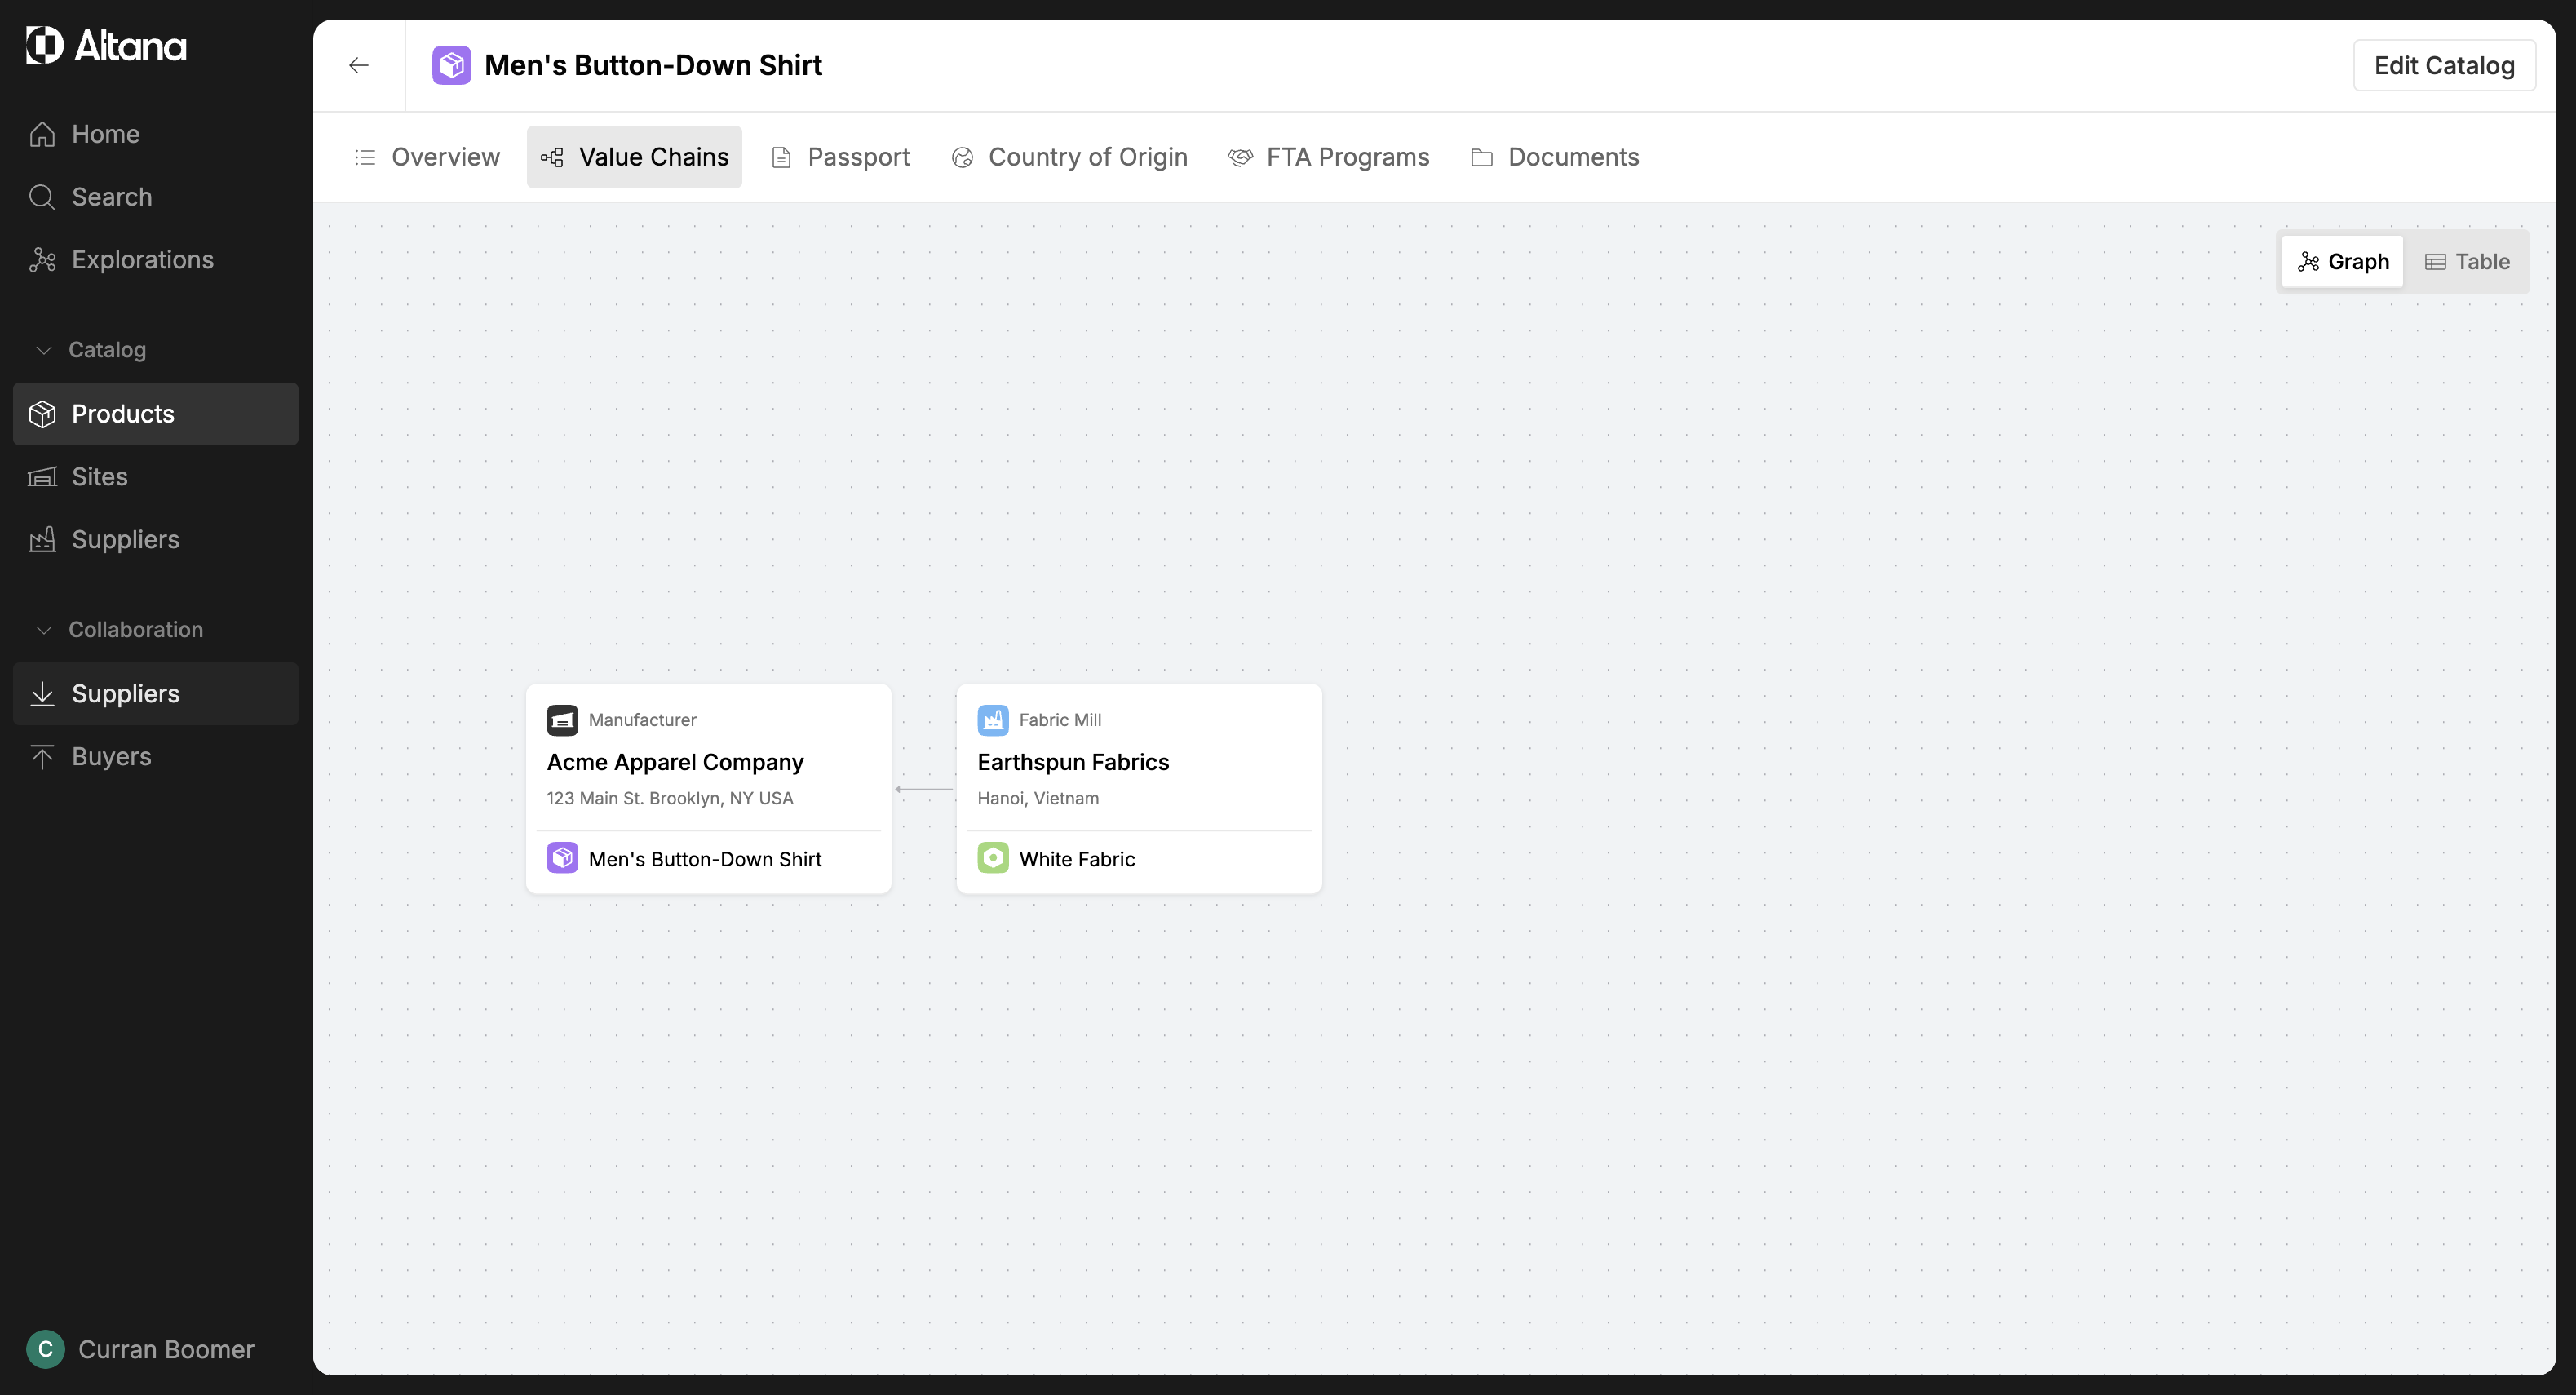
Step 2: Identify the supplier of the product. In this case, we only know the T1 supplier that provides us with fabric, so we're going to collaborate with them to learn more about this value chain.
Step 3: Navigate to the Collaboration section in the left-hand menu and select Suppliers.
Step 4: Select the supplier you want to collaborate with.
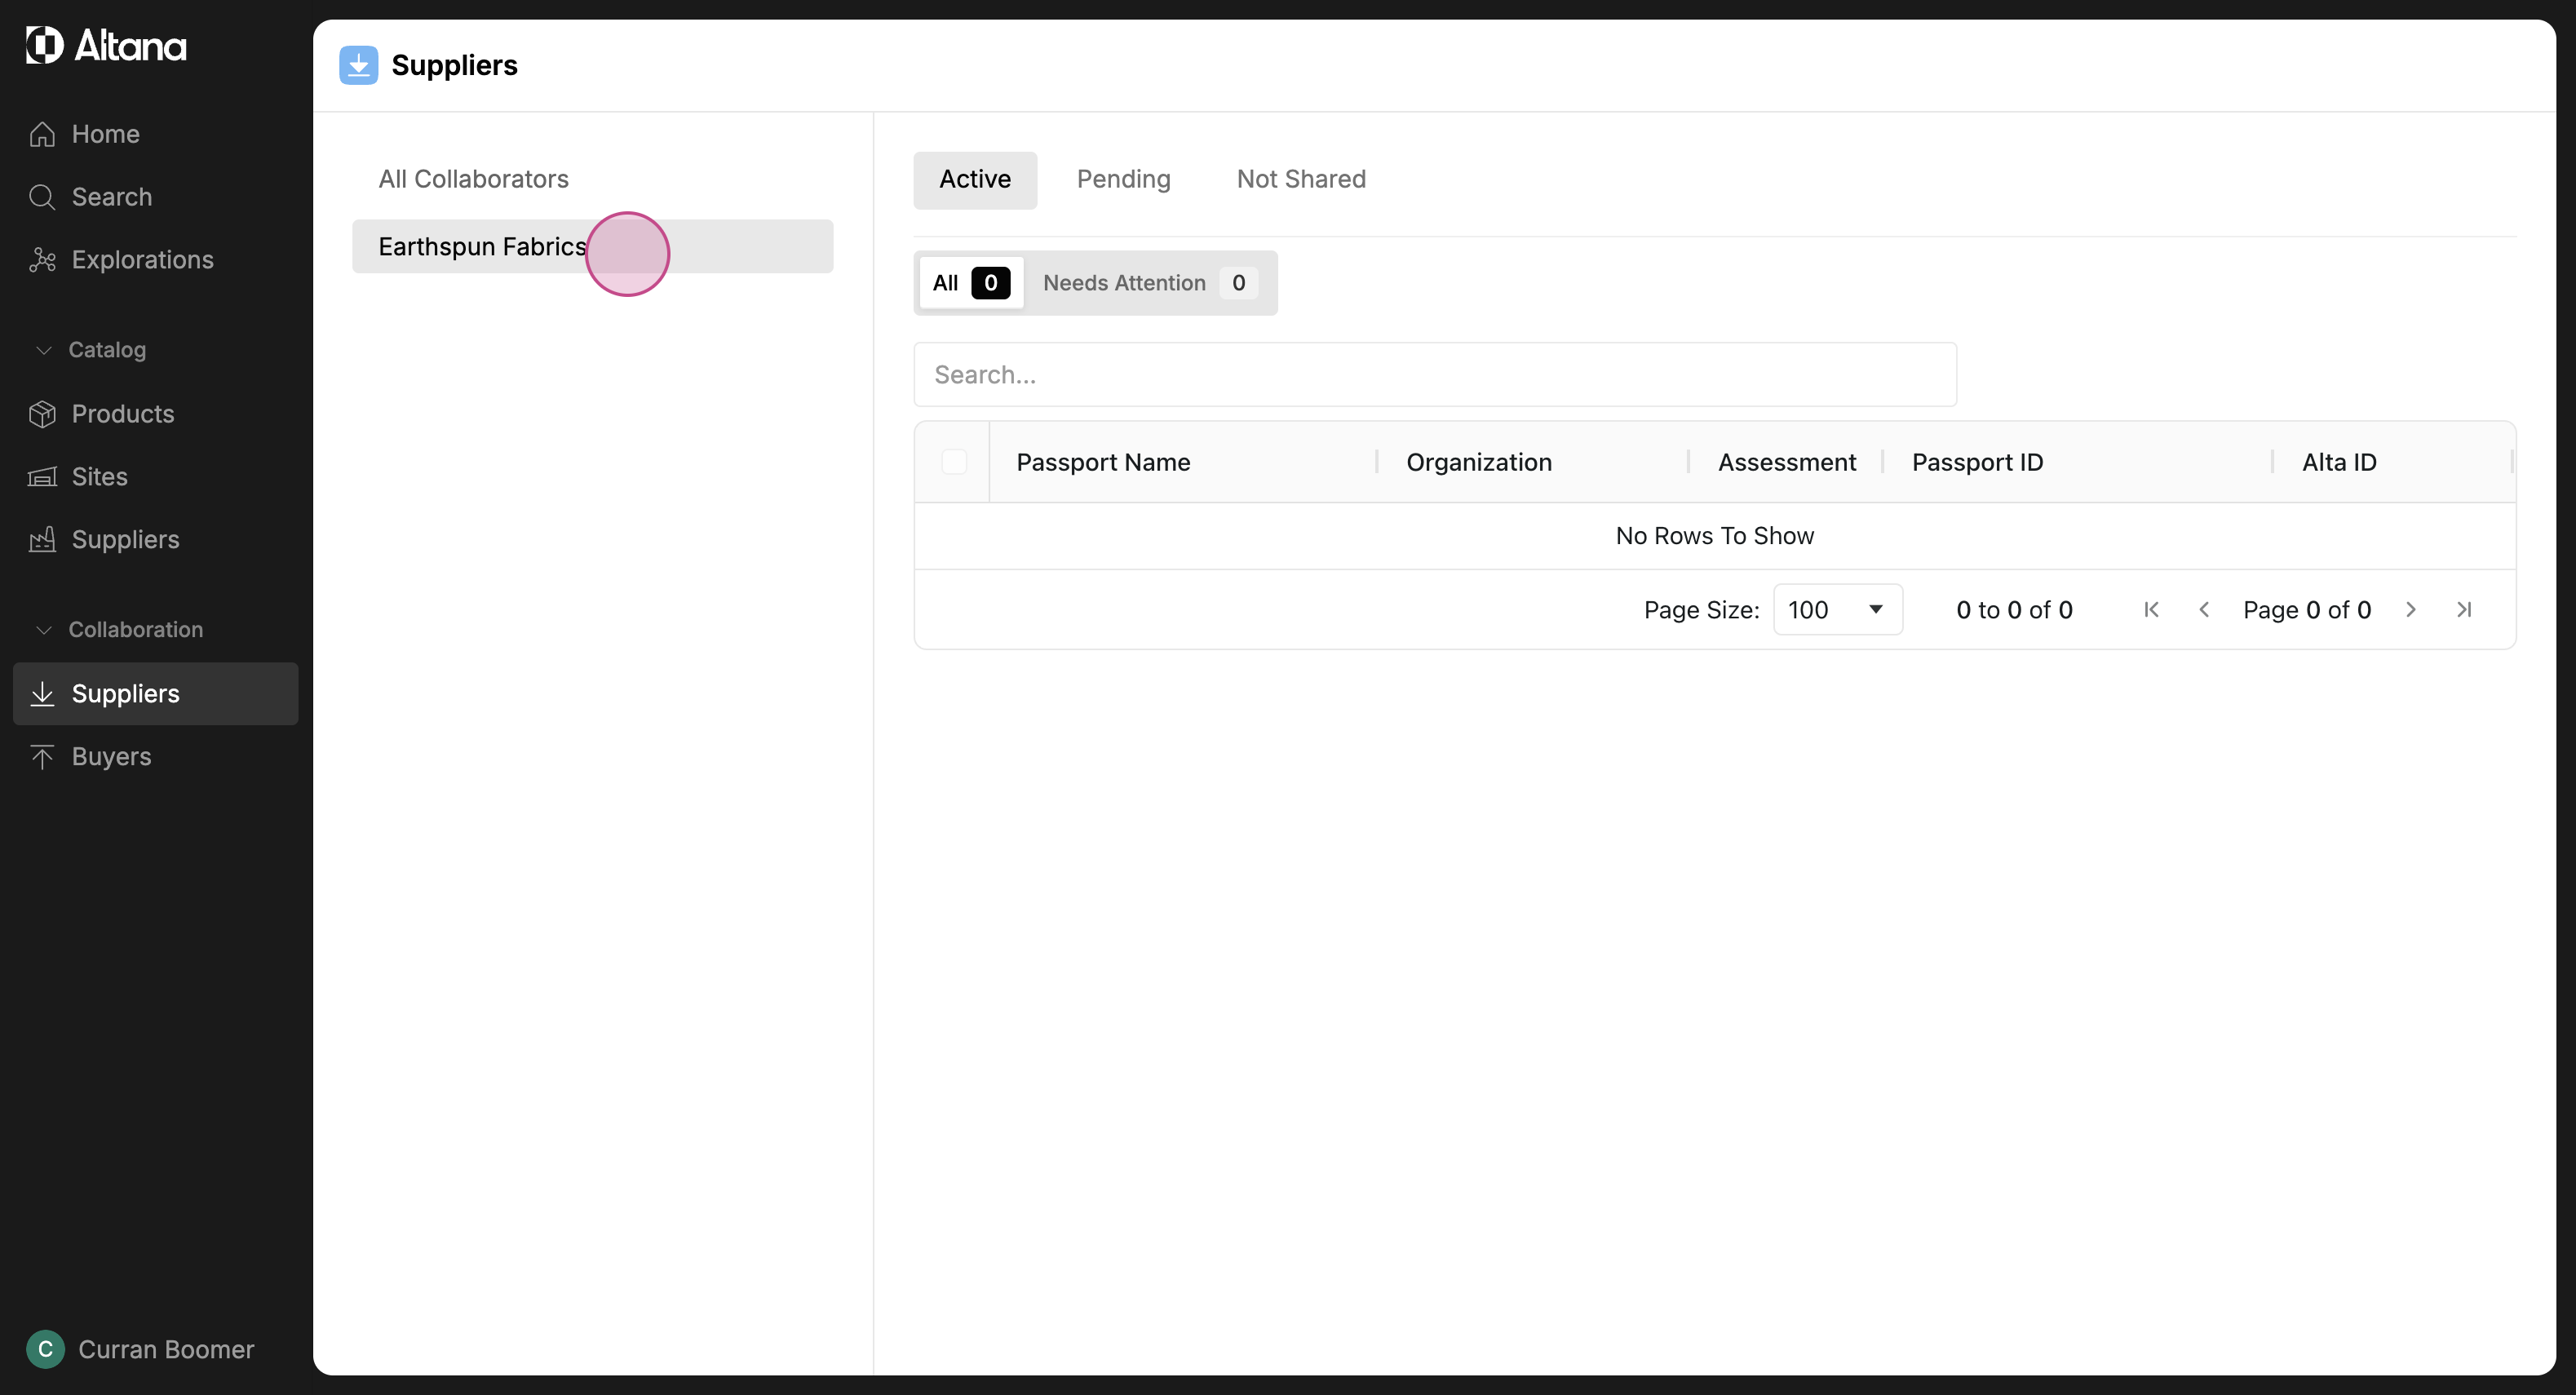
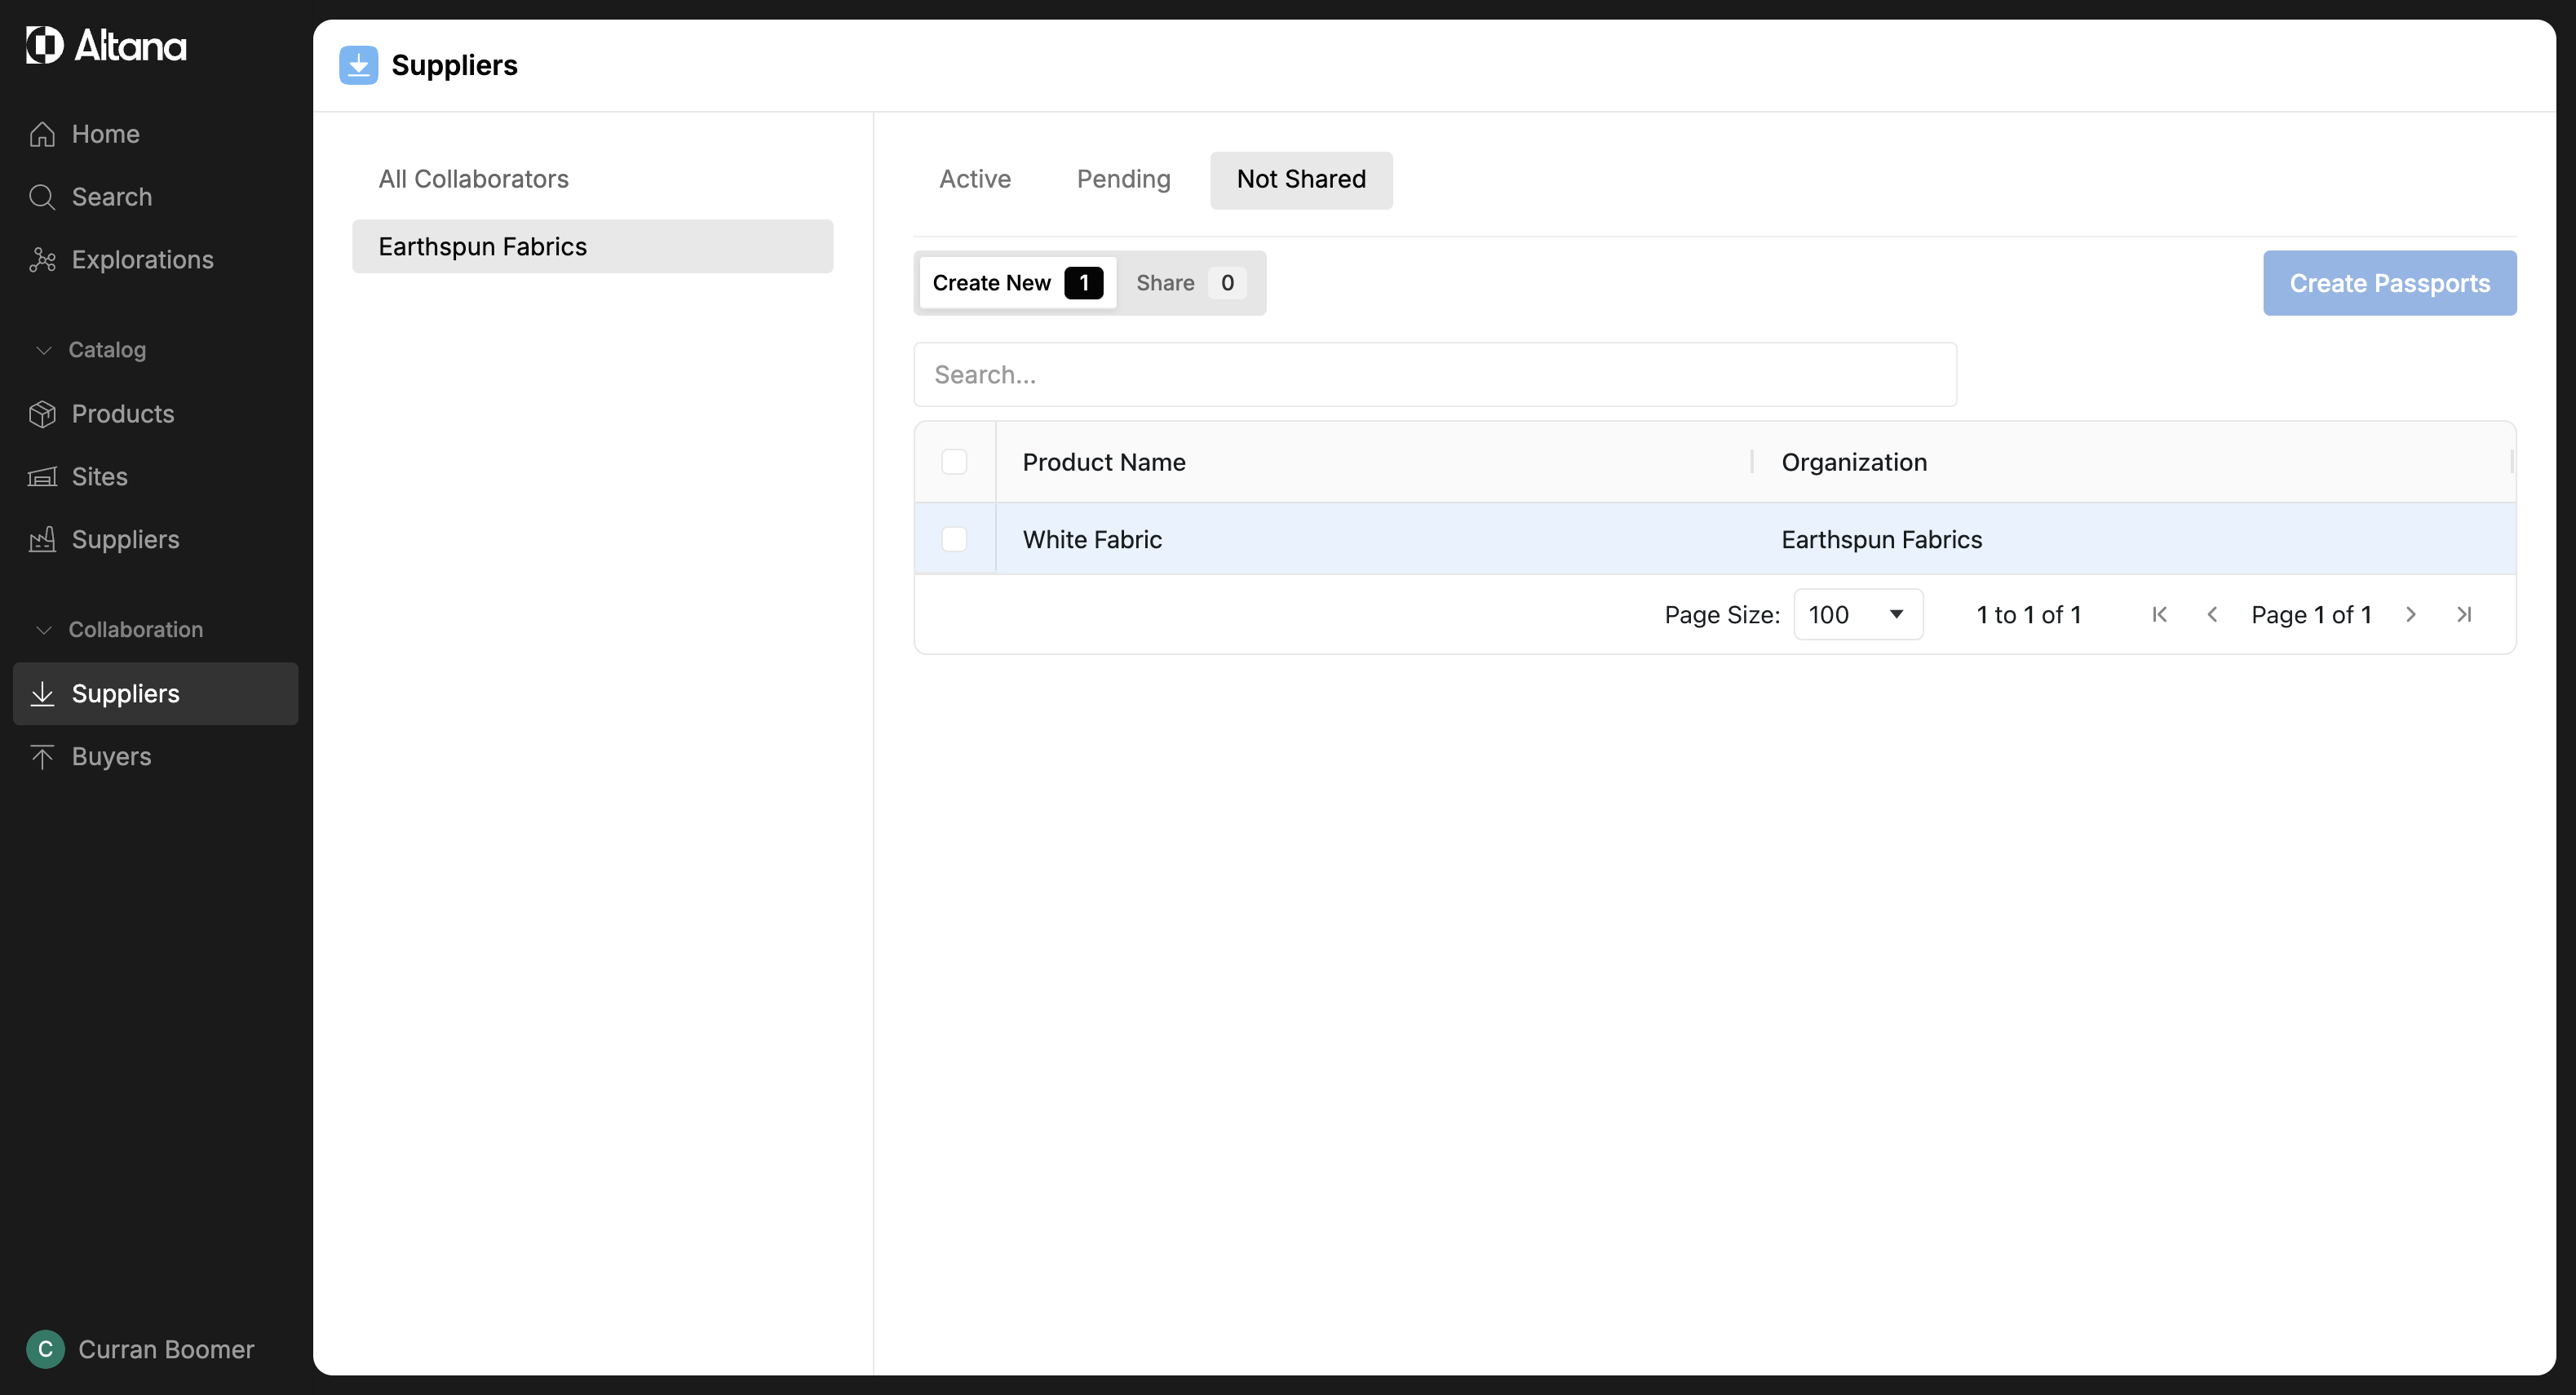
Step 5: Navigate to the Not Shared tab.

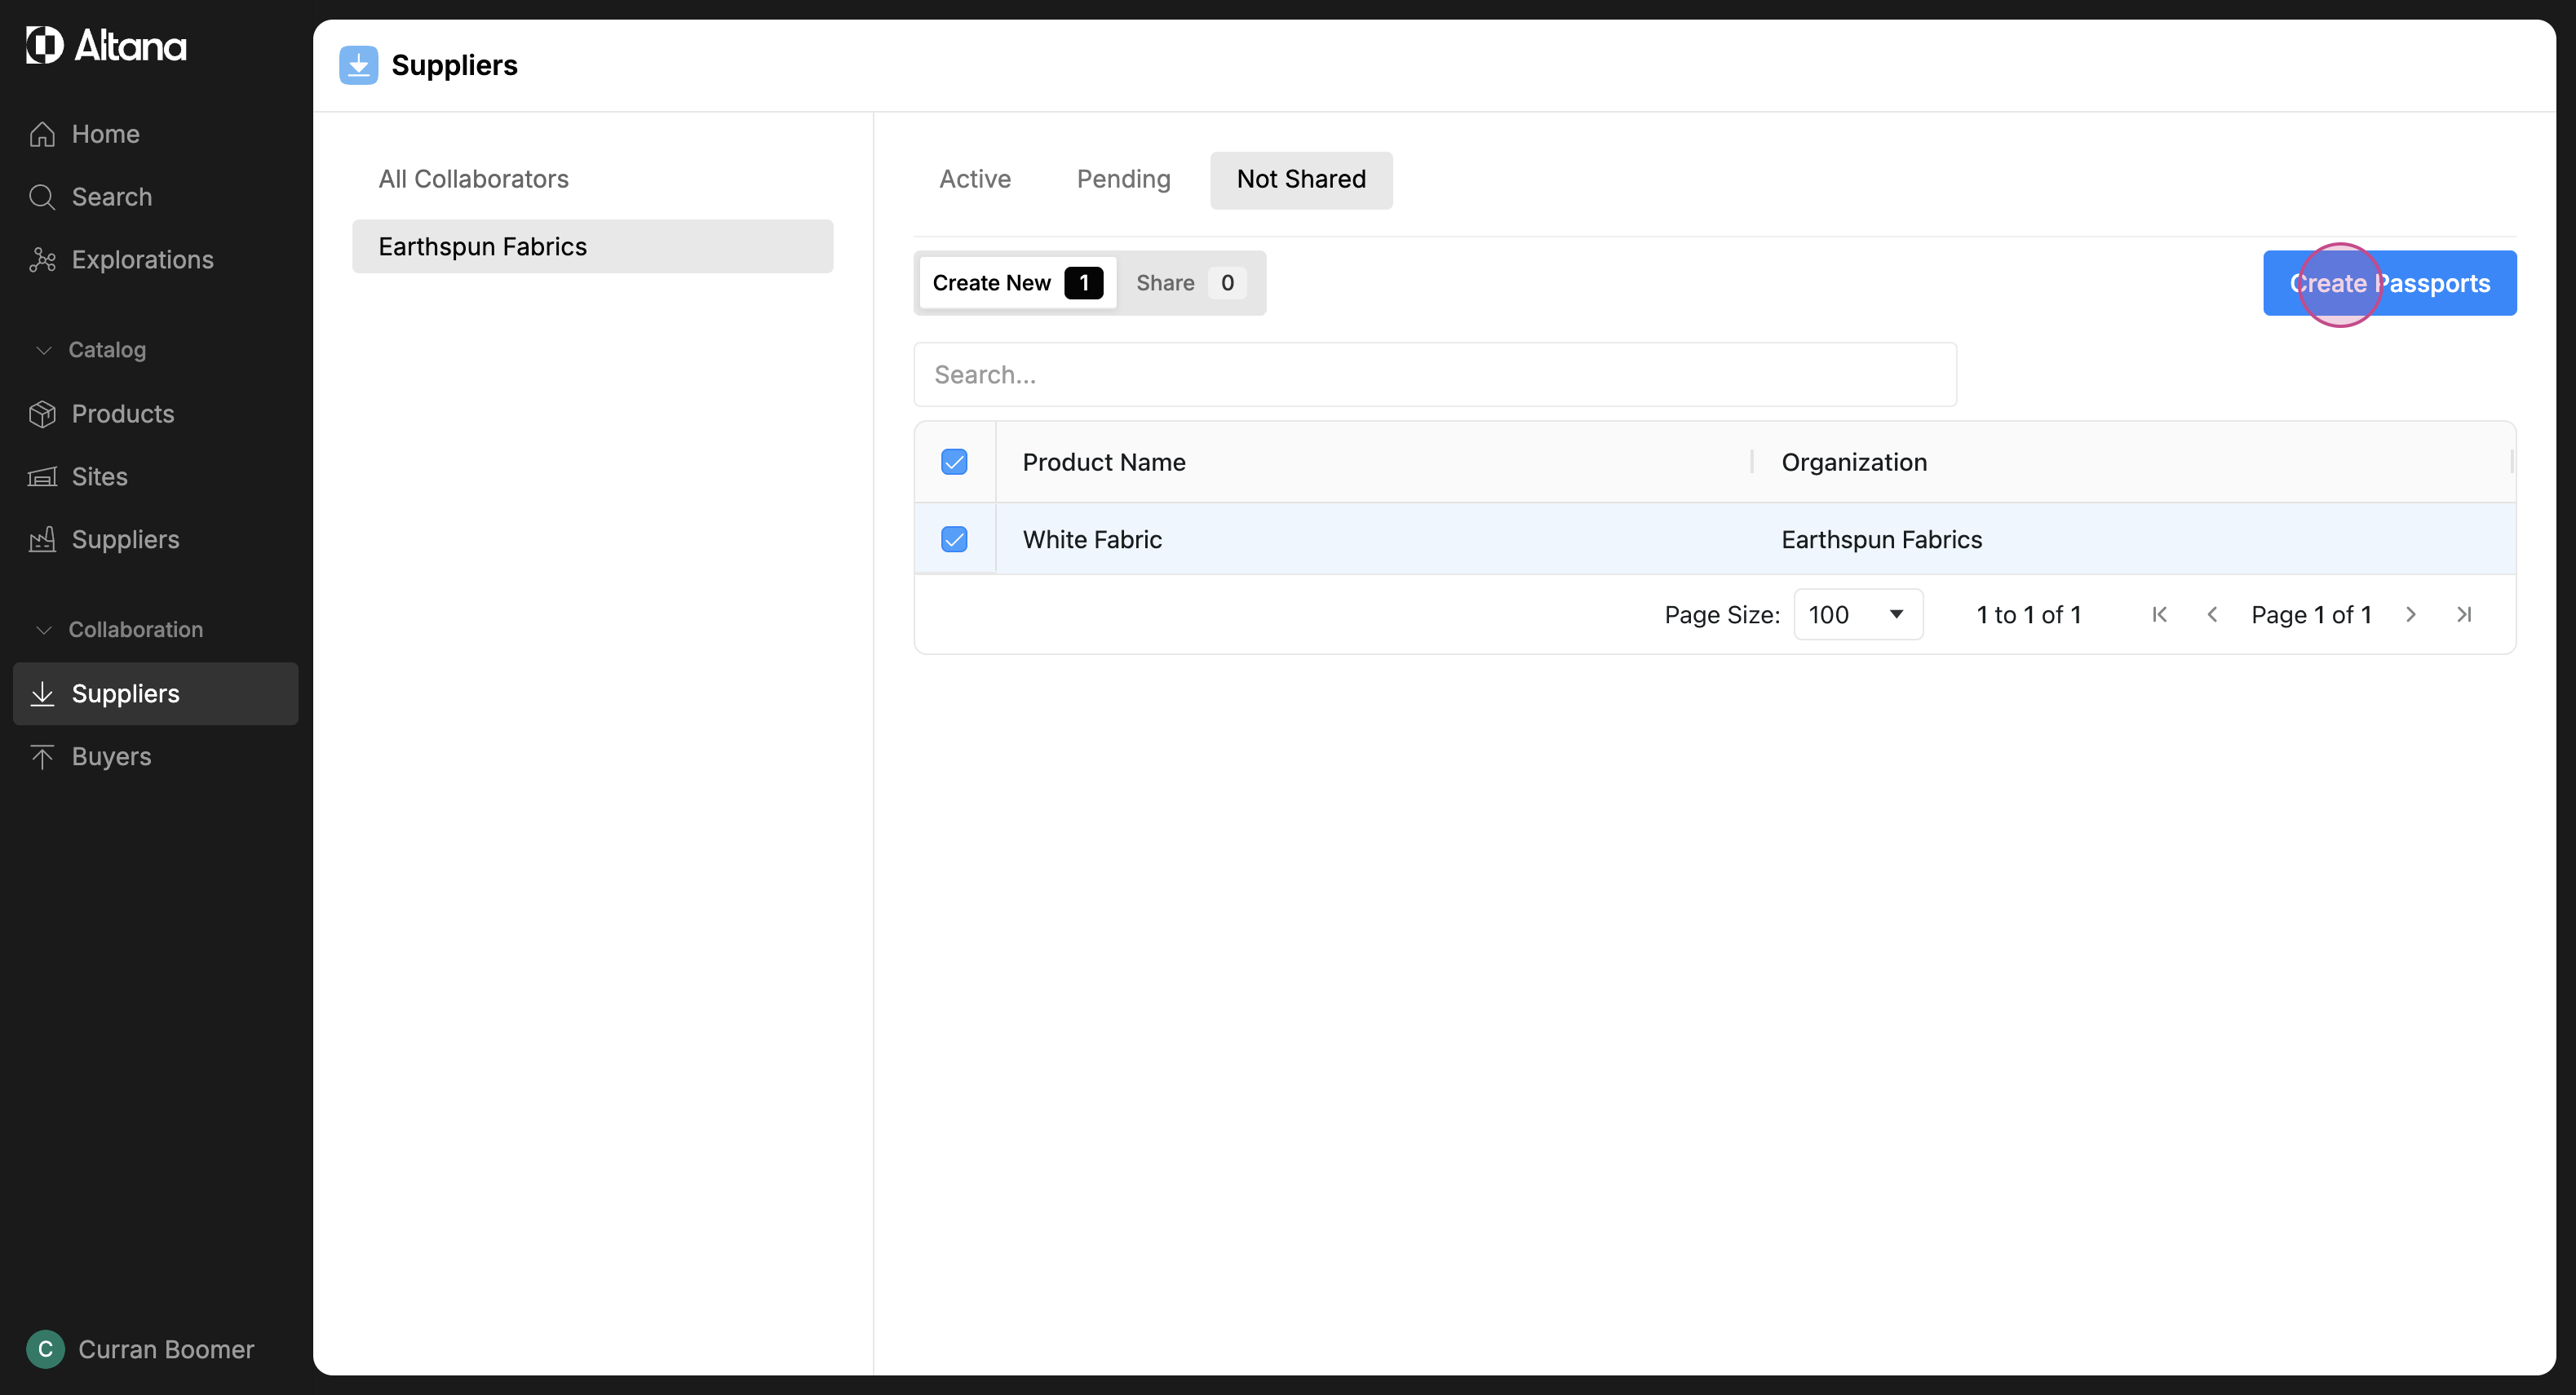
Step 6: This tab displays all the products for which you haven't created a passport. To collaborate with other businesses, you need to create a passport. Select the product and then click on Create Passport.
Note: because we're collaborating with a supplier, the product that appears here is the input good we receive from them. This is the product we'll be collaborating on.
Step 7: Once the product passport is created, you can find it in the Share tab.
Step 8: To share the passport with your supplier, select the checkbox and then click on Share.
Please note: Once you share a product passport, it cannot be unshared.

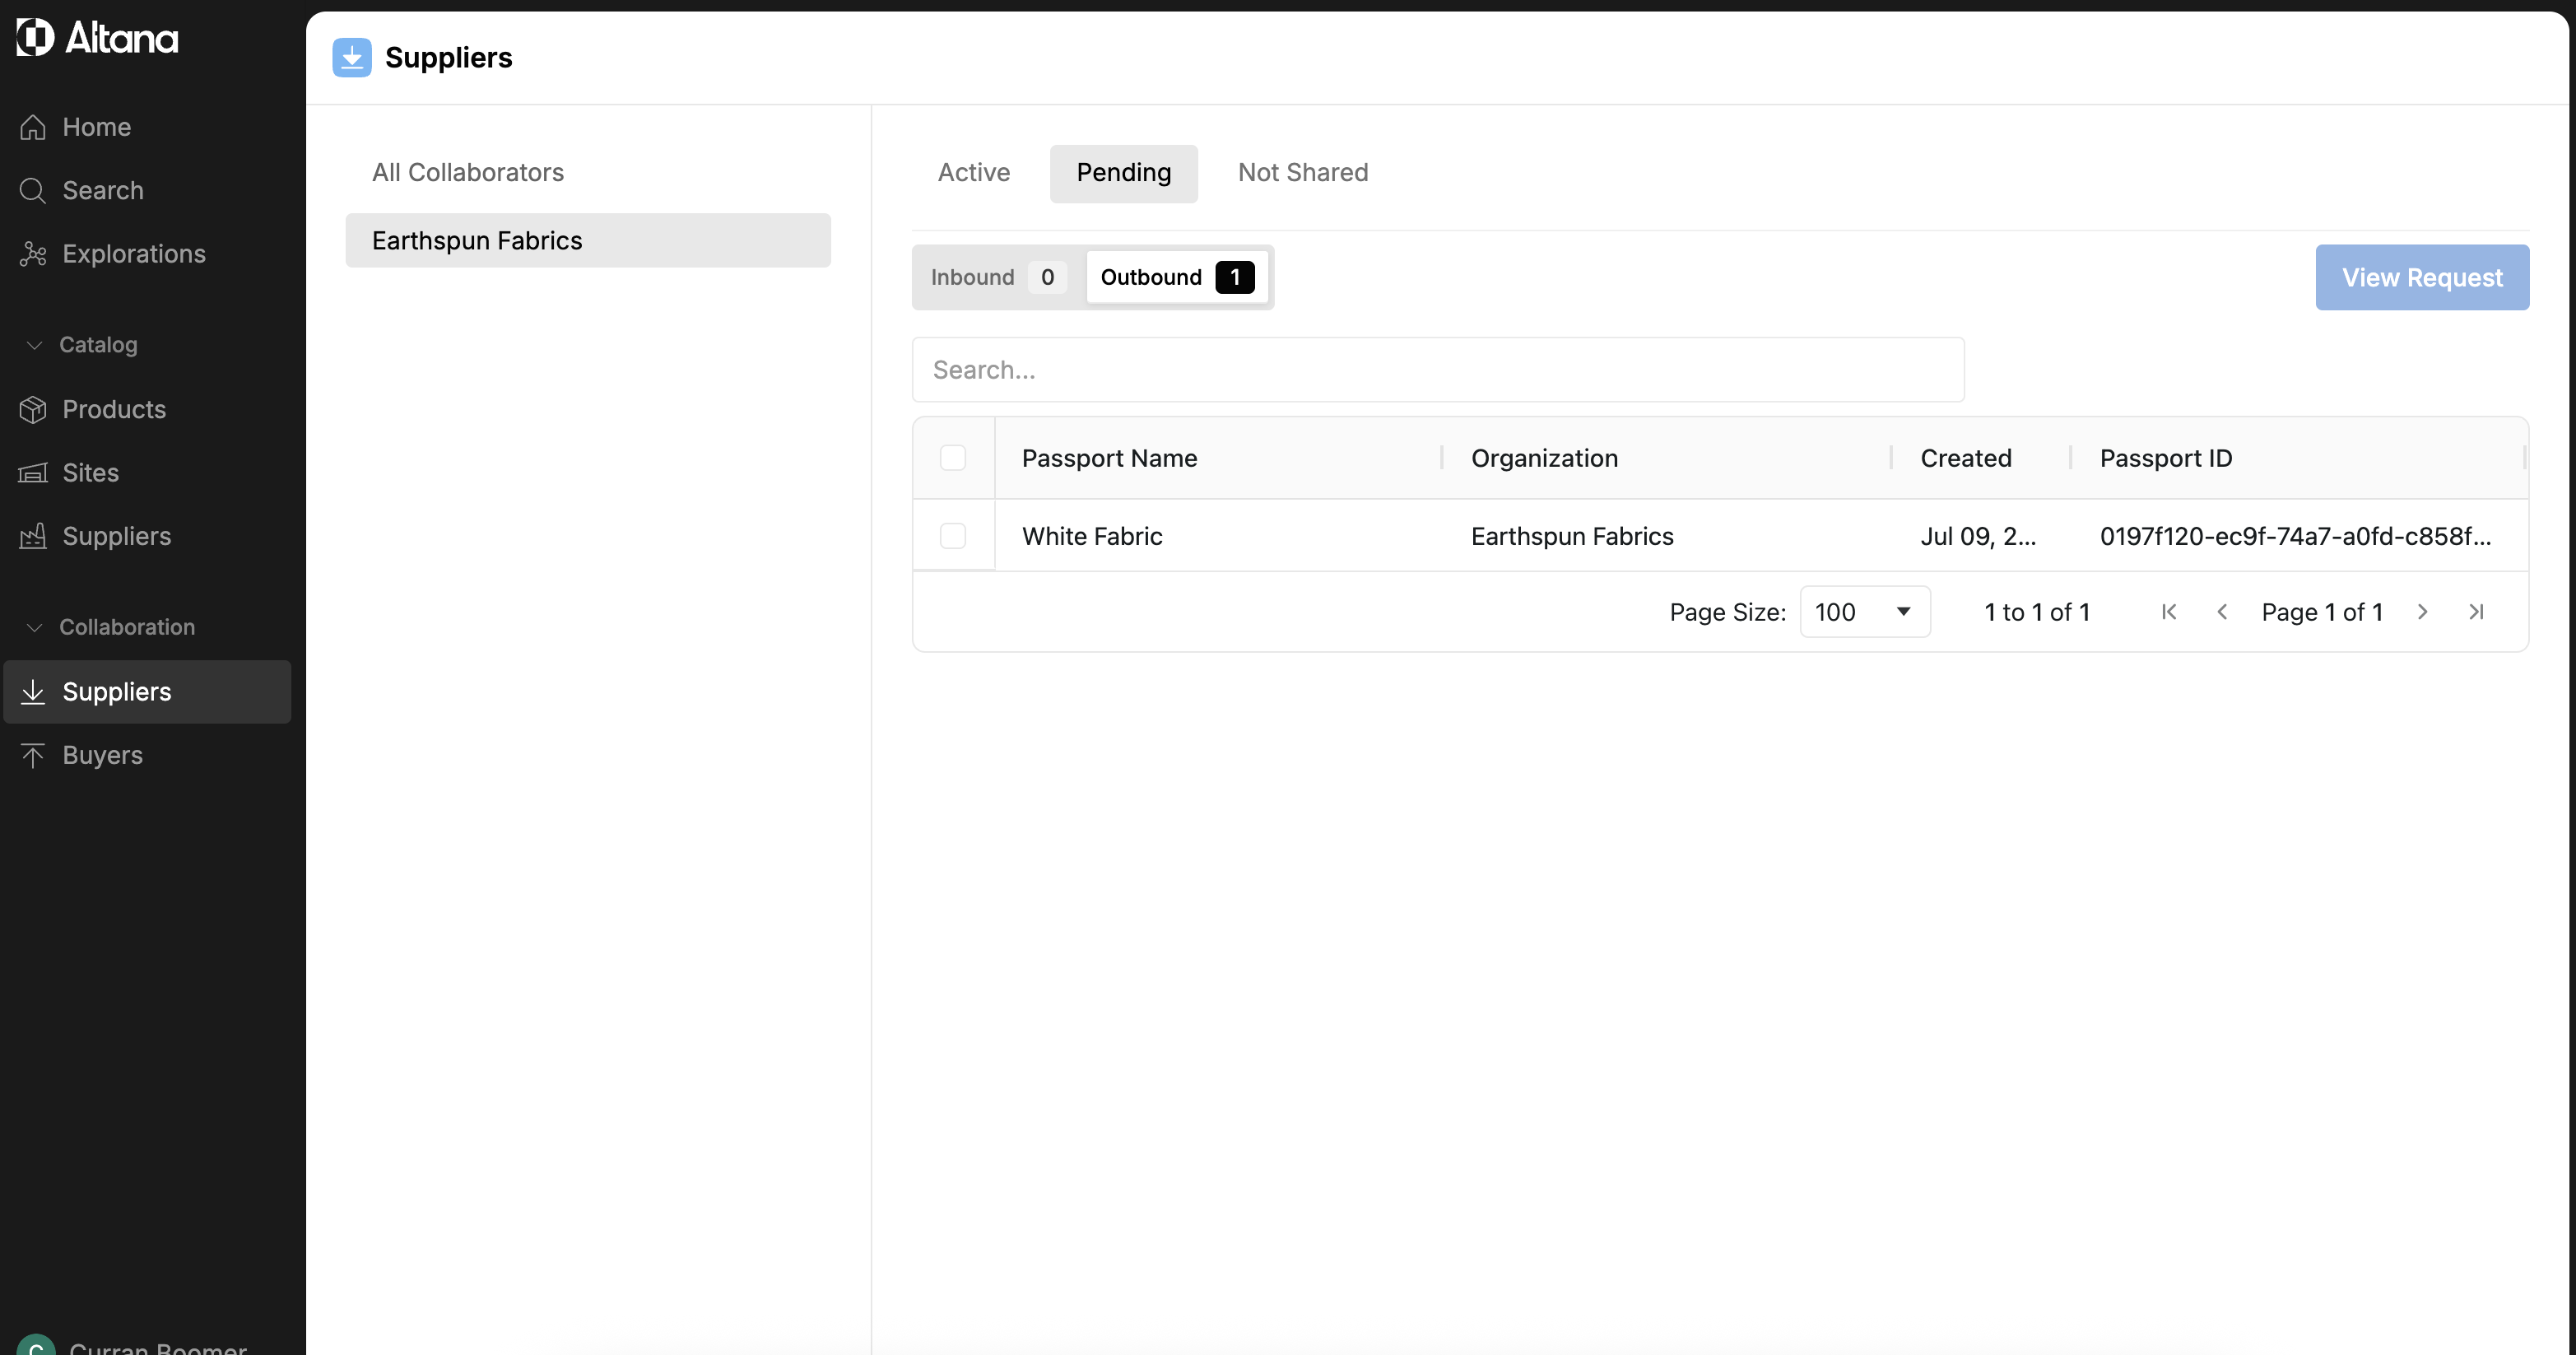
Step 9: A request is now sent to your supplier inviting them to collaborate. You can now find this passport in the Pending tab under Outbound.
This tab contains all the passports you've sent to other businesses and are waiting for their response. Once they accept your request, you'll be able to start sharing information about the product value chain.